Home > Pokemon Ultra Sun and Ultra Moon Walkthrough > Chapter 12: Poni Island
Chapter 12: Poni Island
Part 12: Poni Island
Poni Wilds
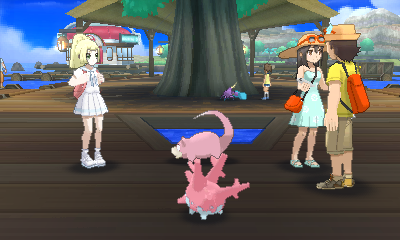
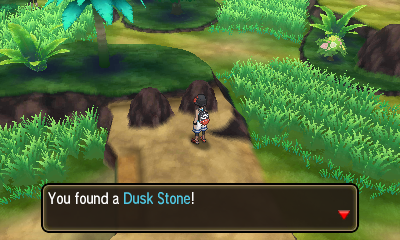
Head north on the docks and you'll quickly run into Lillie. Captain Mina will also introduce herself. Continue north to Poni Wilds. Head left onto Poni Beach to find a Max Repel. On the left side of this route are two sets of trainers and a berry tree. Exploring the heart of Poni Wilds will yield two trainer battles, two berry trees, a Dusk Stone, and a Max Potion.
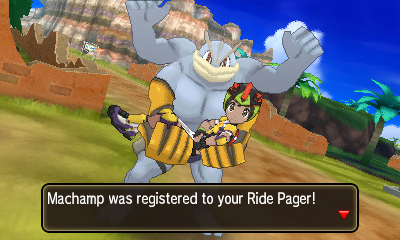
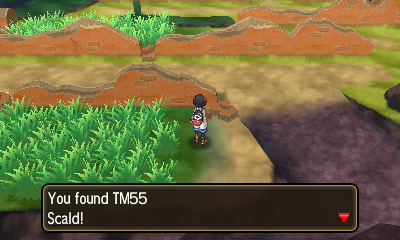
Leave this area to the right, defeating the trainer along the way. You'll be stopped by a cutscene with Hapu. Her grandmother will register Machamp to your Ride Pager. Afterward, search near the tall grass to the south for an Adrenaline Orb. If you wrap around Hapu's house to the north you'll also find a Shiny Stone. Make sure to pick up TM55 - Scald in the tall grass to the right.
Ruins of Hope
On Poni Breaker Coast, there's two trainers to defeat before entering the Ruins of Hope. You'll run into Lillie at the entrance of the ruins. Use Machamp to push the boulders so that you can continue forward. After the cutscene, exit the ruins and fly back to Seafolk Village.
Exeggutor Island
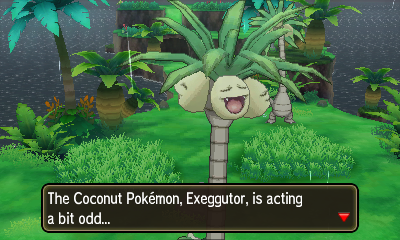
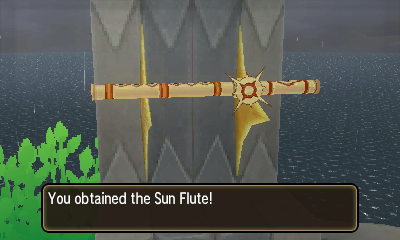
Head left after the cutscene to be taken to Exeggutor Island. Examine the first Alolan Exeggutor here and defeat the Pinsir. Repeat this process for the other two Exeggutors. Head north and your new friend will lift you up onto the hill. Here you can grab either the Sun Flute or Moon Flute from the pedestal.
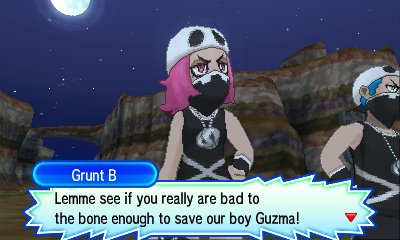
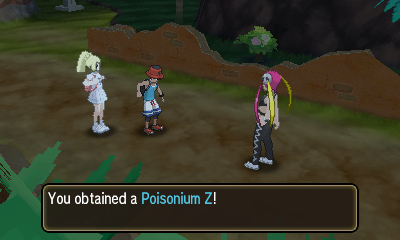
You'll find yourself back at Seafolk Village. Make your way back to Ancient Poni Path near Hapu's grandmother's house. Here you'll run into Lillie and a group of Team Skull grunts. You'll need to defeat two grunts, the second of which has five Pokémon. Afteward, Plumeria will join you for a cutscene and give you Poisonium Z. Continue north to Vast Poni Canyon.
Vast Poni Canyon
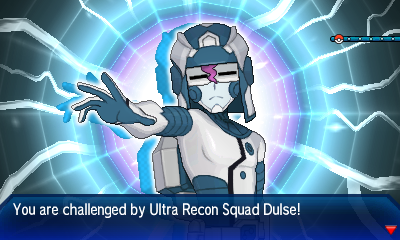
Continue forward for a bit to meet up with Hapu. You'll soon be interupted by either Dulse or Soliera, who you'll need to defeat in battle. After the battle, Lillie will heal your team and give you a Max Revive. Enter the cave when you're ready.
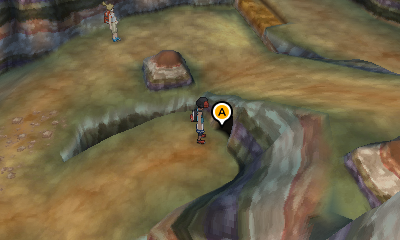
There's a trainer to battle at the very start of the cave. If at any time you want to heal your team, you can speak with Lillie and avoid a trip to the Pokémon Center. Continue right from this trainer to find another. You can break some rocks in this area to find a Protein and a Max Potion. There's one more double battle in this section that can be avoided with Tauros if you like.
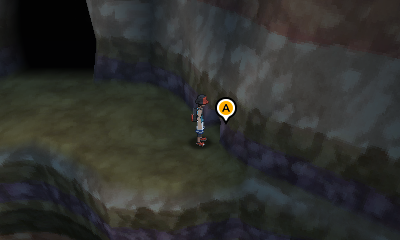
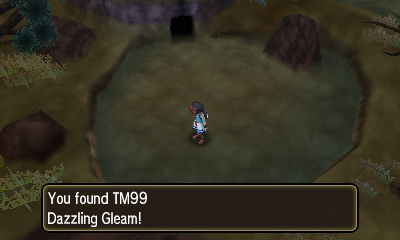
Exit the cave to the south. Back outside, you can pick up a Max Revive from the tall grass to the south. Then head left and enter another cave. There's a trainer here that can be avoided with Mudsdale. Exit this cave and enter the crawlspace to the right. Here you'll find two trainers, an Escape Rope, and TM99 - Dazzling Gleam.
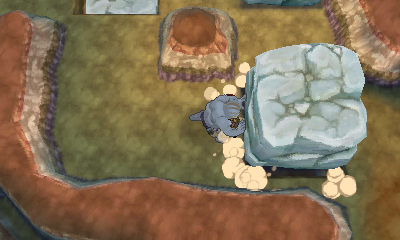
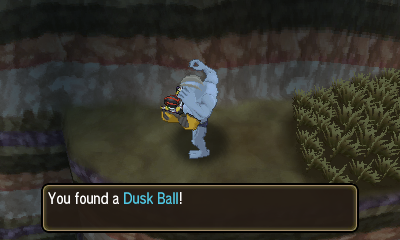
Exit this alcove and continue left accross the bridge and Lillie will come heal your team after a cutscene. Enter the next cave and snag a Nugget to the left. Use Machamp to push this boulder south and pick up the Full Restore. Move the next boulder right and exit the cave to get a Dusk Ball. Re-enter and push the final boulder up so that you can go up the ladder. Defeat the trainer and head outside.
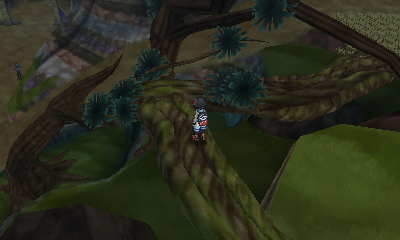

There's another trainer here in front of the bridge, and a second in front of the second bridge. Head north on the tree branch and grab the Full Heal next to a trainer to the right. Head left and enter the cave to the south. Use Machamp and push the boudler to create a shortcut to the entrance. Use this opportunity to heal up and stock up if you'd like.
Head back north through the shortcut when you're ready to face the gauntlet of three trainers. After defeating them all, head north. Lillie will be here waiting to heal your team. When you're ready, enter the trial gate.
Vast Poni Trial
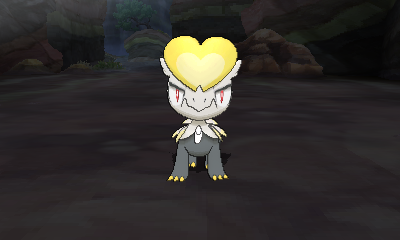
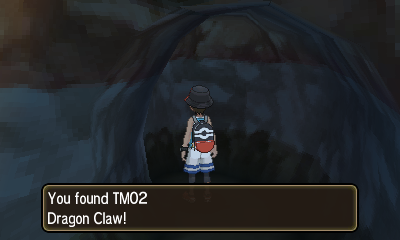
Head north and you'll eventually be ambushed by a Jangmo-o. Defeat it and then pick up TM02 - Dragon Claw from the alcove. A little further up the trail, a Hakamo-o will greet you. Defeat it and head north to the pedestal. Agree to take the Z-Crystal and you'll be attacked by the Totem Pokémon.
Totem Kommo-o
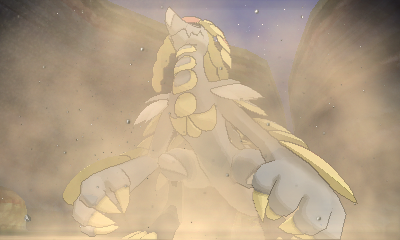
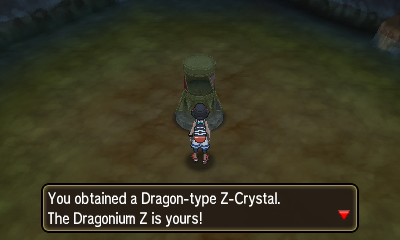
This Totem Pokémon is a Lv. 49 Totem Kommo-o. It's a Dragon-type Pokémon. As with every other Totem Pokémon, it's best to target it over its allies. A Fairy-type will make your life much easier. Also keep in mind that Kommo-o can use Drain Punch and heal itself at any time. After defeating it, you'll get Dragonium Z.
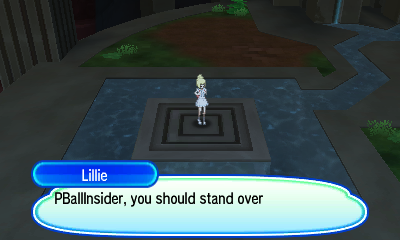
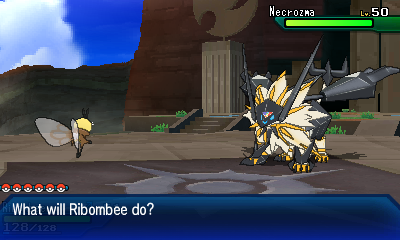
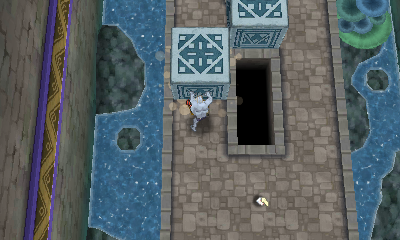
Continue north to the Altar of the Sunne or Altar of the Moone. Head to the top of the stairs. Stand opposite of Lillie and and play the flute. After a long cutscene, a battle with Necrozma will begin. No matter which version you're facing, a strong Dark-type is the way to go. The cutscene will continue after defeat, you won't be able to catch it.
Megalo Tower
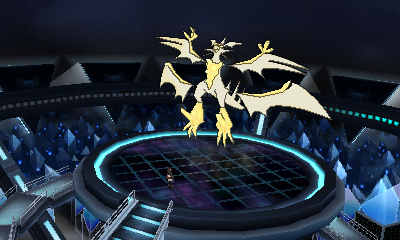
Afterward, agree to find the white worm hole. Follow the instructions and enter the first white worm hole you see. Head towards the tower and enter the elevator. On top of Megalo Tower, follow the winding staircase. Approach Ultra Necrozma to battle it.
Ultra Necrozma is Lv. 60 and Psychic/Dragon-type. It's a large step-up over the previous incarnation, so it'll be a tough battle. Once again, don't bother trying to catch it, as you won't be able to yet. After the battle, you'll be given the Ultra Beast Poipole. During another long cutscene, Lusamine will give you 3 Beast Balls.
Back to Aether Paradise | Continue to Kahuna Hapu