Home > Pokemon Sword and Shield Walkthrough > Chapter 2: Turffield Gym
Chapter 2: Turffield Gym
Motostoke City
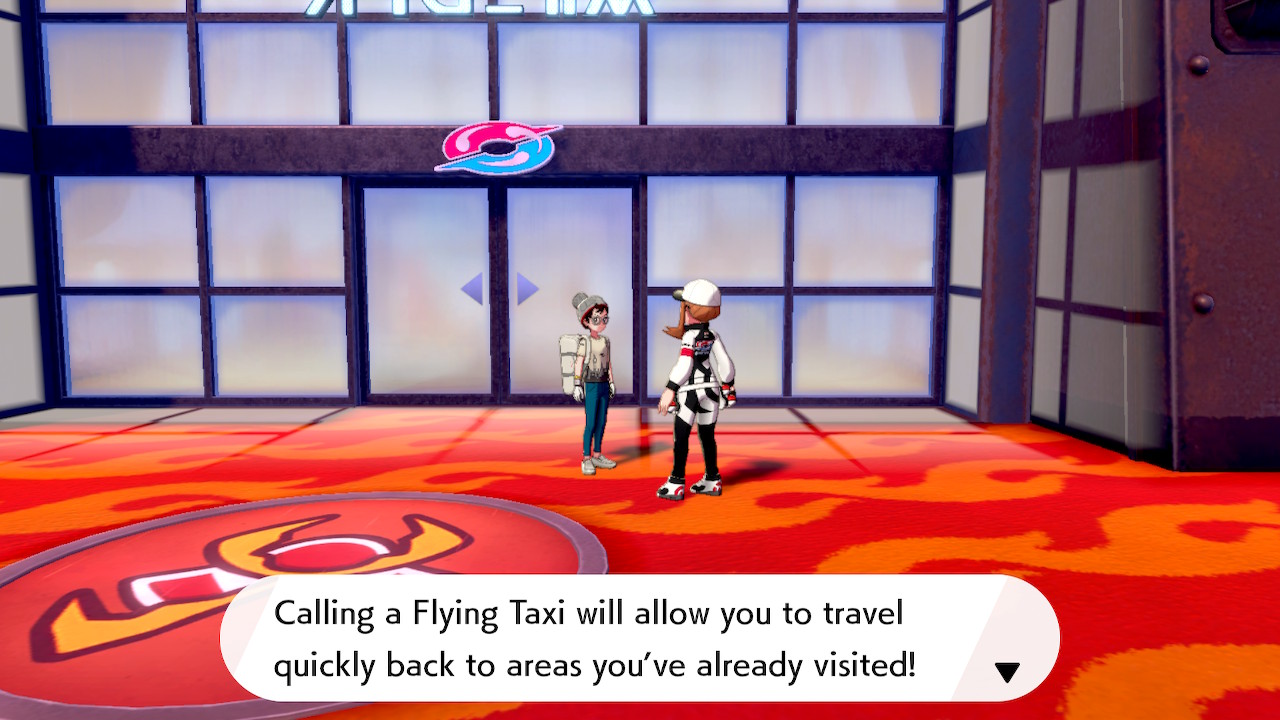
Exit the Motostoke Gym Stadium and a woman will give you access to the Flying Taxi Service. This essentially serves as the HM Fly in past games, but you won't need to use up a move slot on your Pokemon. You can simply open up the map and select a region you've already been to and fly there.
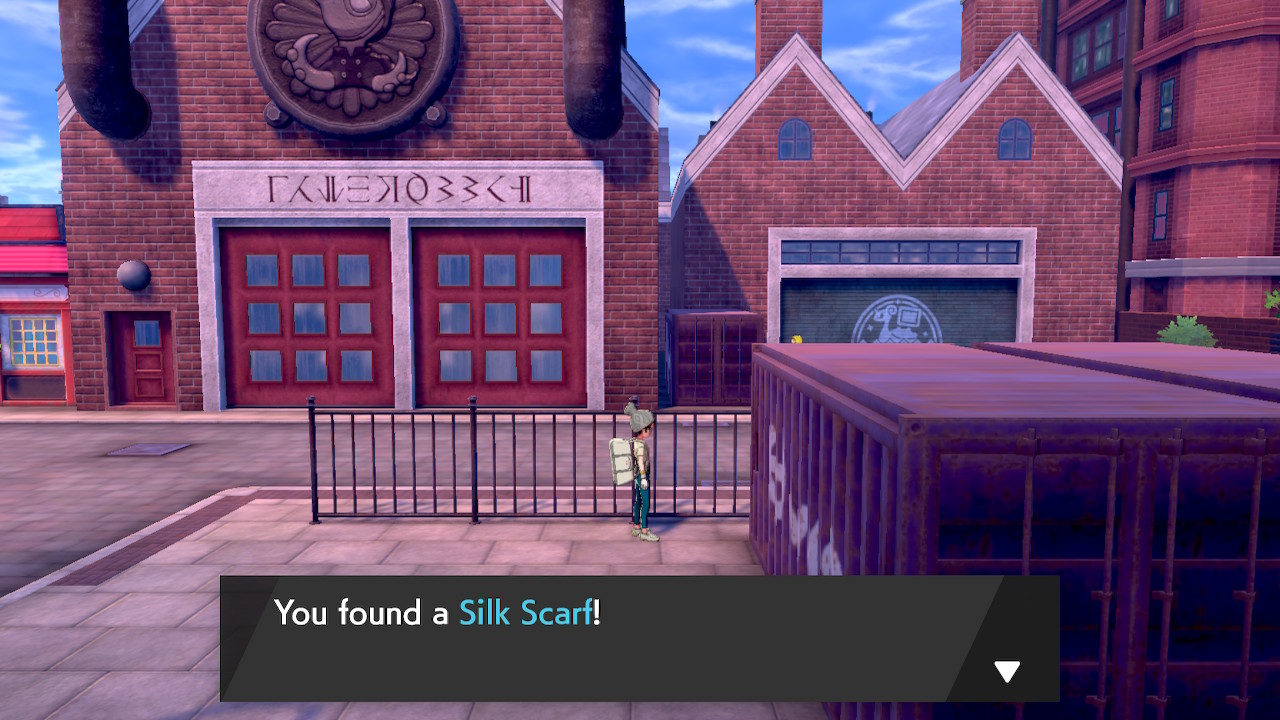
Head east from here to find a hidden Repel by the fountain. Just west of the building you'll find 3 Burn Heals in an item ball by the other fountain. You can also speak to the man in the Poke Ball mask to get a Poke Ball. Head west towards Route 3 and you'll find a Silk Scarf along the way. There's also a Poke Doll hidden near it.
There's plenty of things you can do in Motostoke before continuing on if you'd like. There's many shops to shop at, items to find, and people to talk to. You could also go back and explore the Wild Area if you have yet to do so. For the sake of the walkthrough, we're going to head west out of the city to Route 3.
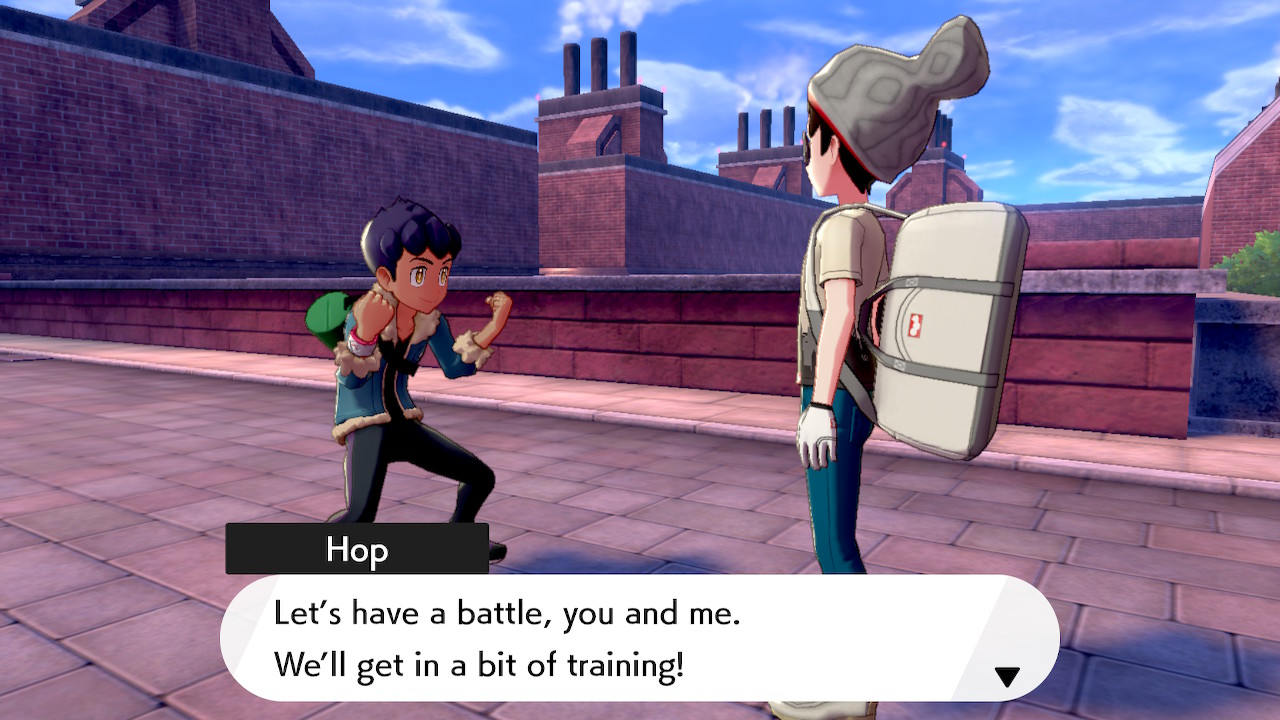
As you leave the city, Hop will be waiting to challenge you to another battle. Be sure to heal up before approaching him. This time, he'll have a Lv. 11 Wooloo, a Lv. 12 Rookidee, and a Lv. 14 starter. Depending on how much time you've spent battling wild Pokemon, he might be a bit strong for you right now. You can go back to the Wild Area and train if you need to or just use your type advantage and the items we've collected so far.
Route 3
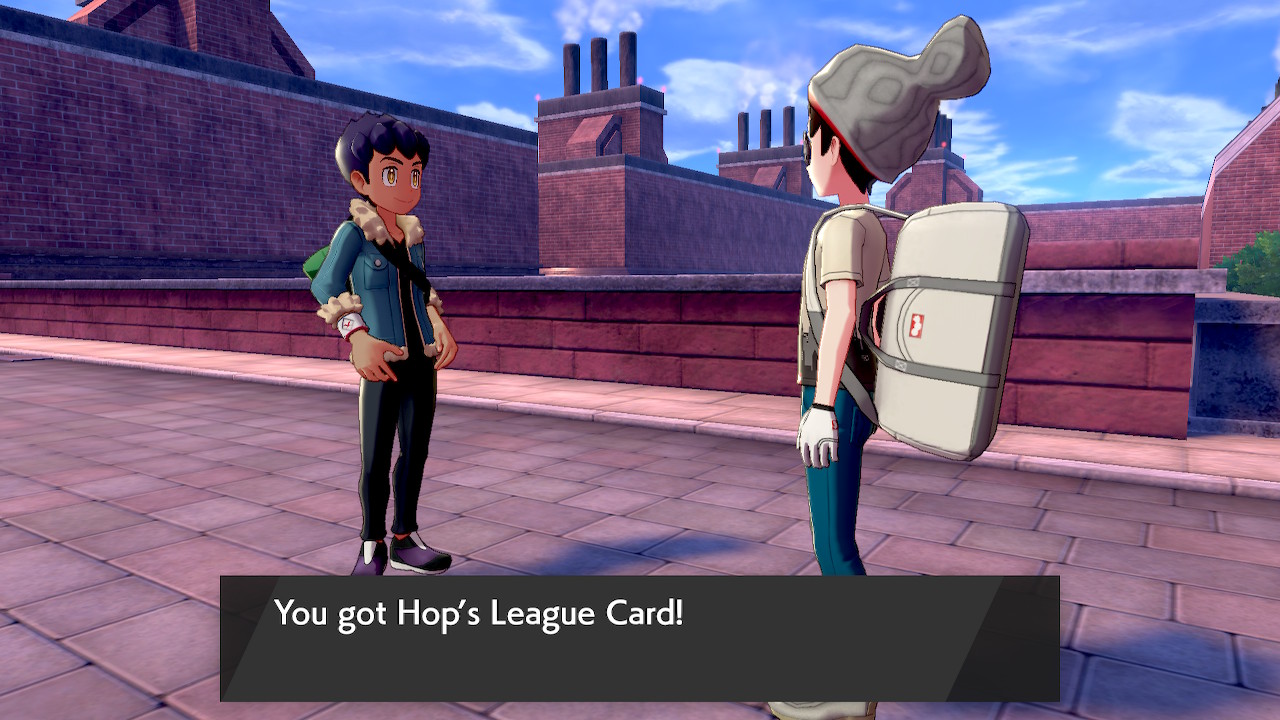
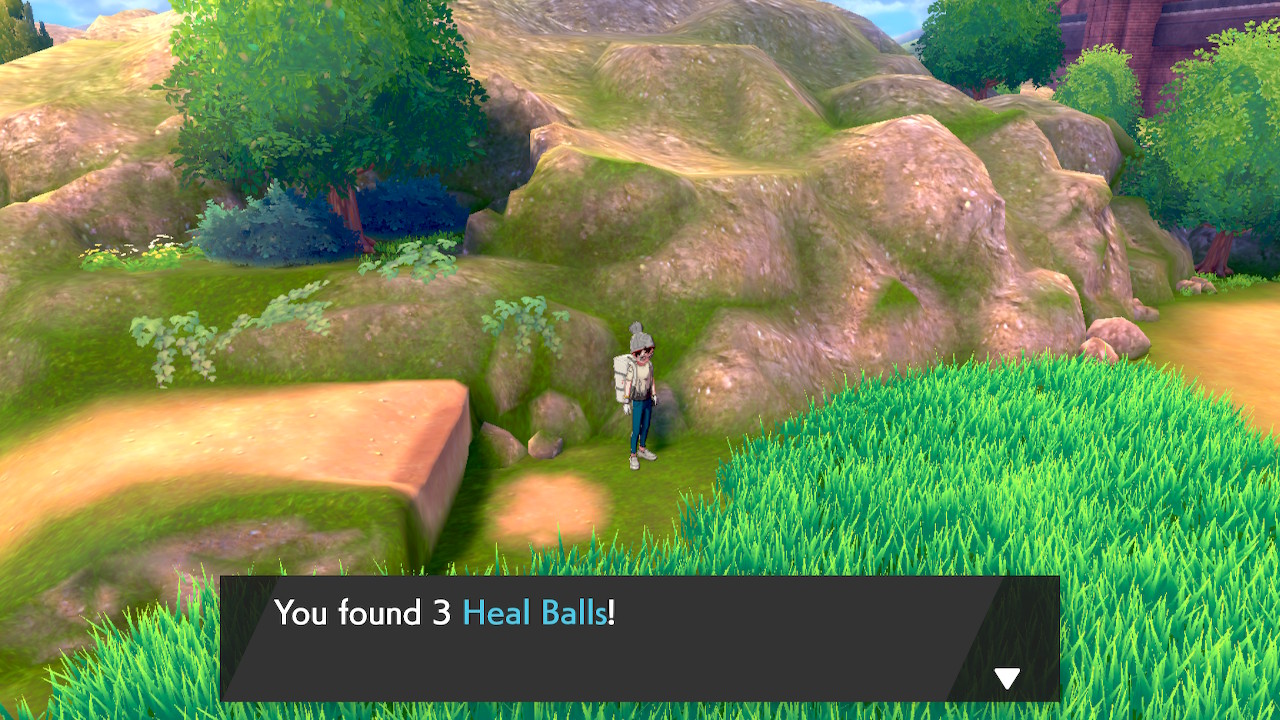
After the battle, Hop will give you Hop's League Card. You can now venture onto Route 3. You can find a hidden Big Mushroom underneath a tree at the beginning of the route. You will shortly come across an optional battle in Lass Rei. Behind her in the tall grass you'll find 3 Heal Balls. Afterward, Schoolgirl Hannah will also challenge you to a battle.
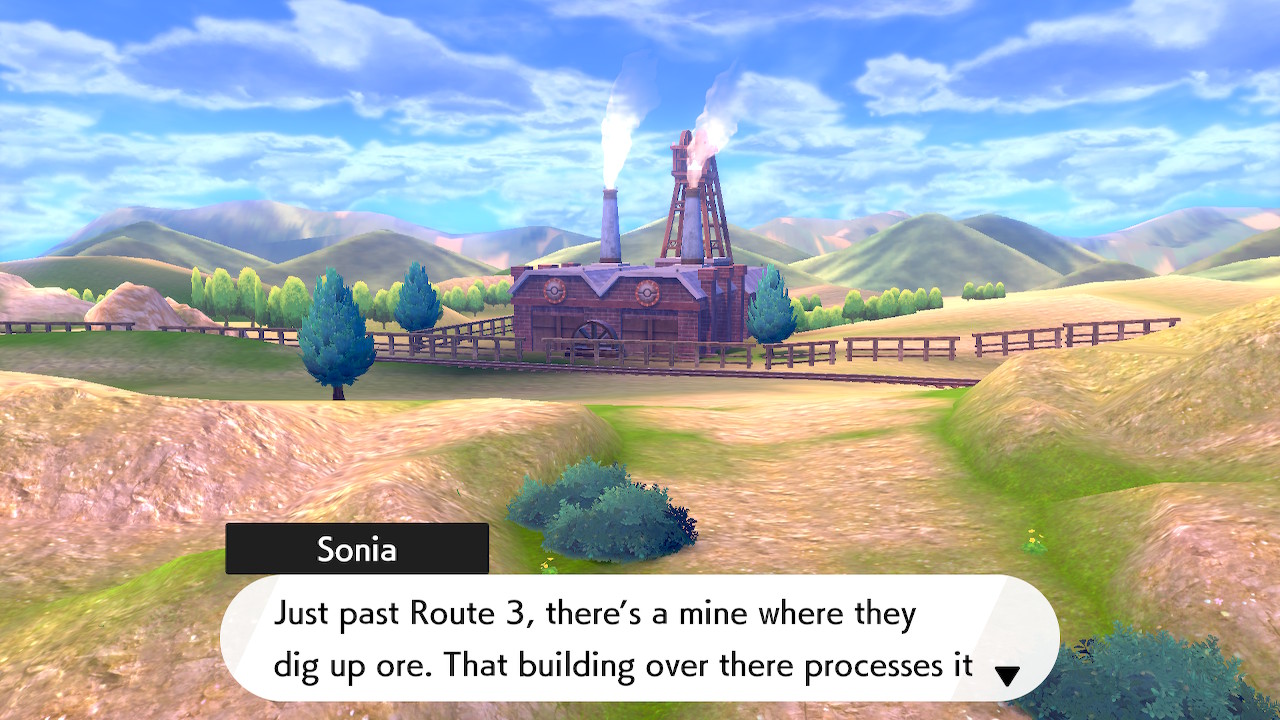
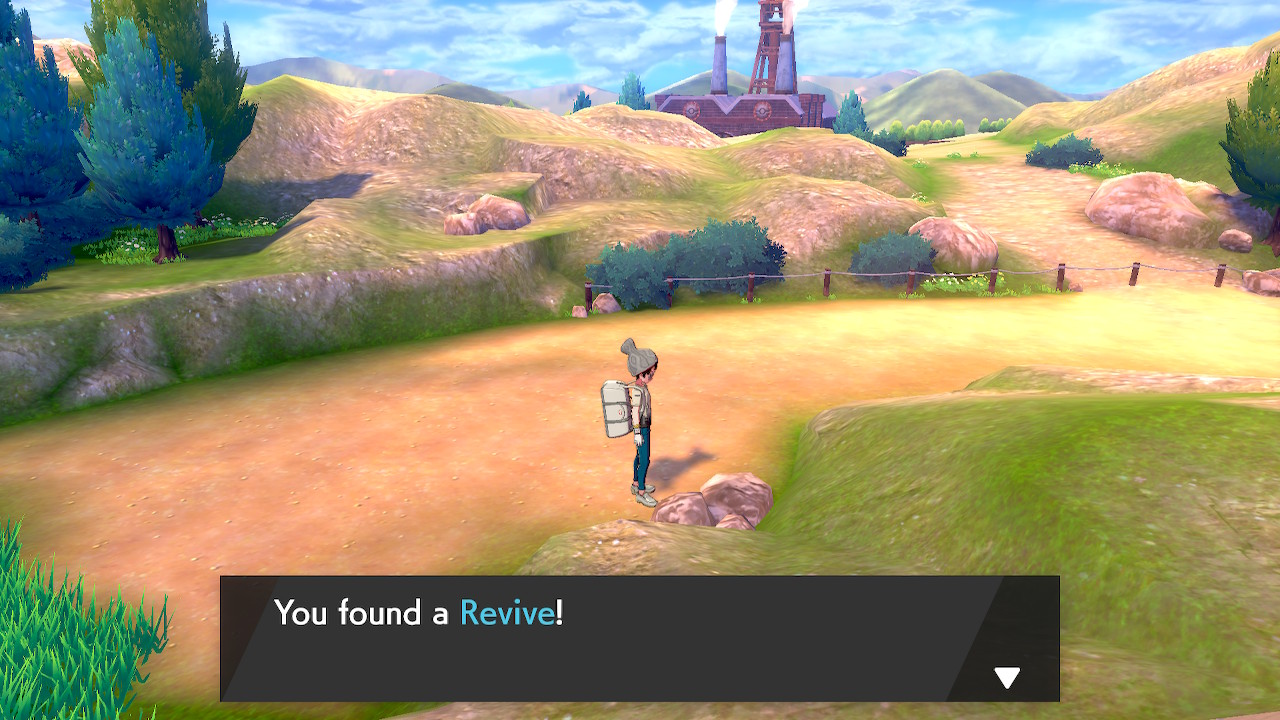
Take the lower route past Schoolgirl Hannah to find a hidden Burn Heal. Wrap back around on the upper route and battle Schoolboy Marvin if you'd like. A little further up the route you'll run into Sonia again. She'll give you a bit of lore and an Escape Rope, as well as heal your Pokemon. Continue forward a bit and you'll find a hidden Revive on a rock.
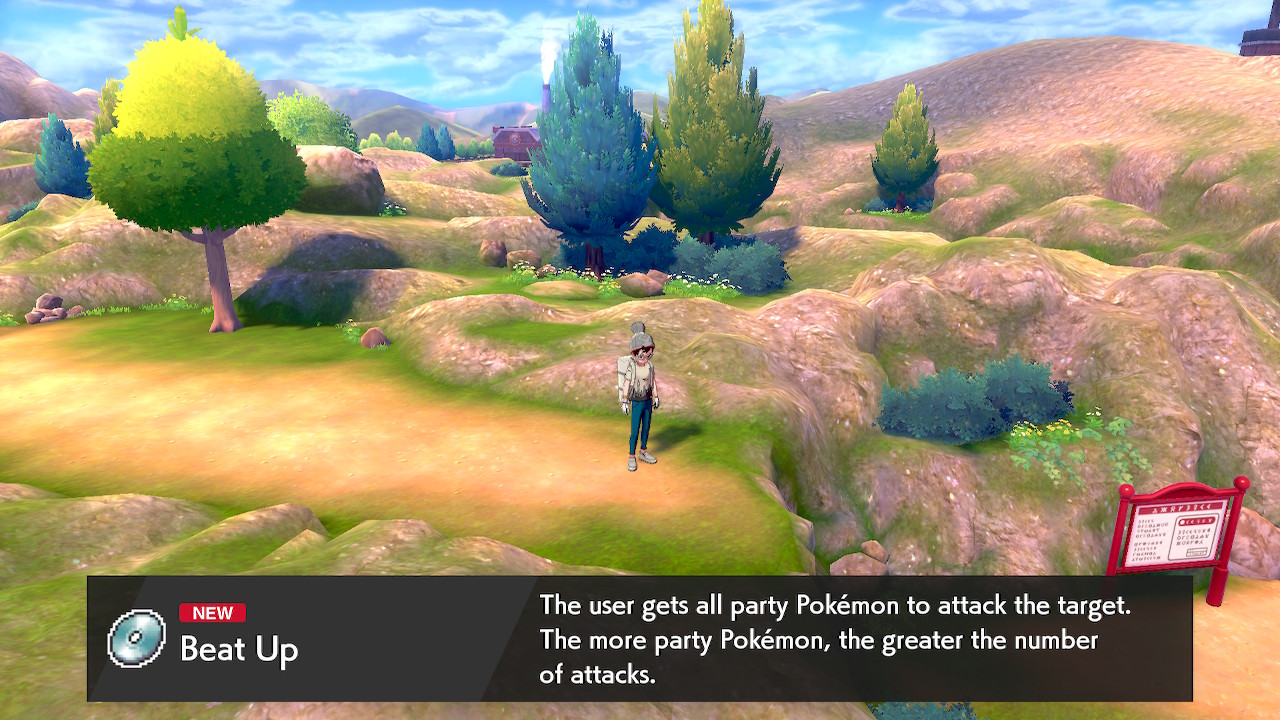
When you come across the fork in the route, take the right path for now. Battle Schoolgirl Kayleigh and you'll find a berry tree. You can shake the tree as many times as you'd like to get more berries, but each time you do there's a chance for a wild Pokemon encounter that will steal some of the berries after the battle. So gamble as much as you'd like with it and then grab TM37 - Beat Up from the nearby ledge.
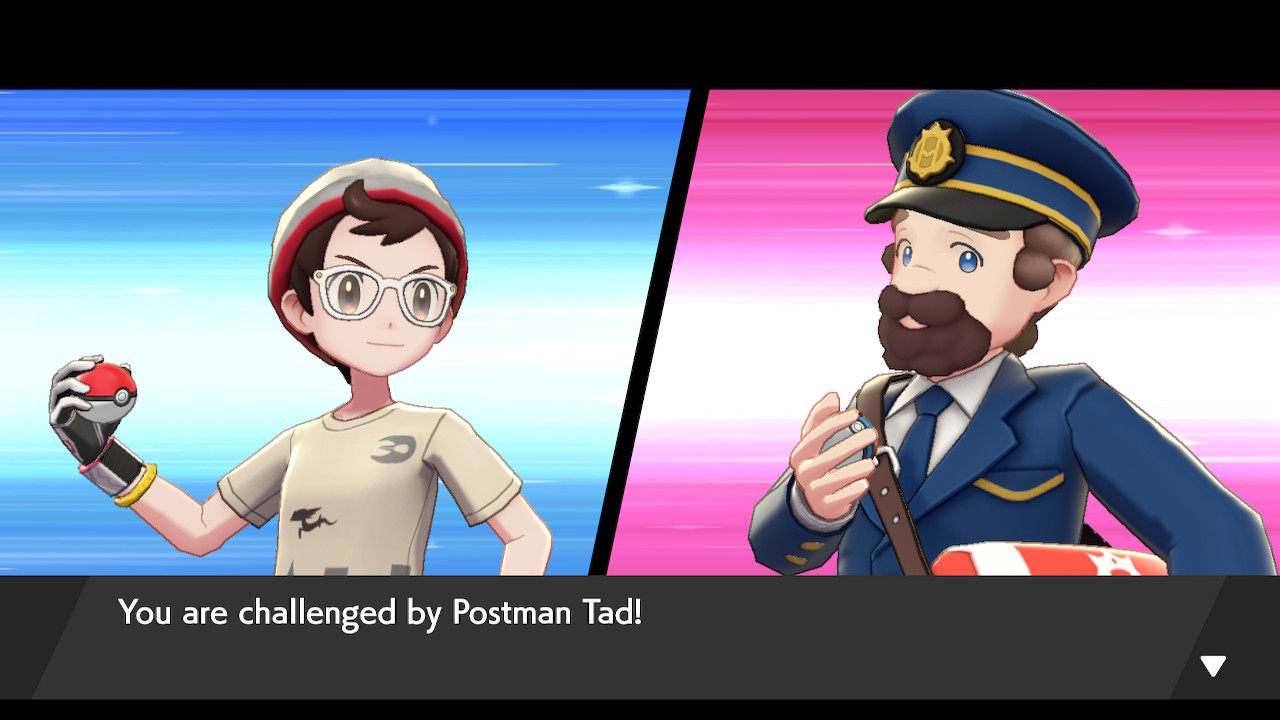
Backtrack to the fork and take the left path this time. Battle with Postman Tad if you'd like. Speak to the woman in front of her tent to get a Cheri Berry. Continue on to battle Schoolboy Peter. Grab the Super Potion from nearby tall grass. Head north and speak to the woman to heal your team before entering Galar Mine.
Galar Mine
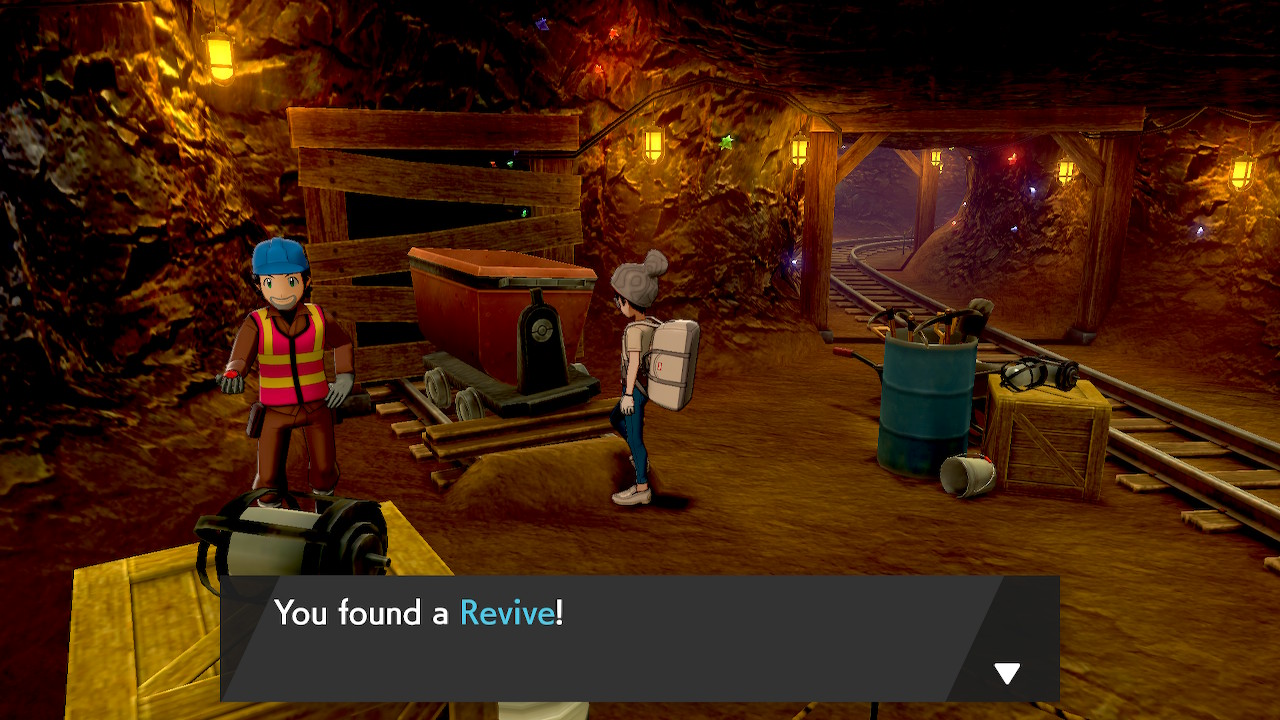
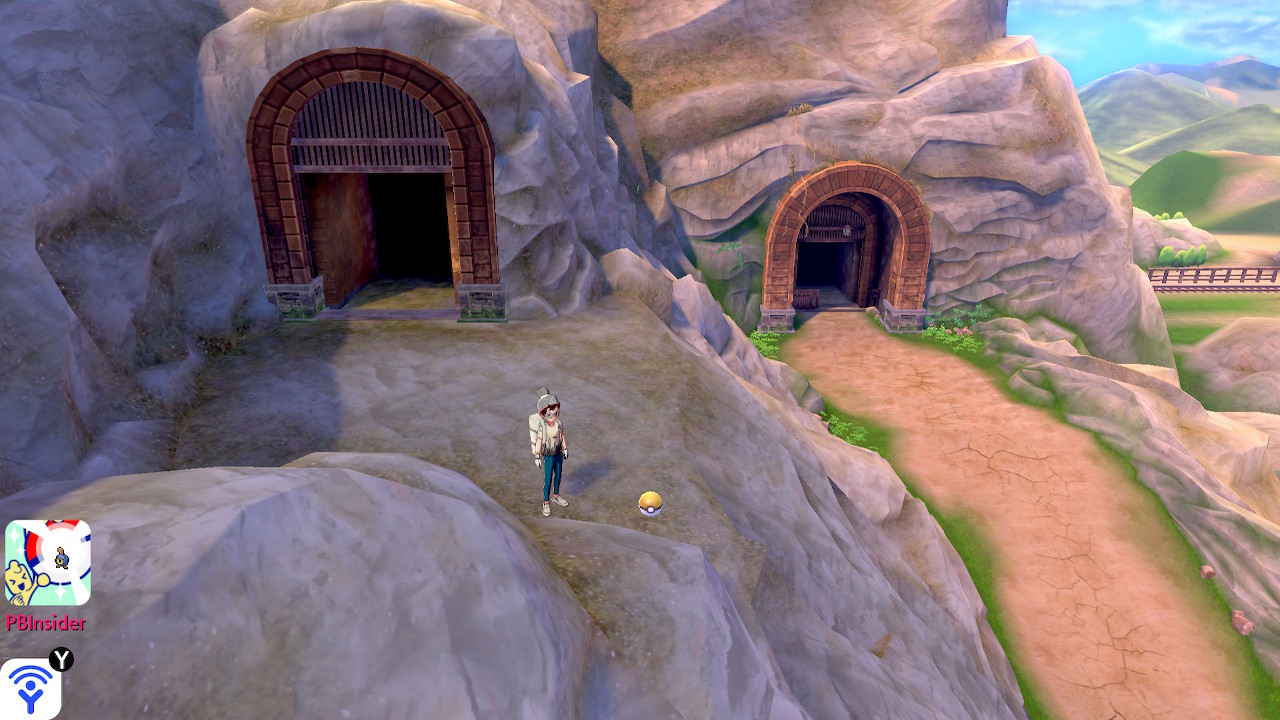
Inside the mine, you can find a Star Piece hidden next to the mine cart on the far wall. Continue in the mine and grab a hidden Revive just as there is a fork to the left. Battle Worker Keith here and continue down this left path. Wrap around a bit and you'll find 3 Great Balls in an item ball. Exit back onto Route 3 and you'll be on a higher ledge where you can grab TM54 - Rock Blast.
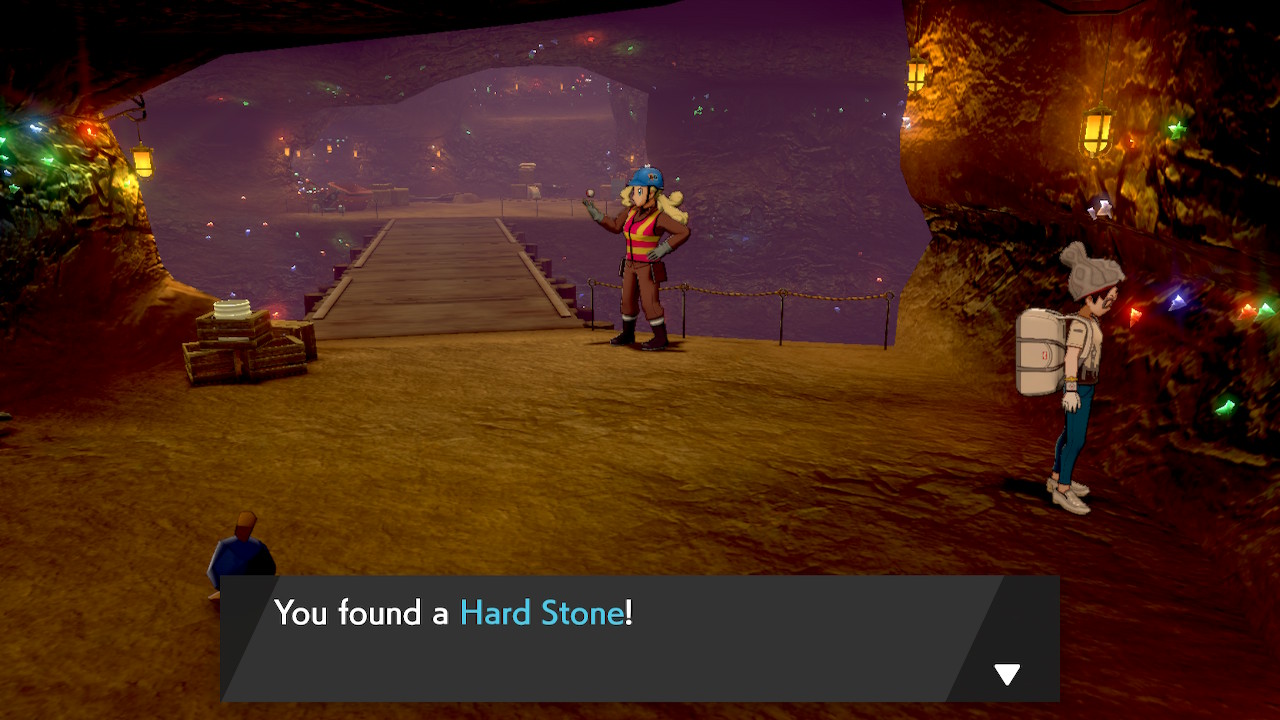
Backtrack to the fork in the mine and take the northern path this time. Off to the left you'll find Worker Georgia. Just past her you'll find TM26 - Scary Face. Backtrack and then continue forward through the mine until you reach a bridge. Pick up the hidden Hard Stone to the right and then battle Worker Sandra.
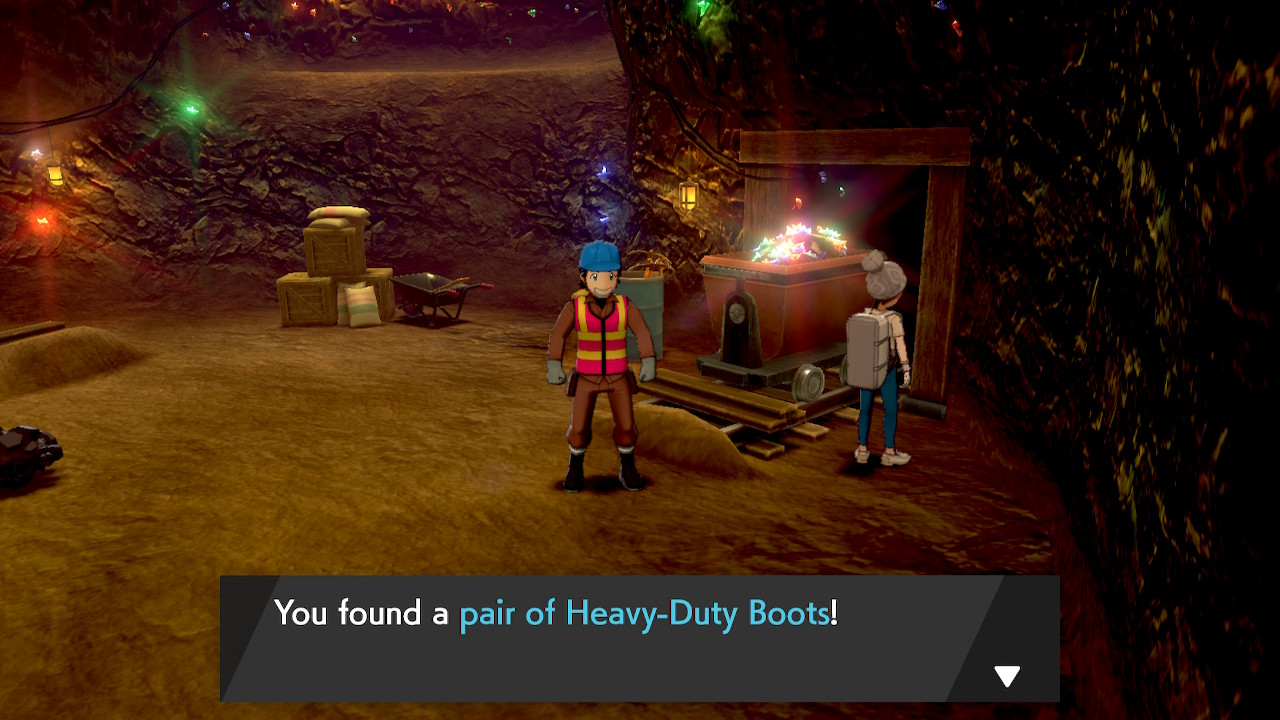
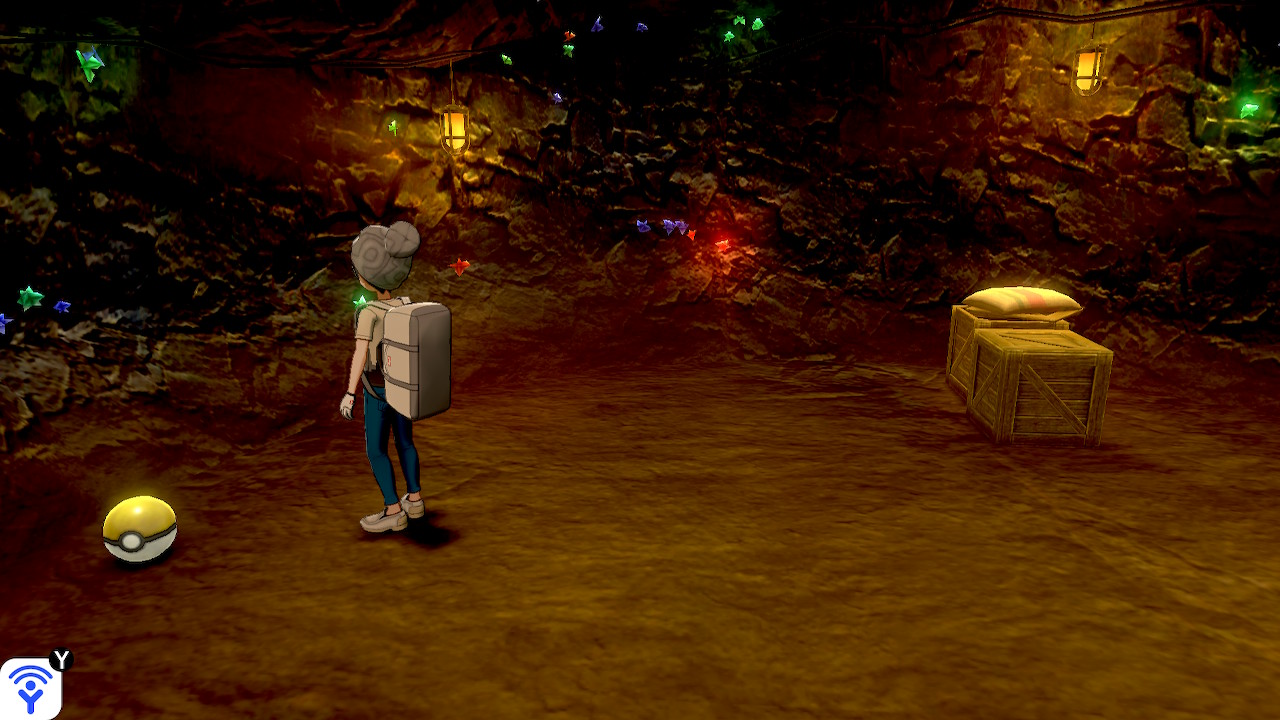
Across the bridge, you can find an Ether and a Revive by some crates. You can also pick up a pair of Heavy-Duty Boots after battling Worker Russel. Grab the 2 Super Potions ahead and continue on to receive a threat from the mysterious trainer we saw earlier.
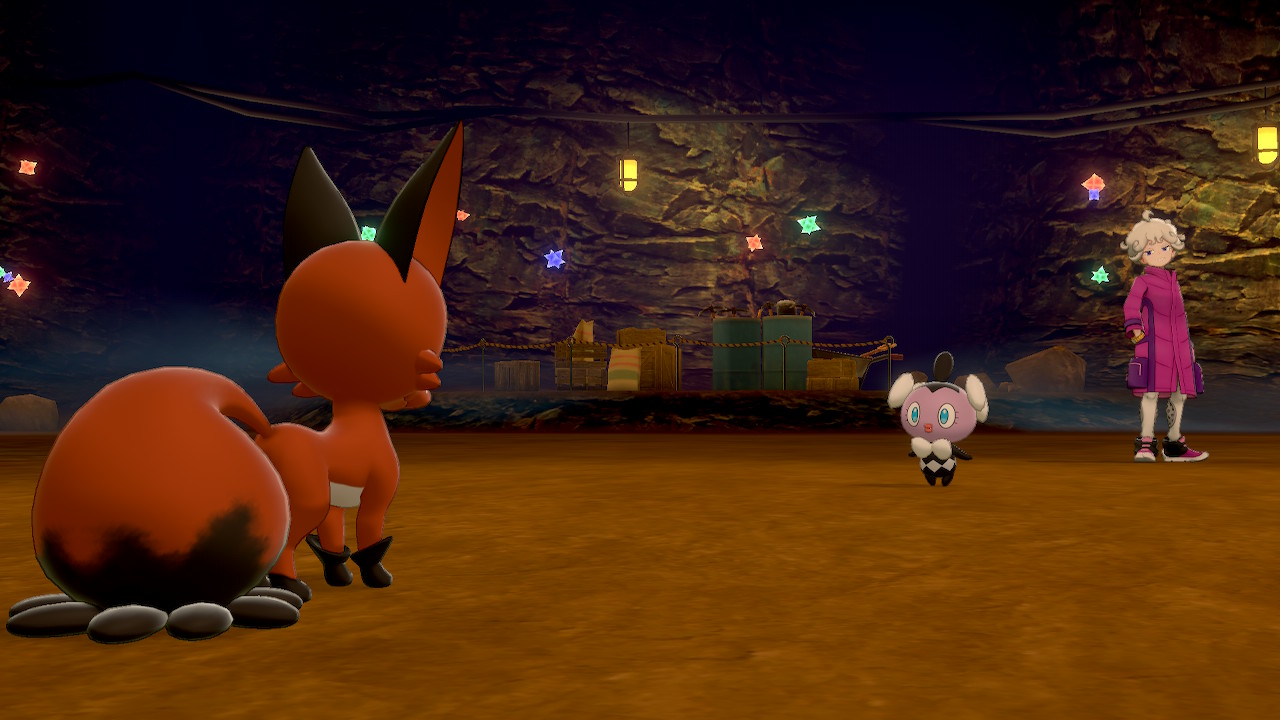

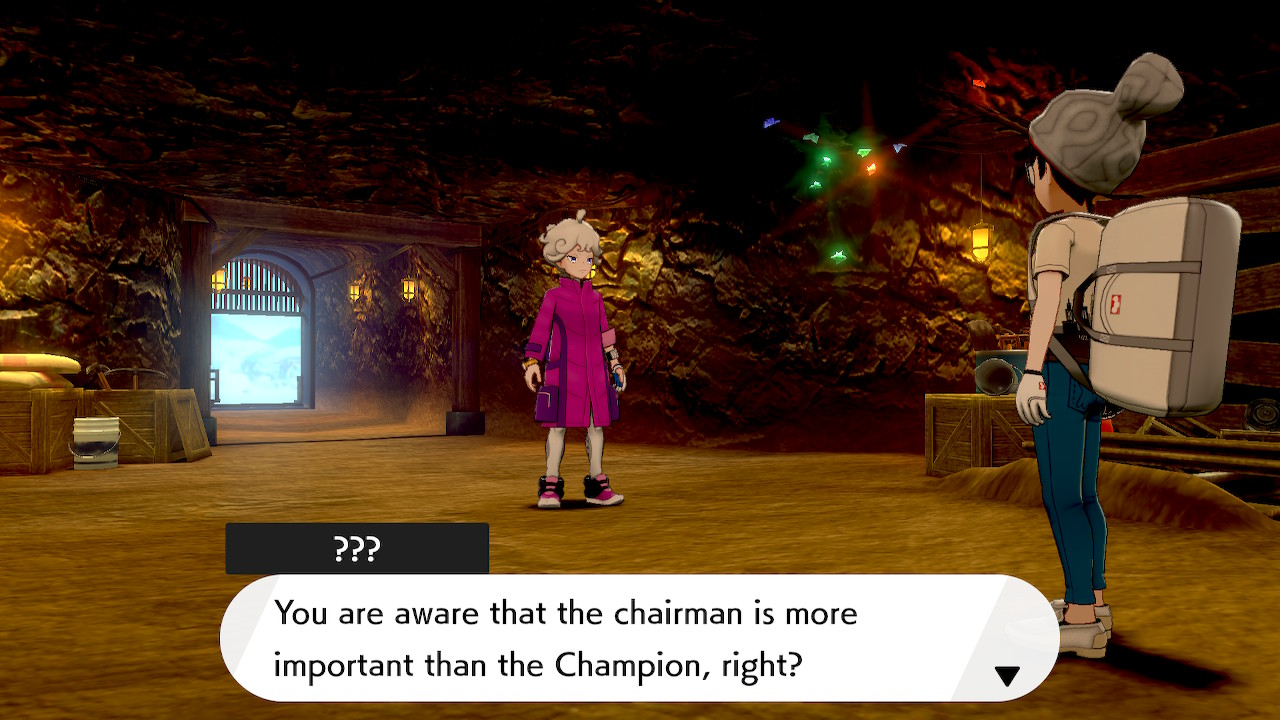
Approach them to battle Pokemon Trainer Bede. He's got a Lv. 13 Solosis, a Lv. 15 Gothita, and a Lv. 16 Hatenna. He's a bit tough, but you should be on an equal playing ground if you've been battling all trainers to this point. All his Pokemon are Psychic-type, so if you have any Dark or Ghost-type moves you should use them. After the battle, grab the hidden Stardust on your way out and exit the mine.
Route 4
Speak to the woman here to have your Pokemon healed. At the start of the route, you can find a dose of Energy Powder by some crates. Then go ahead and shake some berries from the tree to the right. You can battle Pokemon Breeder Jaime if you wish.
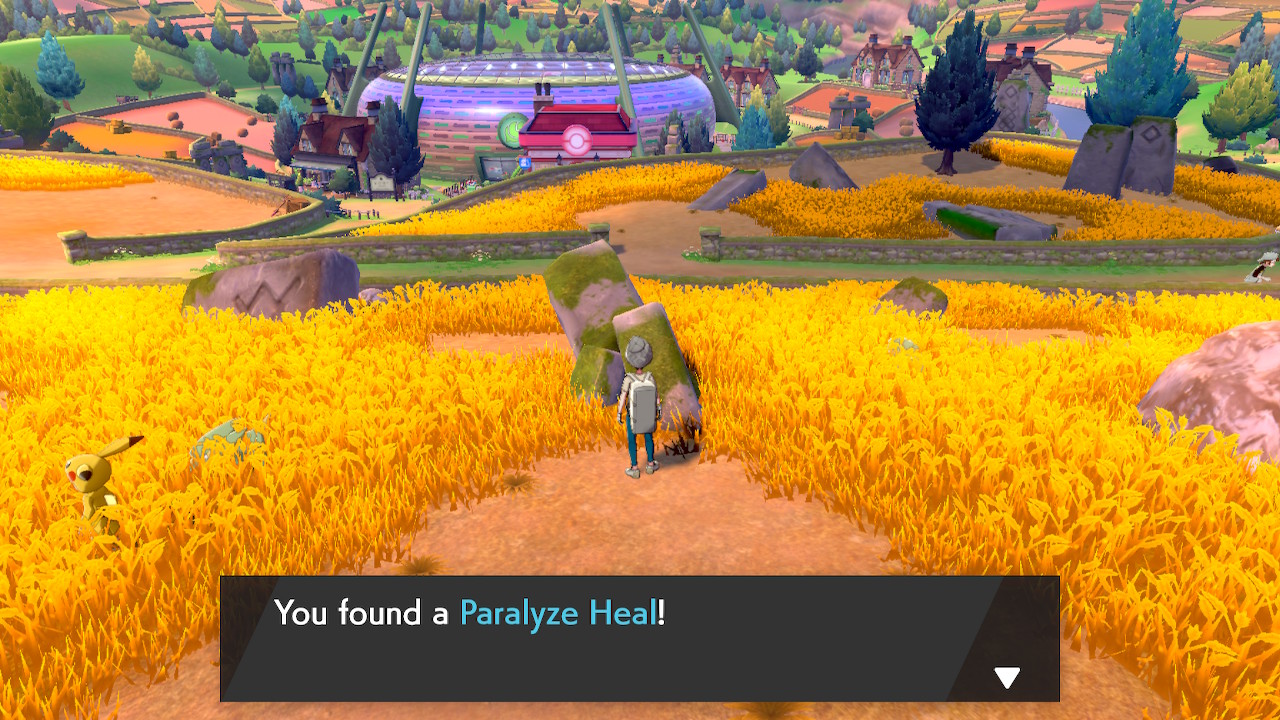
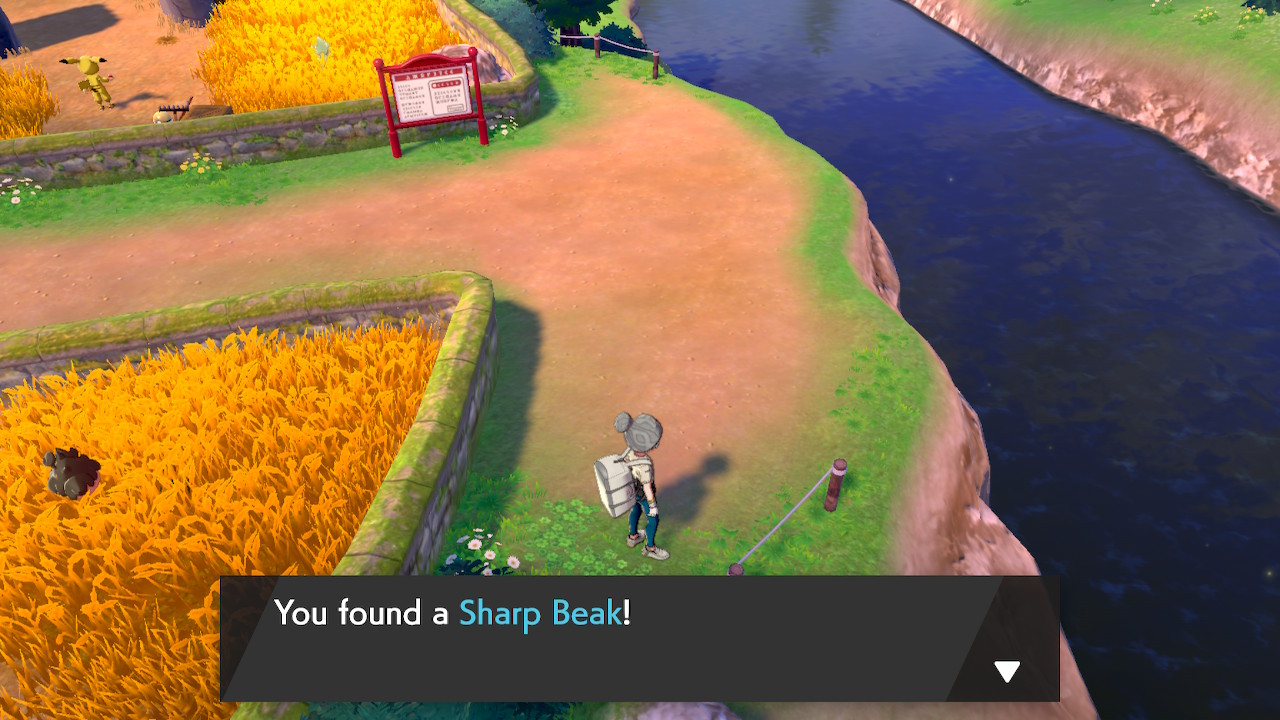
If you venture into the field to the right, you can battle Poke Kid Shane and pick up a Ether and a Cleanse Tag. Further along into the grass you can find a Paralyze Heal, 3 Nest Balls, a Rare Candy, and 2 Energy Powder. Head out near the water to grab a Sharp Beak. Backtrack along the trail and battle Pokemon Breeder Bradely if you'd like.
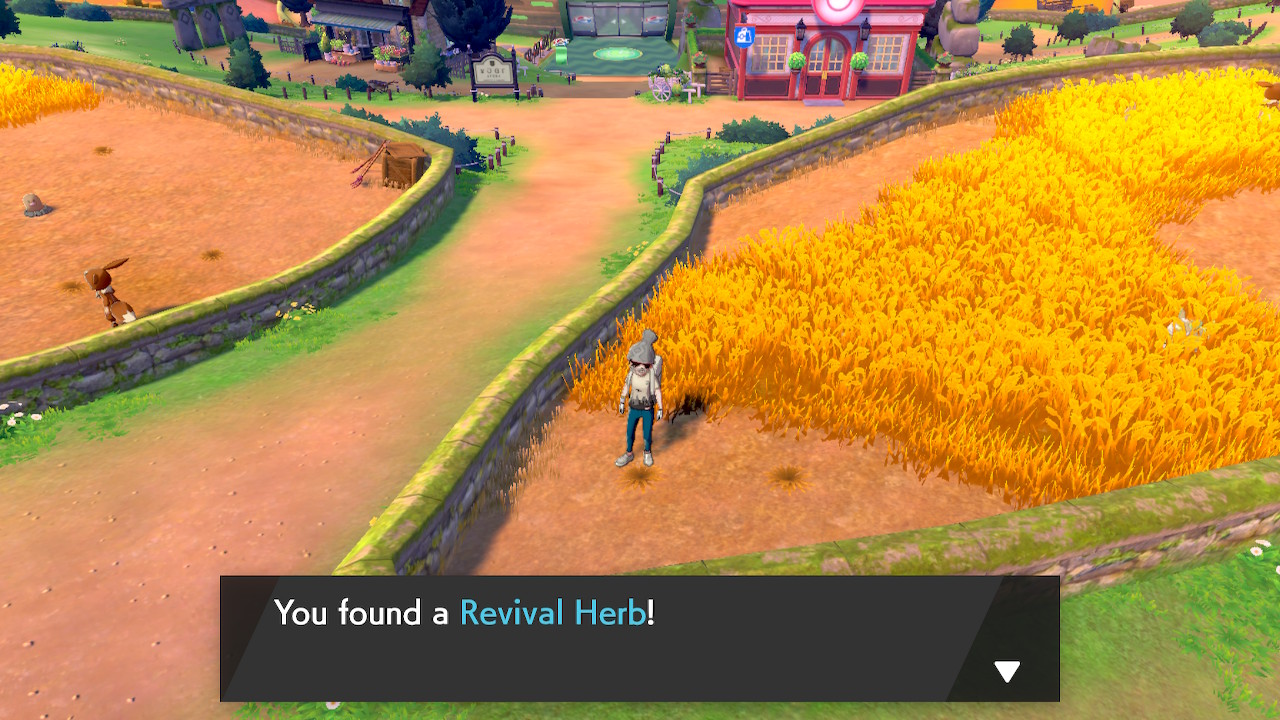
In the upper grassy area, you can find a Revival Herb and a Paralyze Heal. You can also battle Poke Kid Mia and Poke Kid Rhys. Behind the latter you'll find TM07 - Pin Missile. Head over to the western grass to battle Poke Kid Sunny and get some Silver Powder and an Energy Root.
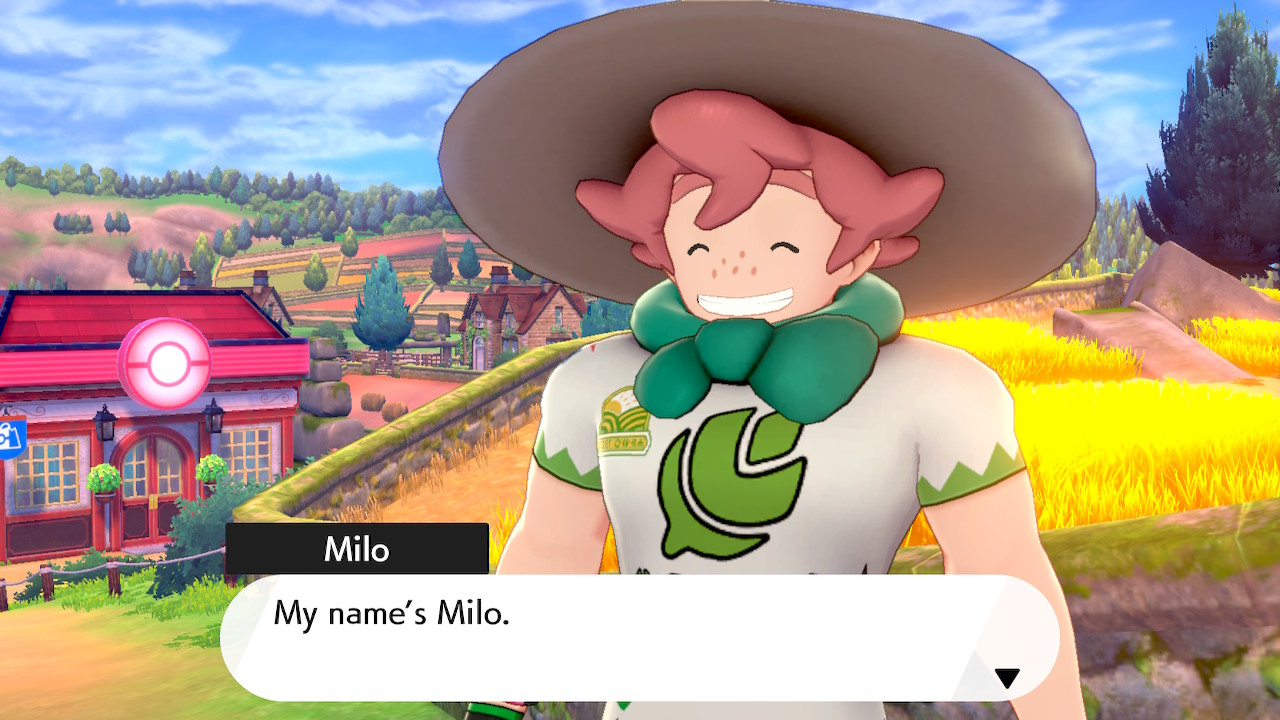
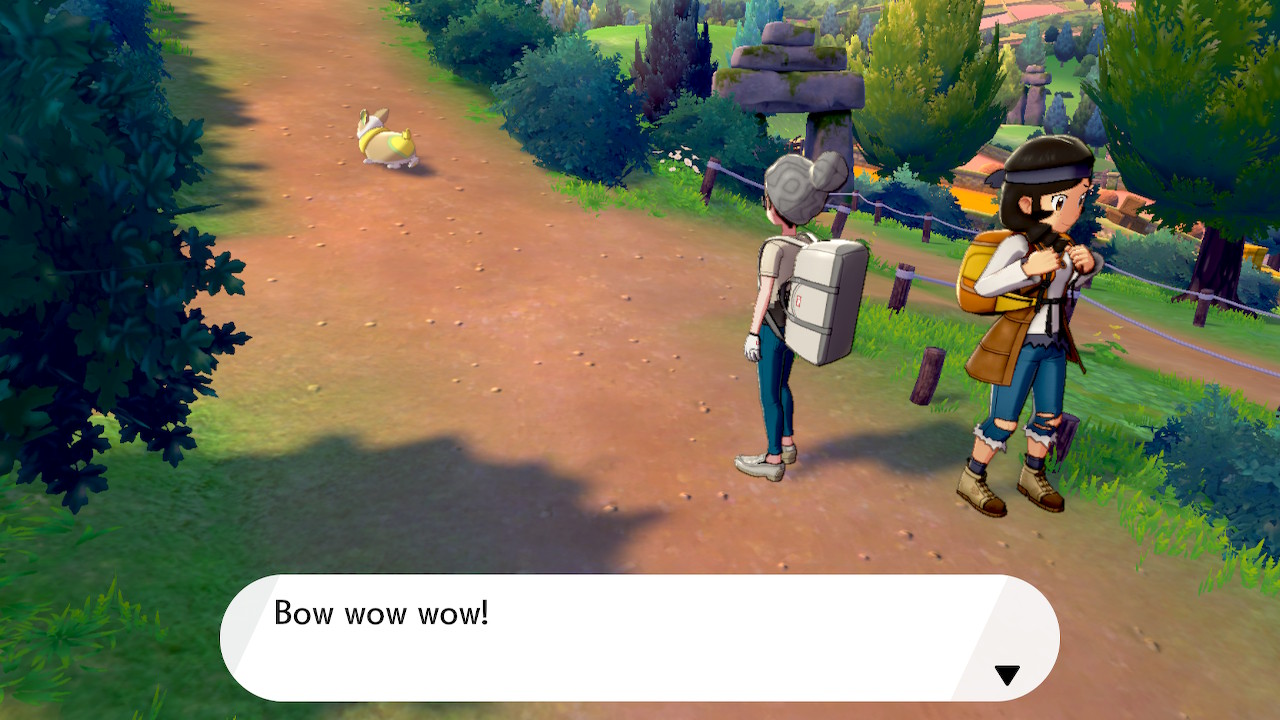
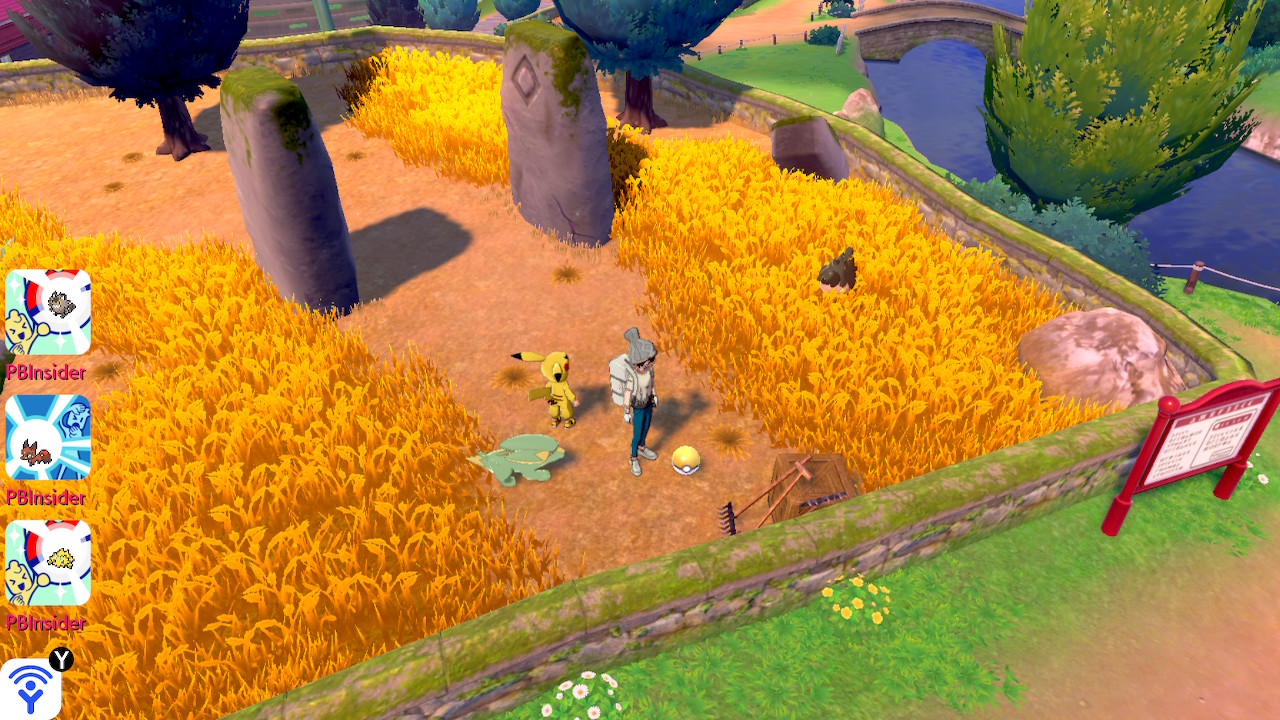
When you're finished exploring Route 4, head towards Turffield and you'll be stopped by Milo and his Wooloo. He'll reveal himself as the first gym leader. Afterward, head into town to meet up with Hop. He'll tell you that the wait for the gym challenge is long and you should go meet up with Sonia instead. Heal up at the Pokemon Center here and then follow the Yamper to the west.
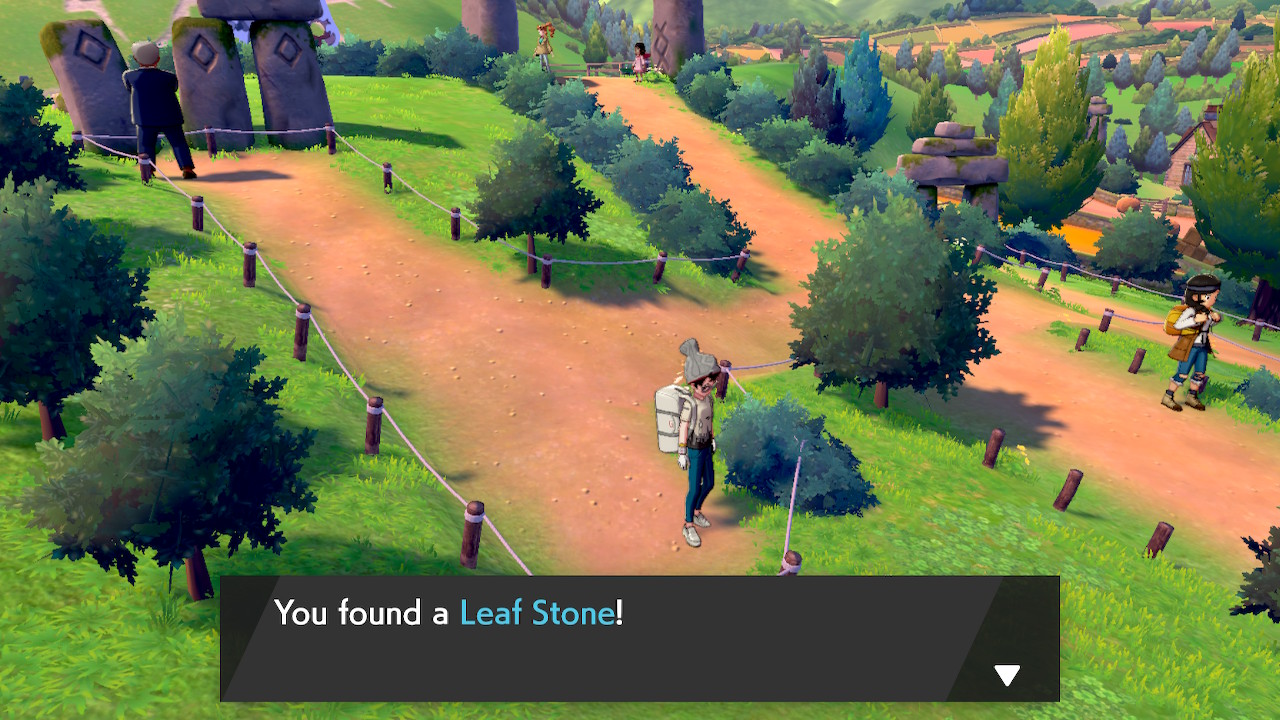
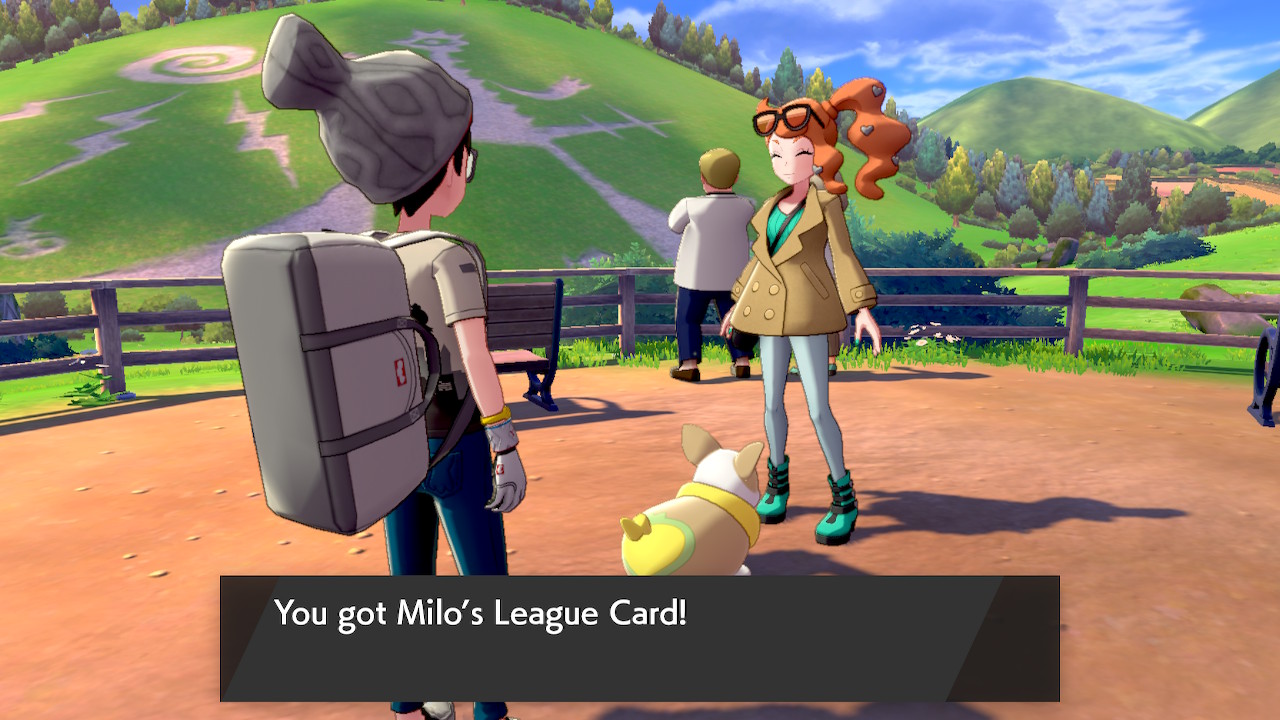
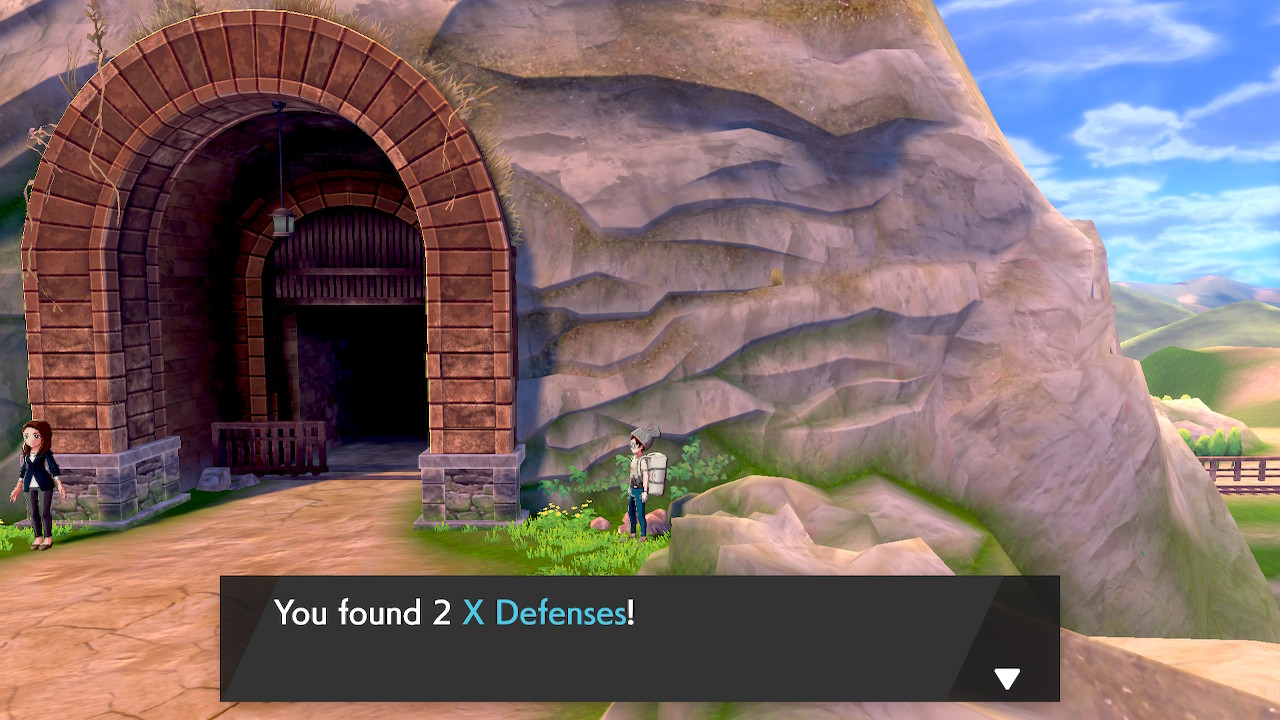
Follow him up the hill, stopping to pick up the 3 X Attacks from the item ball along the way. Across the trail from this, you can also find a hidden Leaf Stone. Once at the top of the hill, Sonia will point speak to you about some lore and give you Milo's League Card as well as 2 Revives. You can also pick up a hidden Fresh Water here.

Head back down from the hill and go east this time. Head past the closed off bridge and you can find a hidden Everstone to the right. Further down from here you can pick up TM97 - Brutal Swing. Wrap back around towards the gym and go left past the flower shop. You can pick up a Max Revive from an item ball here. We're now ready to take on the gym challenge, so head there and speak to Hop.
Turffield Gym
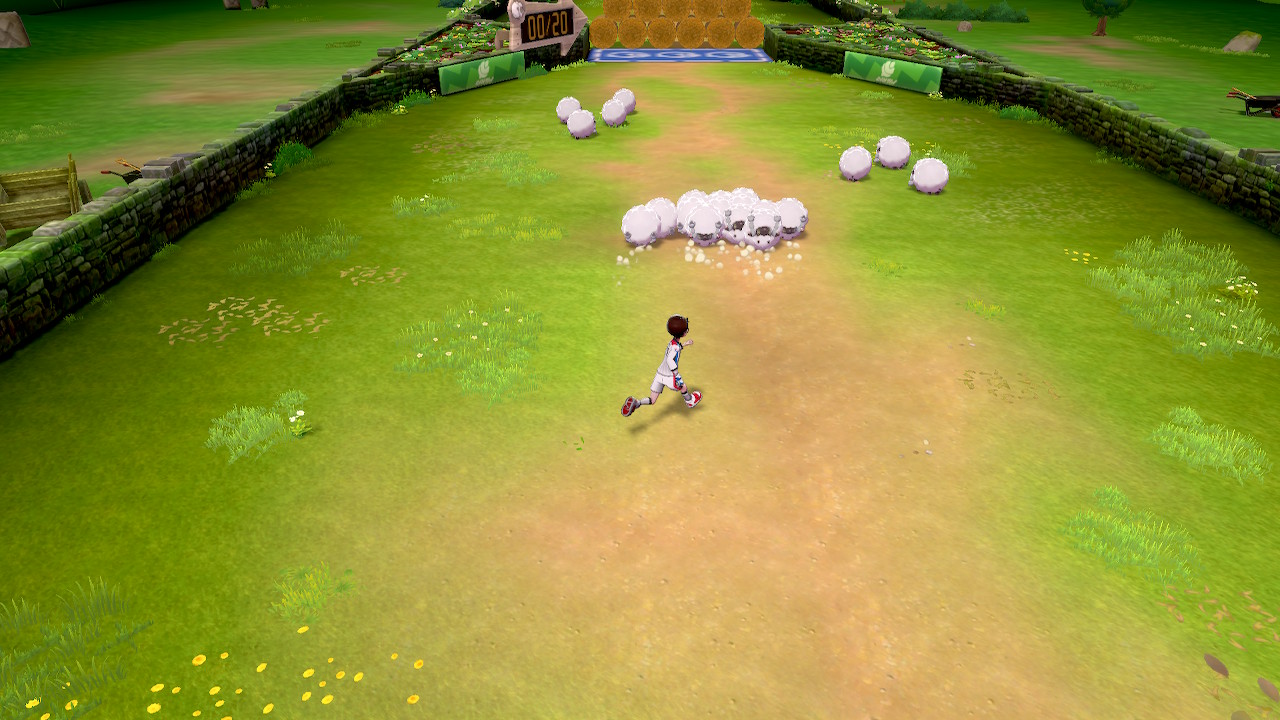
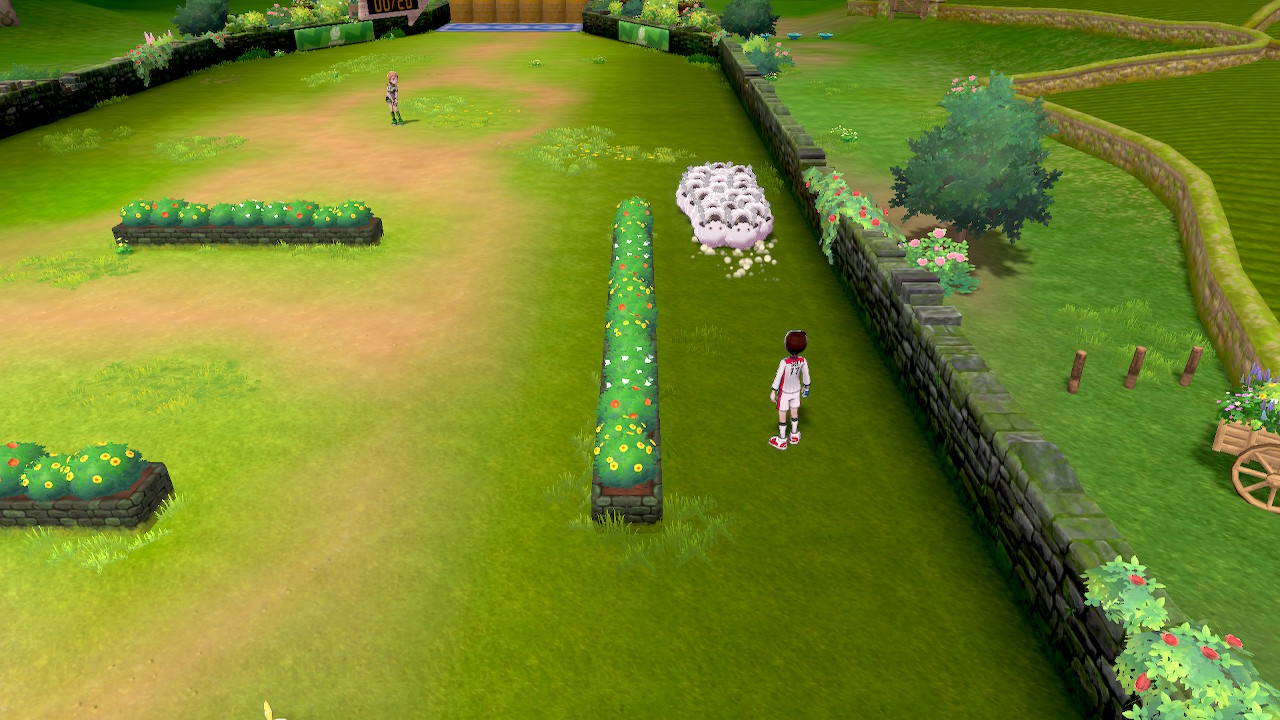
As it turns out, Hop already completed the challenge. Now it's our turn, so go ahead and head inside. The gym is Grass-type, so a strong Fire or Flying-type would serve you well. Speak to the woman guarding the door and she'll have you change into uniform so you can begin the gym mission. The gym mission is to herd some Wooloo through a series of obstacles. You'll need to watch out for Yamper that will scatter the Wooloo though.
Among the obstacles are battles with a couple gym trainers. They all have Grass-types in the mid-upper teen levels. After herding through a few obstacles, head up the stairs to get ready to face the gym leader. You'll find yourself in a gigantic stadium in front of a huge crowd.
Leader Milo
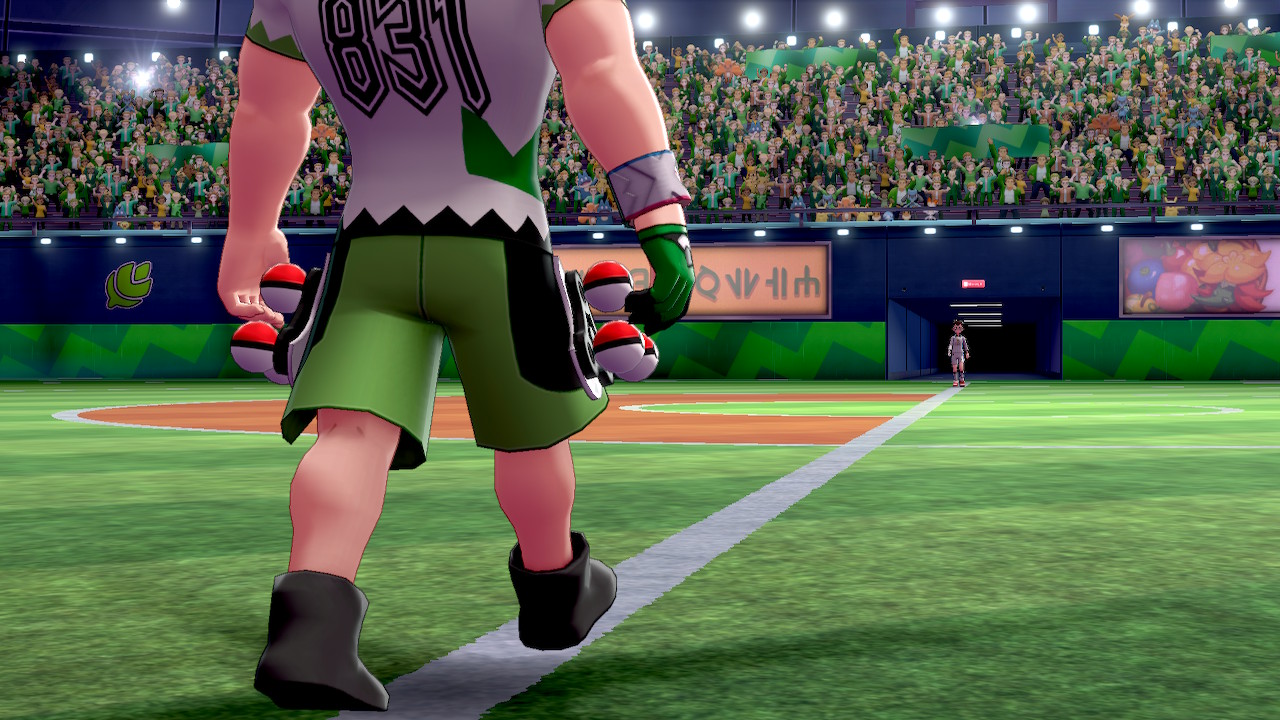

Gym Leader Milo has two pokemon: a Lv. 19 Gossifleur and a Lv. 20 Eldegoss. He will Dynamax his Eldegoss at the first opportunity, so you should do the same to your Pokemon in response. The battle is relatively straight forward. If you have the type advantage, use that and he shouldn't give you too much trouble. Afterward, you'll be rewarded with the Grass Badge, TM10 - Magical Leaf, and a Grass Uniform. Before exiting the gym, speak to the Ball Guy and get a Friend Ball as well.
Back to Motostoke City Continue to Hulbury Gym