Home > Pokemon Brilliant Diamond and Shining Pearl Walkthrough > Chapter 10: Post Game
Chapter 10: Post Game
Before Getting the National Pokédex
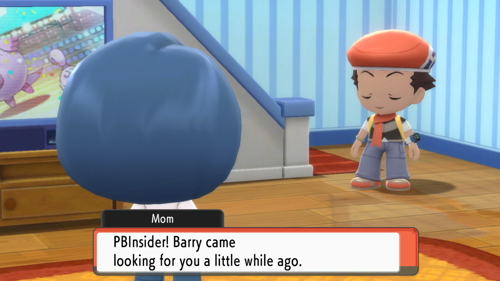
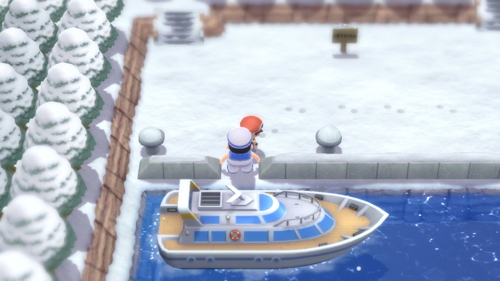
After beating the Elite Four and becoming the Pokémon League Champion, you'll find yourself back in your room. If you go downstairs your mom will tell you that your rival stopped by and was wanting to meet you at Snowpoint City. Go ahead and fly over there. If you head south of the city, you'll find a dock. Speak to the sailor here and he will take you to the Battle Zone.
Battle Tower
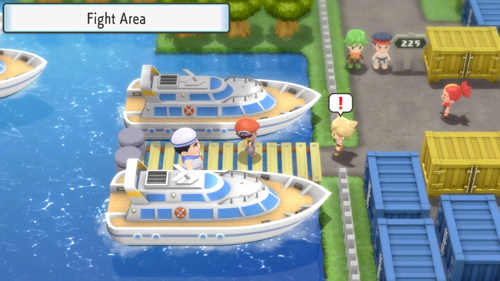
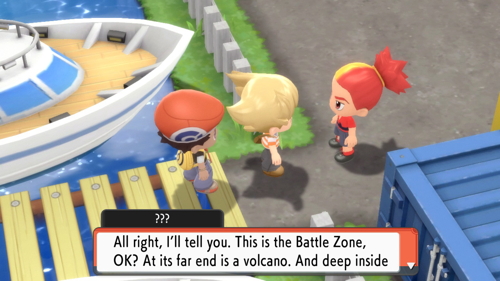
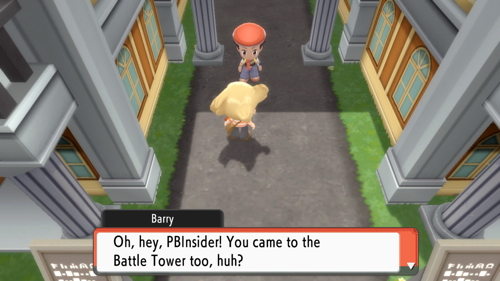
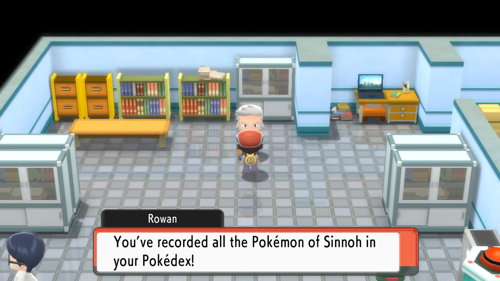
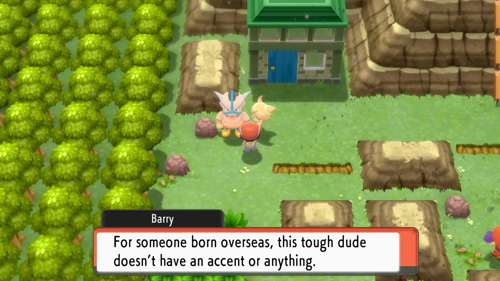
Here you will find your rival and another trainer named Buck. He'll mention that there is a treasure that can be found inside a volcano in this area, but the path there is full of tough trainers and Pokémon. To go north or east from here and reach the volcano, you actually need to have a completed Sinnoh Dex. To complete the dex, you just need to have seen every Pokémon from the Sinnoh region (you don't need to catch them all). Once you've done this, you can go get the National Dex from Professor Rowan. Once you have the national dex, you'll be able to access these areas.
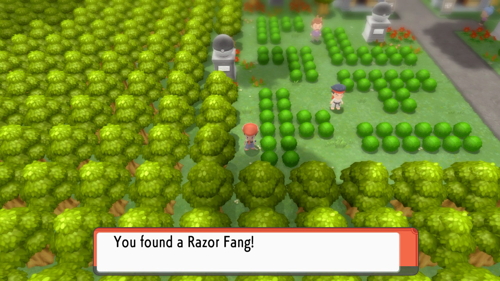
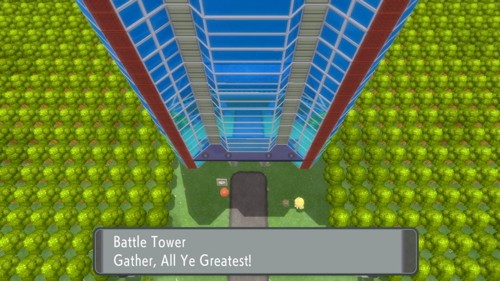
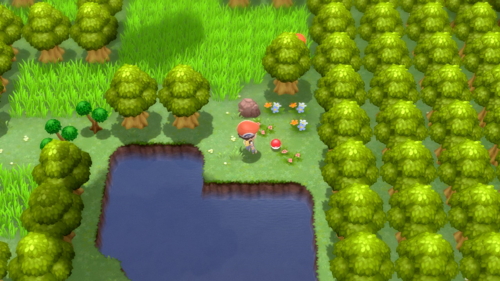
The only areas you can access now are the Battle Park and Battle Tower that you can find by taking the route gate to the north. Once you do, you'll be given a Point Card. You can use this to collect Battle Points (BP) by winning battles in the Battle Tower. You can then exchange these points for rare items here at the Exchange Service Corner. Once you enter the park, you can find a Razor Fang to the left.
You can go straight ahead into the Battle Tower if you'd like. Here you can participate in a series of battles (they don't yield exp) to practice your skills and earn BP. BP can be exchanged for useful held items, stat boosters, or TMs. This is completely optional and you can spend as much or as little time here as you'd like.
Completing the Sinnoh Dex
The majority of the post-game content can't be accessed until you've completed the Sinnoh Pokédex and gotten the National Pokédex. You'll have to refer to your dex to find out which Pokémon you need. Because you only need to see a Pokémon and not capture it, you don't need to trade with another version of the game at all. All the version exclusives can be registered if you simply battle every trainer in the game. You should hopefully have already battled most of them at this point anyway.
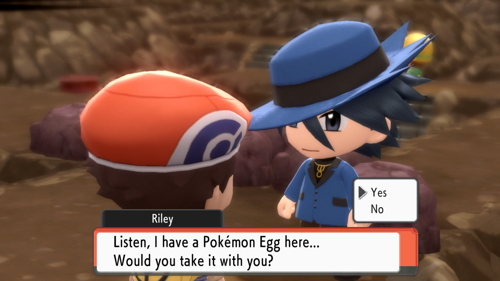
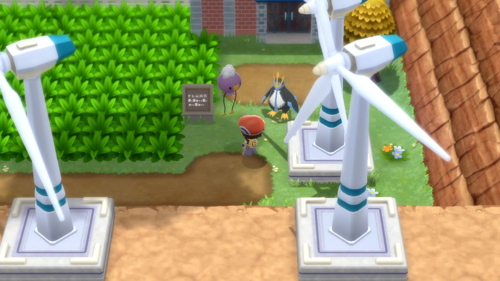
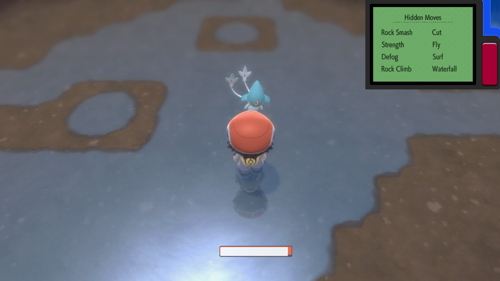
There are a couple tricky Pokémon to find. If you visit Celestic Town you'll find Cynthia's grandma's house. She will show you a picture of either Dialga or Palkia, depending on which game you have. To see (and catch) a Drifloon, you'll need to visit Valley Windworks on a Friday. To get a Riolu, you'll want to head to Iron Island by talking to the sailor in Canalave City. If you navigate through the cave there, you'll receive a Riolu egg. You should be able to get the rest of the Pokédex by just battling wild Pokémon and trainers.
However, there are a trio of legendary Pokémon that you'll need for your Pokédex that we haven't covered yet in this guide: the lake trio, Azelf, Mesprit, and Uxie. These have been available since capturing your title legendary at Spear Pillar, so you may have already gotten them. If not, now is a good time to do so.
Azelf
To capture Azelf, you'll want to head over to Lake Valor. The quickest way to get here is to fly to Pastoria City and head east. When you get there, surf out onto the lake and then enter the cave in the middle. Make sure to save before approaching Azelf. It is Lv. 50 and Psychic type. Because it is in a cave, the best way to catch it is to throw Dusk Balls. But it's always a good idea to try a Quick Ball on the first turn of the battle.
Uxie
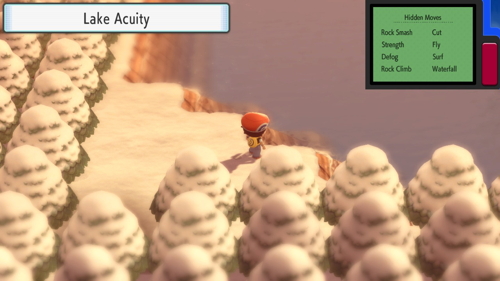
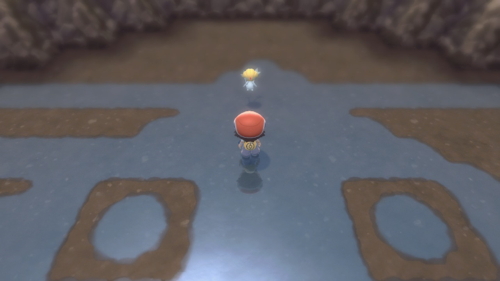
To capture Uxie, you'll want to head over to Lake Acuity. The quickest way to get here is to fly to Snowpoint City and head west. When you get there, surf out onto the lake and then enter the cave in the middle. Make sure to save before approaching Uxie. It is Lv. 50 and Psychic type. Because it is in a cave, the best way to catch it is to throw Dusk Balls. But it's always a good idea to try a Quick Ball on the first turn of the battle.
Mesprit
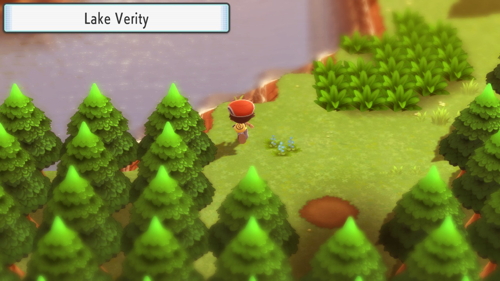
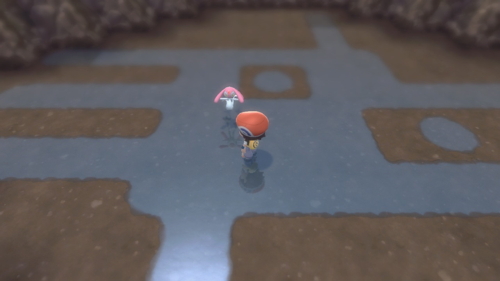
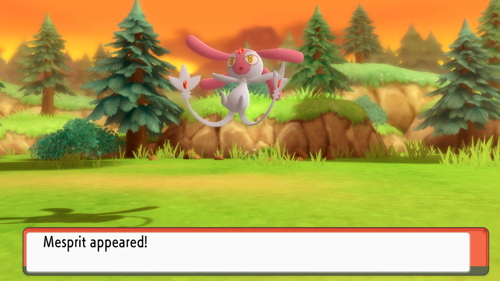
To capture Mesprit, you'll want to head over to Lake Verity. It's right next to Twinleaf Town, so fly over there. When you get there, surf out onto the lake and then enter the cave in the middle. Unlike the other two, Mesprit will actually flee the scene when you approach it. Professor Rowan will show up and explain the situation. You'll actually need to get a Pokétch app and track Mesprit across Sinnoh in order to catch it.
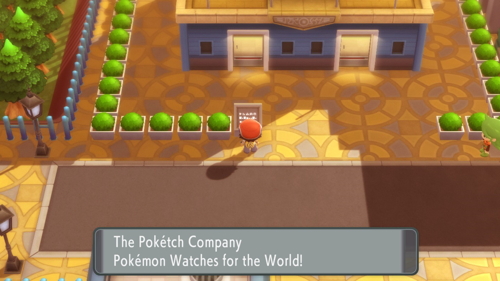
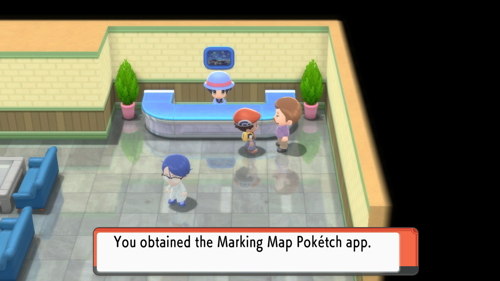
If you don't have the Marking Map Pokétch app yet, head over to the west side of Jubilife City to the Pokétch Company building. Speak to the president on the first floor here and he'll give it to you.
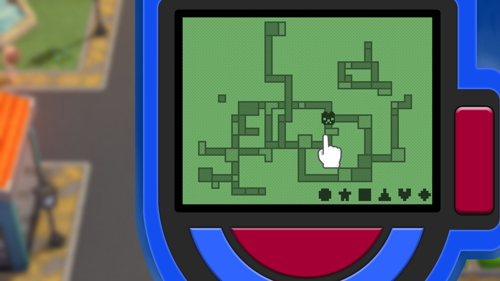
When you use this app, it will show you the route that Mesprit is currently on. However, every time you fly anywhere the location will change. So a good strategy is to keep flying to a fairly central location (like Hearthome City) until Mesprit appears on a route within walking distance. Once you are on the same route, you'll just want to find some tall grass and Mesprit will appear shortly. However, Mesprit will flee the battle after one turn, so you'll either want to use your Master Ball or bring a Pokémon that knows a move like Mean Look with you. Honchkrow is a great choice considering its typing is also resistant.
After Getting the National Pokédex
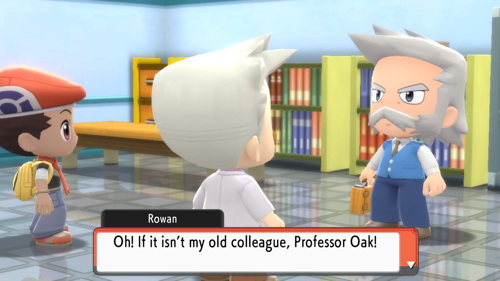
To actually receive your National Pokédex after completing the Sinnoh dex, simply head back to the lab in Sandgem Town and speak with Professor Rowan. Once you do, Professor Oak will show up and your Pokédex will be upgraded to the national dex, which includes every Pokémon from generations 1-4.
Stark Mountain and Getting Heatran
Route 225
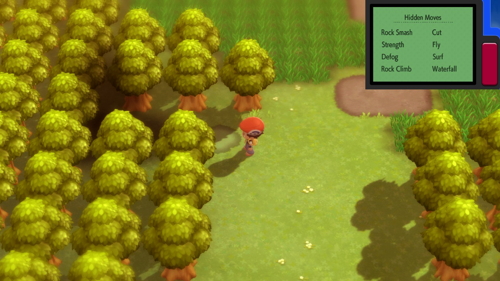
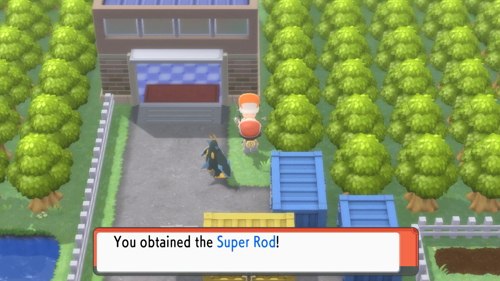
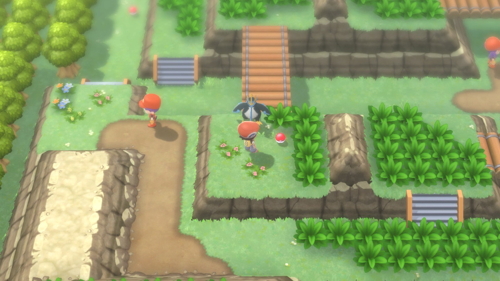
With the National Dex in hand, we can now fly back to the Fight Area and the path to the north will no longer be blocked. You can speak to the fishermen here to get a Super Rod. Then head north onto Route 225. There's a bunch of little forks in this route that lead you to rare items if you use HMs like Cut or Rock Climb. This route twists and turns across bridges and around obstacles, but if you follow the path of trainers you'll reach a house. You can grab a Fresh Water inside if you want.
The path will then wrap around to the right and you'll arrive at the Survival Area. There is a Pokémon Center and a Poké Mart here that you can stop and refresh at. If you speak to the man in the house to the south you'll get three copies of TM42 - Facade. Afterward, continue east onto Route 226.
Route 226
Ignore the rock climb path to the north, it leads to nothing. Instead, take the path to the right and just follow the various rock climb paths. When you get to the high platform with two paths down, you can take the right one to find a copy of TM53 - Energy Ball. You'll eventually come to a spot where you'll need to surf to the east. Once back on land, head north to find Route 227.
Route 227
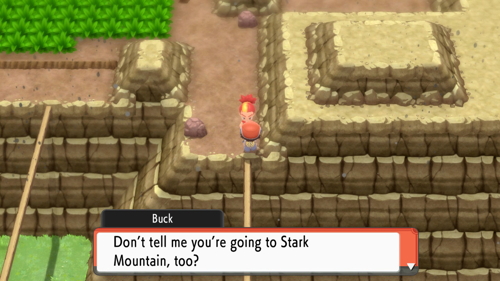
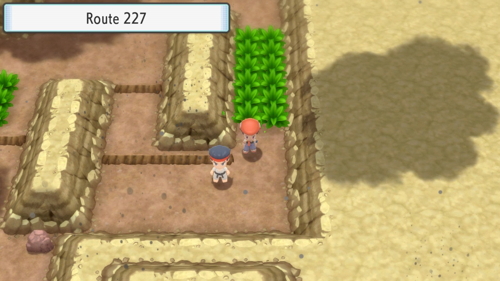
On this route, you'll need to use your bike and the ramps here to jump over some rocks. Keep heading left and you'll run into Crasher Wake and your rival. Your rival will run off ahead. You can heal up at the house here if you'd like. Continue ahead across the narrow bike bridge and you'll run into Buck who will also run up ahead. Take the path through the grass to the right here. Continue ahead and you'll soon find a cave entrance to Stark Mountain.
Stark Mountain
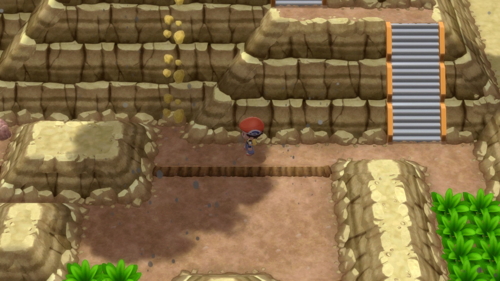
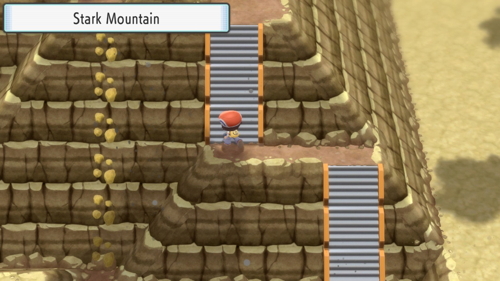
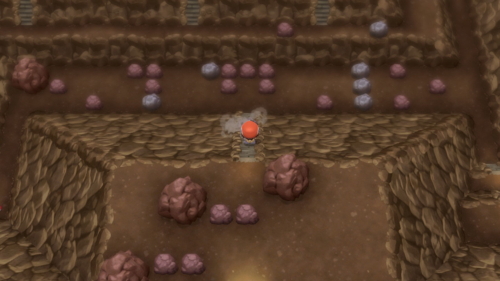
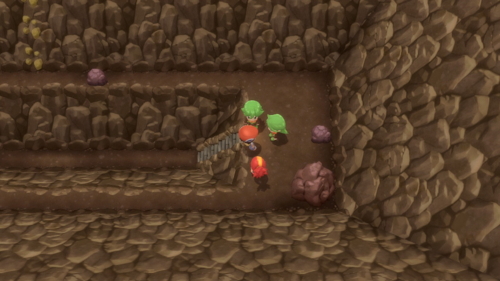
Once inside, you will be immediately presented with the opportunity to use a lot of HMs to navigate through this floor. You can push boulders down staircases with strength. At every fork in the road you can pretty much find a rare item. Take the path to the right and then climb up the cliffs here and head into the next room.
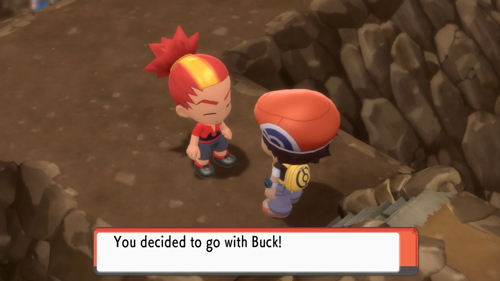
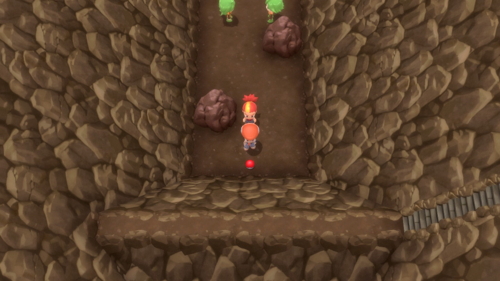
Continue ahead and you'll run into Buck, who just beat your rival in a battle. Rather than battling you, he'll actually team up with you. He'll follow you around and participate in double battles. He'll also heal your team after every battle. However, you won't be able to Rock Climb or Surf while he is with you. The path ahead is quite maze-like and confusing. But, the side paths pretty much all lead to good items, so it's not a bad idea to just explore everywhere.
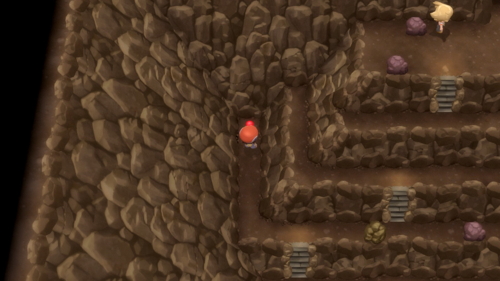
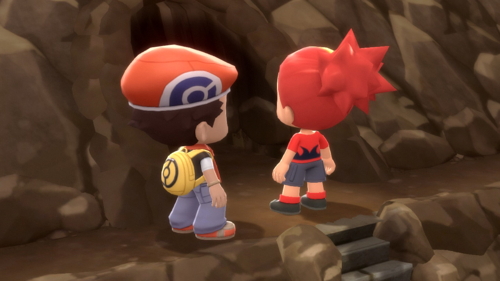
If you take the top left path, it leads to a copy of TM50 - Overheat. The actual path ahead can be found by first heading to the right and then back left towards the middle. You'll basically have to make a loop all the way around the outside path on the left. There will be a rock to smash and a boulder to move when you get close to the exit. When you do reach the exit, Buck will go in ahead of you.
Catching Heatran
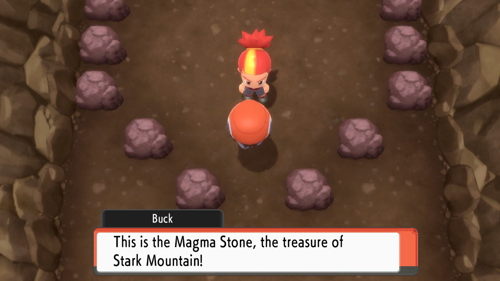
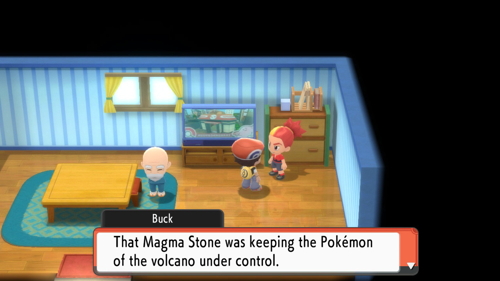
Buck will pick up the Magma Stone, and then leave. At this point, we'll need to chase him down. Go ahead and exit the mountain, you can use an escape rope if you have one. Fly back to the Survival Area and enter the house to the left of the Pokémon Center. Speak to Buck here, who will actually agree to put the Magma Stone back. You now need to backtrack and get back to the final room of Stark Mountain. This also presents a good opportunity to collect the items you needed to use rock climb to reach.
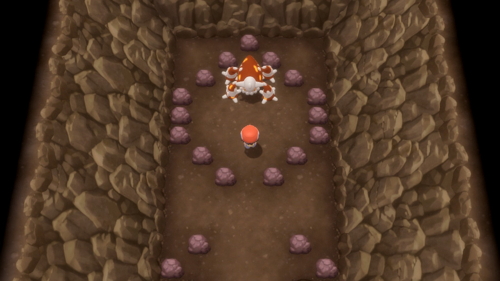
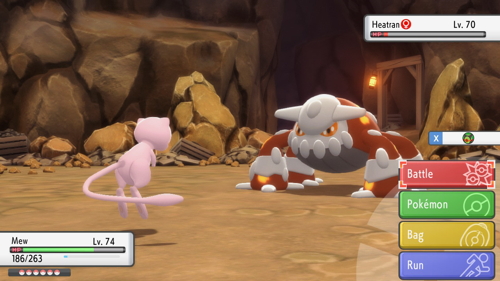
When you make it back to the room, Heatran will be waiting for you. Make sure to save the game before you approach it. It's Lv. 70 and a Fire/Steel type. Like most legendaries, the best way to catch it is to start with a Quick Ball at the start of the battle. If that doesn't work, weaken it as much as you can, inflict status conditions, and then use Dusk Balls. After ten turns of the battle, you can switch to Timer Balls if you have them. It's pretty difficult to catch, but if you stick to this strategy, you should get it eventually.
Route 228
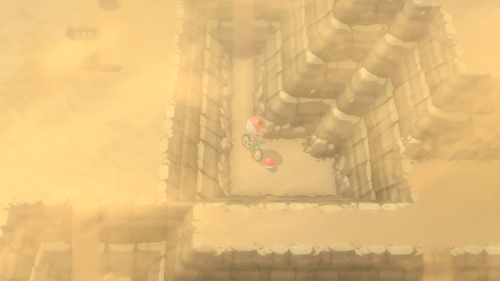
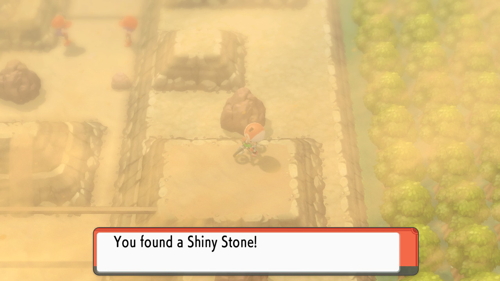
After catching Heatran, you'll want to backtrack south through Route 227. You'll eventually reach a route gate that leads east onto Route 228. This is a desert route that is constantly experiencing a sandstorm. Like the other routes in this area, there are many rare goodies and tough trainers across the entire route. There are a number of slopes that require you to use your bike's faster gear to make it up. If you climb up one in the top-right corner you can follow the bike path to find a Shiny Stone.
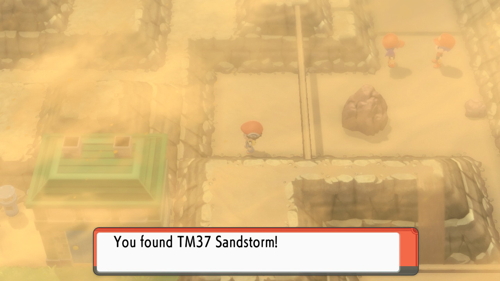
There is a small oasis in the route where you can find a house. The man inside can teach your starter Pokémon a very powerful STAB move if you'd like. Just south of this area you'll run into a double battle. Right after that you'll find a copy of TM37 - Sandstorm. Continue south for awhile and you'll be out of the desert.
Resort Area
Route 229 is short and sweet. There are a few trainers to battle if you want, but otherwise you can pretty much just head straight south into the Resort Area. Once here, the main building is called the Ribbon Syndicate. To enter it, you must have ten ribbons on your current Pokémon party. If you do, you can buy some very expensive ribbons here or get massages to increase the happiness of your Pokémon.
Ramanas Park
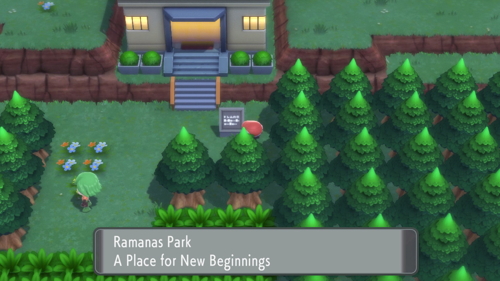
New to these remakes is Ramanas Park, an area where you can catch many legendary Pokémon from past generations. Which Pokémon are available will differ depending on the version of the game you have.
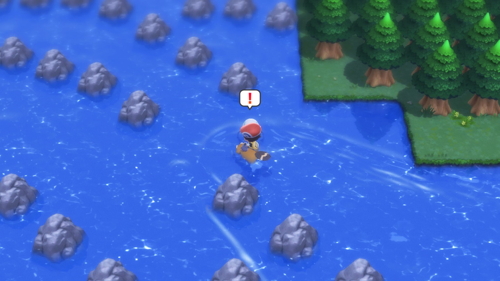
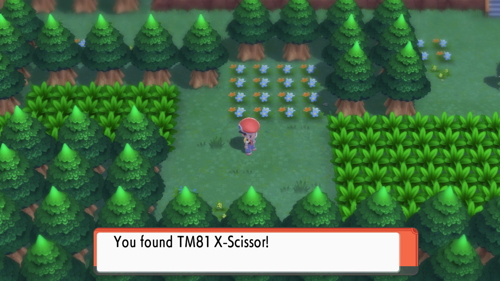
To reach the park, fly to Sandgem Town and then surf south onto Route 220. There are many trainers here you can battle if you'd like, but they will be very weak for you at this point so you're probably better off skipping them. The route will turn into Route 221 as you begin to head east. On the lower path of this route you can find a copy of TM81 - X-Scissor. Continue a little further and you'll arrive at Ramanas Park.
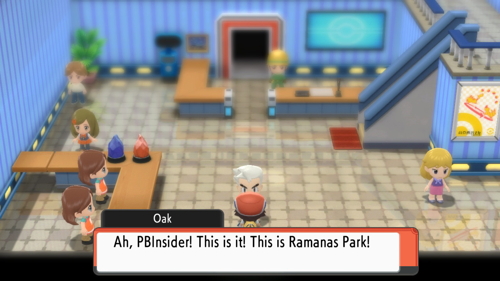
Enter the building and you'll find Professor Oak. He'll install a Chain Couter Pokétch app that can help you find shinies. From here, you can enter the park to catch several legendaries. We won't cover this in detail here, instead check out our Legendary Pokémon guide for how to get each one. There are a few other legendaries outside of the park that you can check out on that page as well.
Back to Pokémon League
