
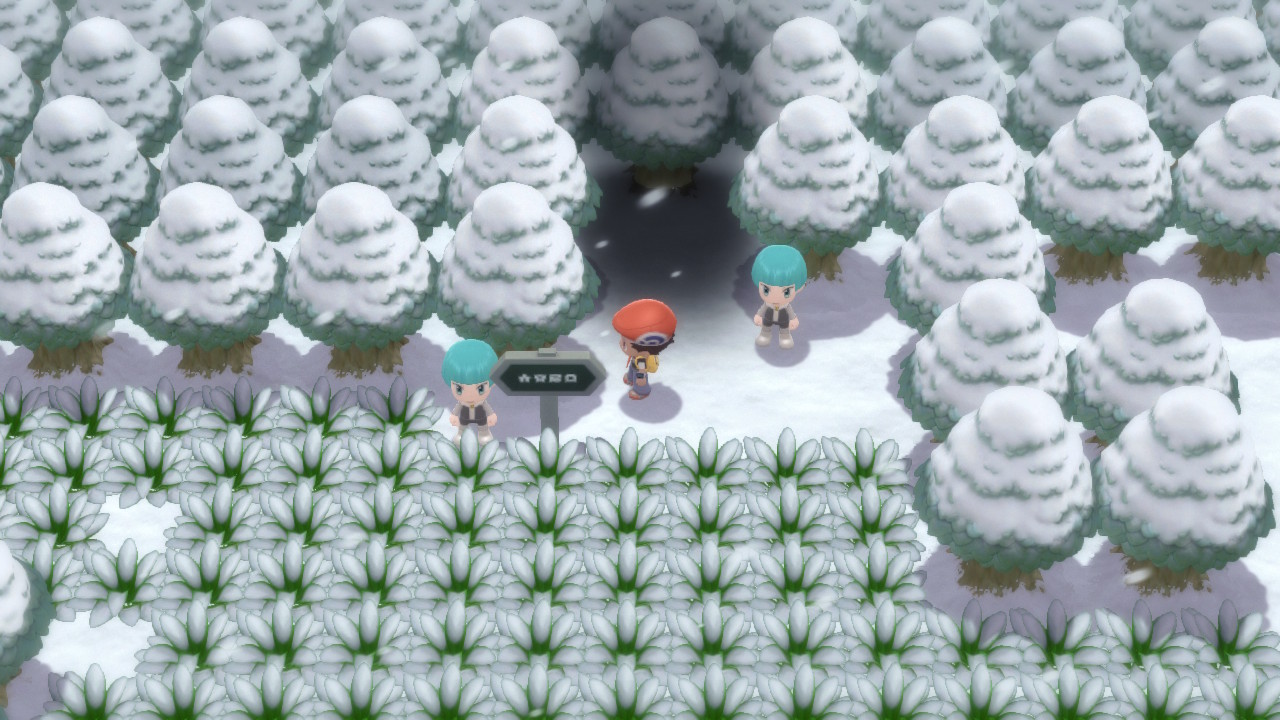
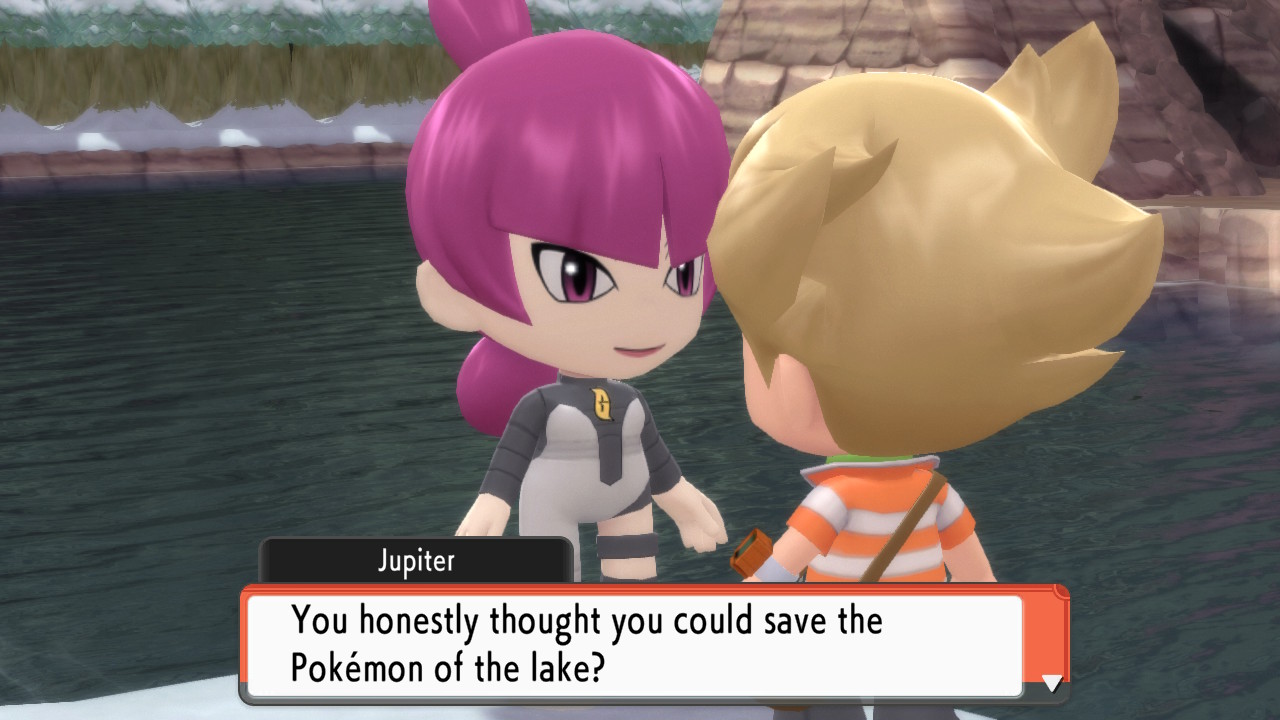
After defeating the gym, there's absolutely nothing else to do in Snowpoint City. So, go ahead and heal up and then head west of town back to Acuity Lakefront. The Galactic Grunts that were guarding the entrance before will not let you continue ahead to Lake Acuity. Here you'll find your rival and Galactic Commander Jupiter, but she will quickly flee back to the Galactic Headquarters in Veilstone City.

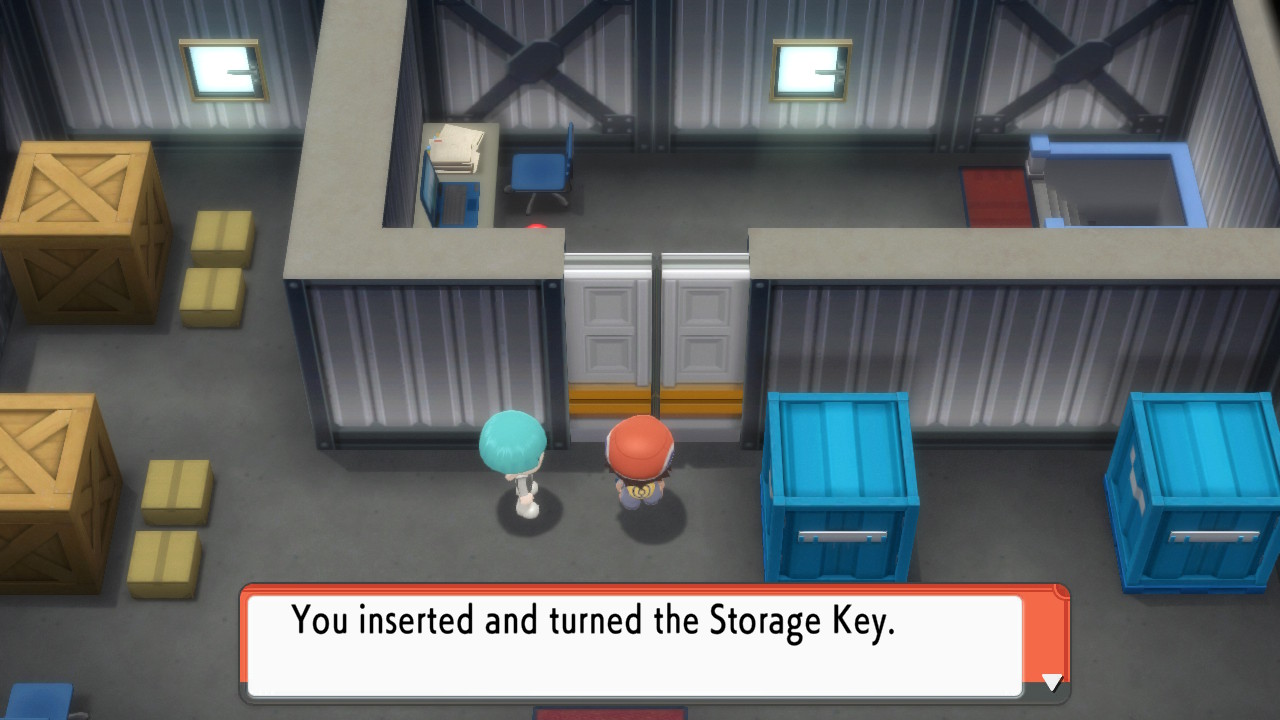
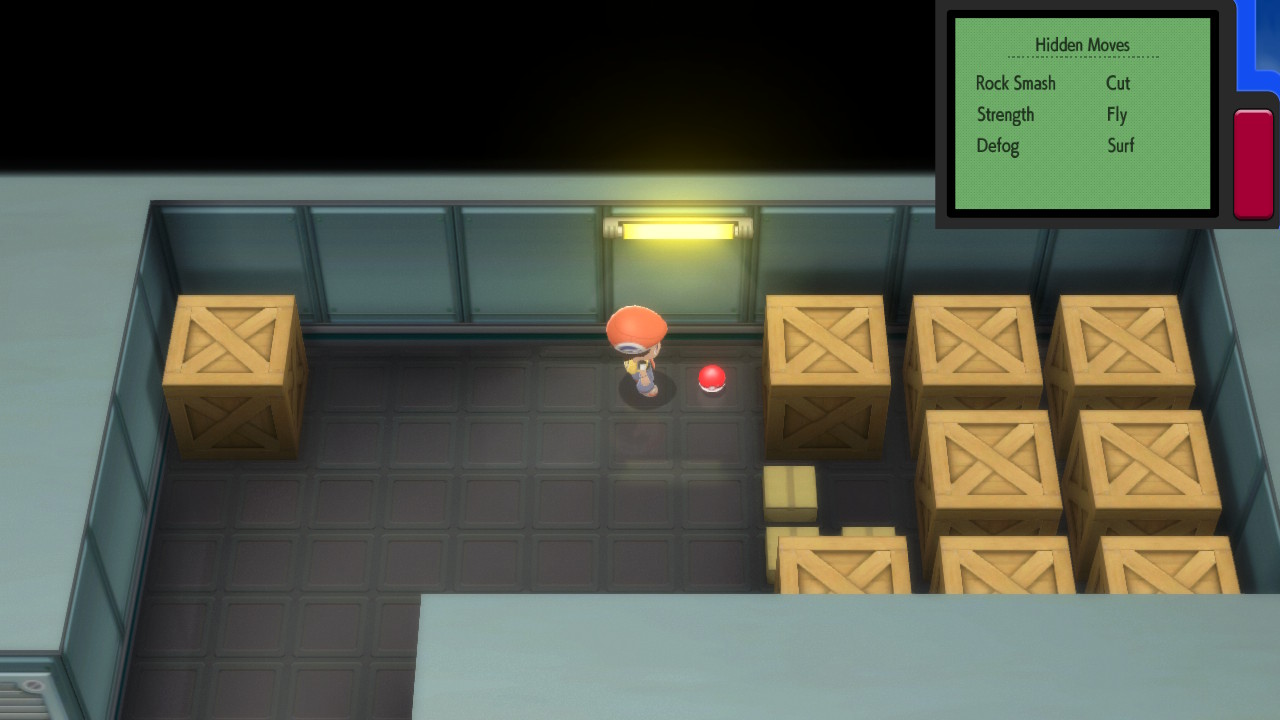
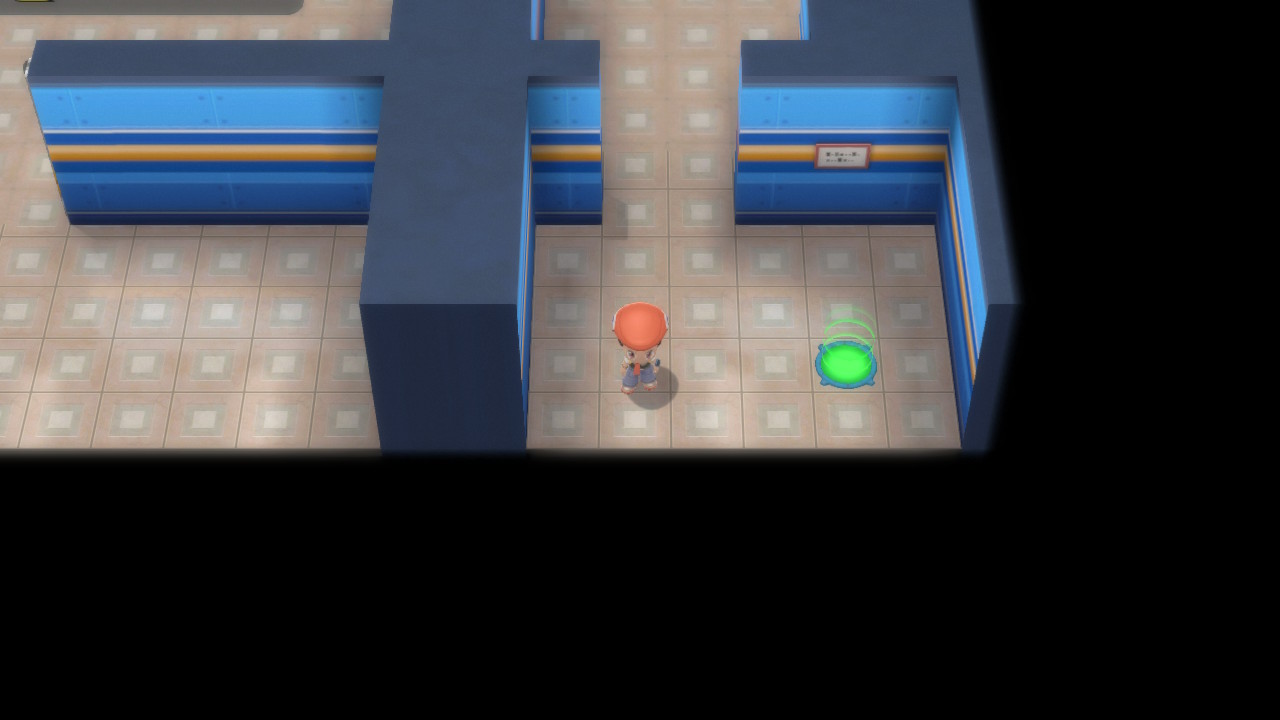
That's our next destination, so go ahead and fly to Veilstone City. Head to the Galactic Veilstone Building (HQ) north of the Pokémon Center. Speak to the grunt before heading in and he will flee but leave behind the very important Storage Key. You can use this inside the warehouse that is adjacent to the headquarter building to the west. Once inside the storage, you can pick up the Dusk Stone here right away. Then head down the stairs to find a path to penetrate the headquarters.
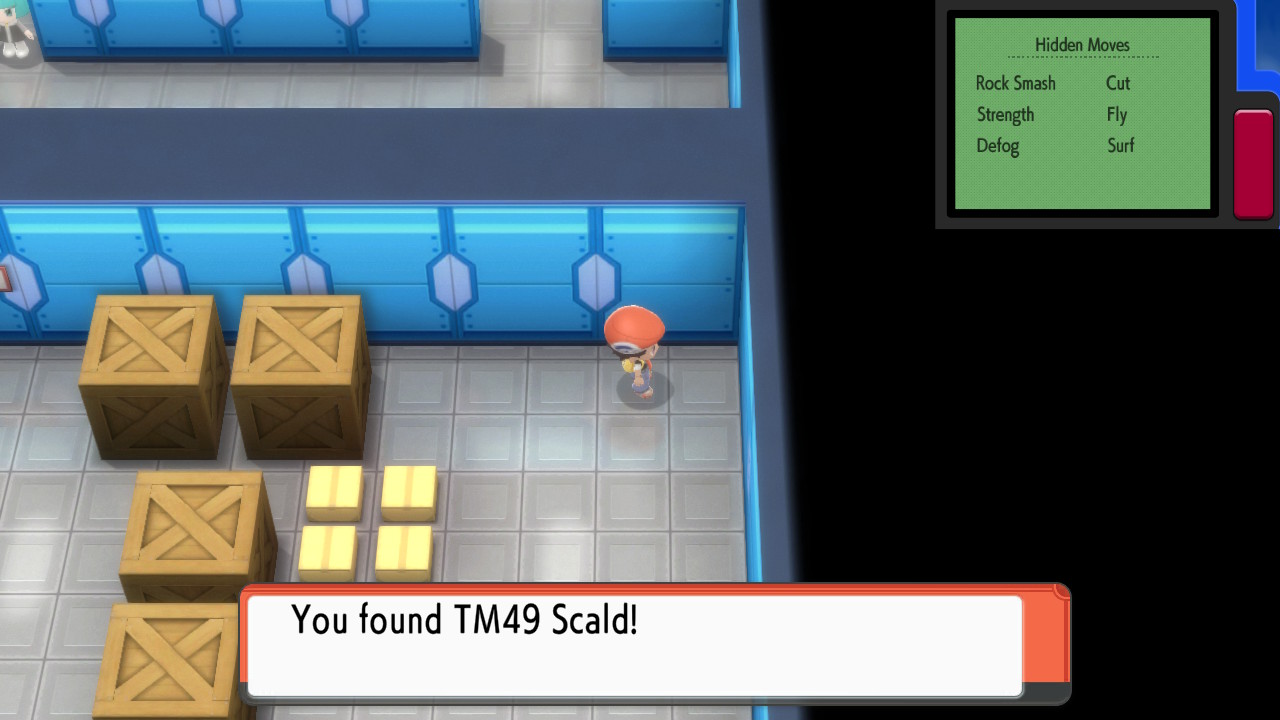
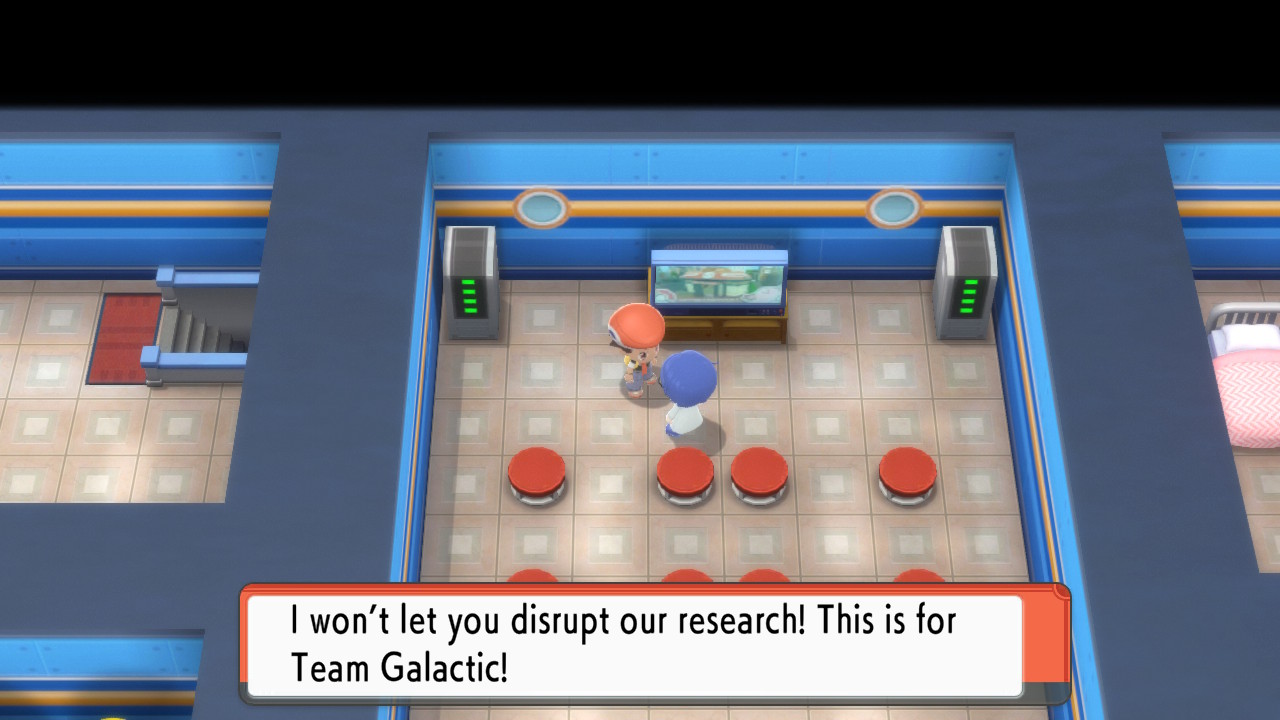
Head right down this long hallway where you'll need to pass and defeat two grunts before heading up some stairs. Head up a second set of stairs and defeat another grunt here. Take the right warp portal first to find a copy of TM49 - Scald. Head back and take the left portal now. Take the next portal here and then head up the stairs.
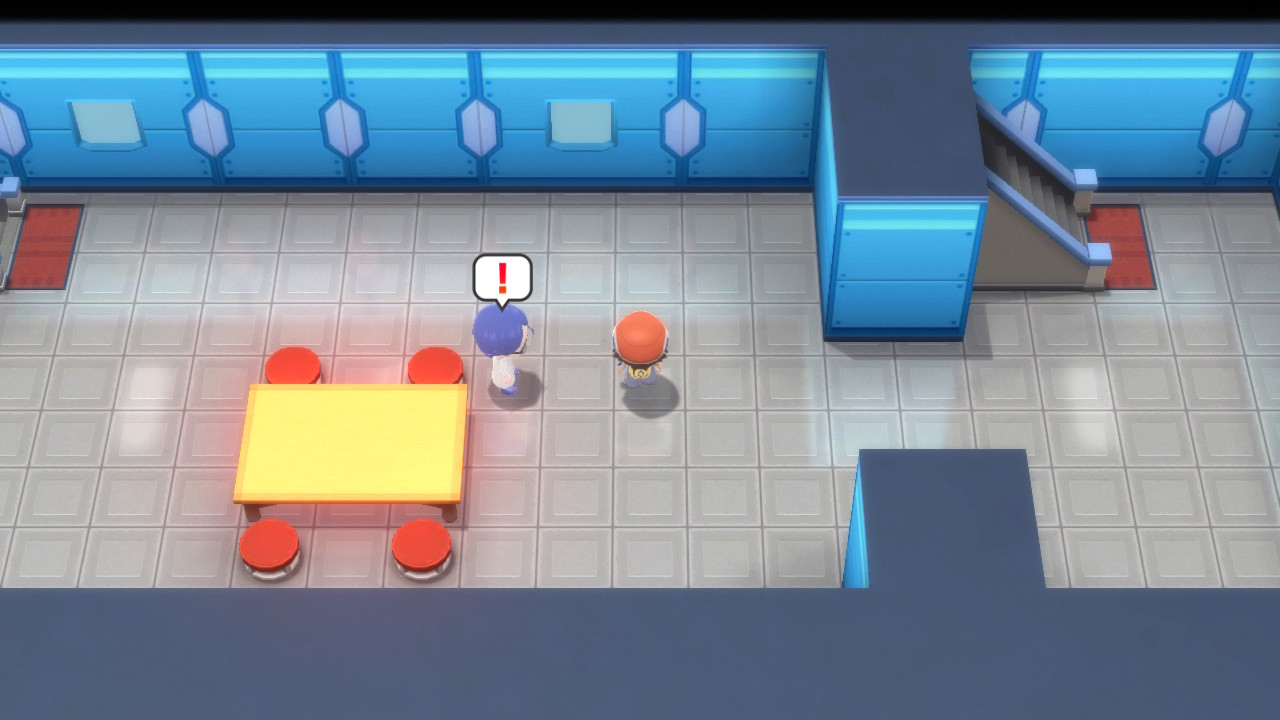

In this room, head left and take the warp portal and then go down the stairs. There's a scientist to defeat here, and then take another set of stairs down. You'll find yourself back in the basement. Head left and pick up a copy of TM36 - Sludge Bomb and a Galactic Key. You can use it to open the door here to make a shortcut back to town where you can heal up if you want.
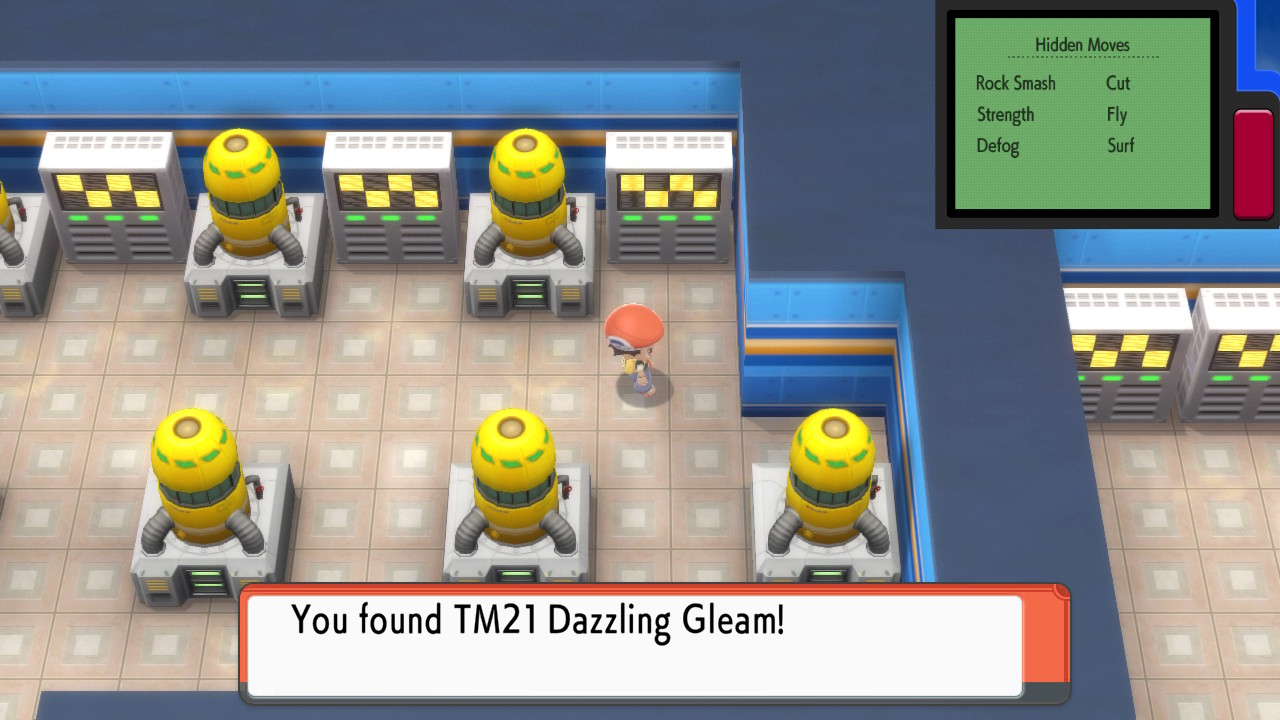
Once back in the room with one grunt and two staircases, take the right stairs up a floor. Follow this hallway past two grunts and use your key to open the door here. Inside this room you'll find TM21 - Dazzling Gleam. It seems like there is nowhere else to go, but we can actually enter the headquarters from the main entrance now that we have the key. Enter through the center and then open the door straight ahead. Head up the stairs.
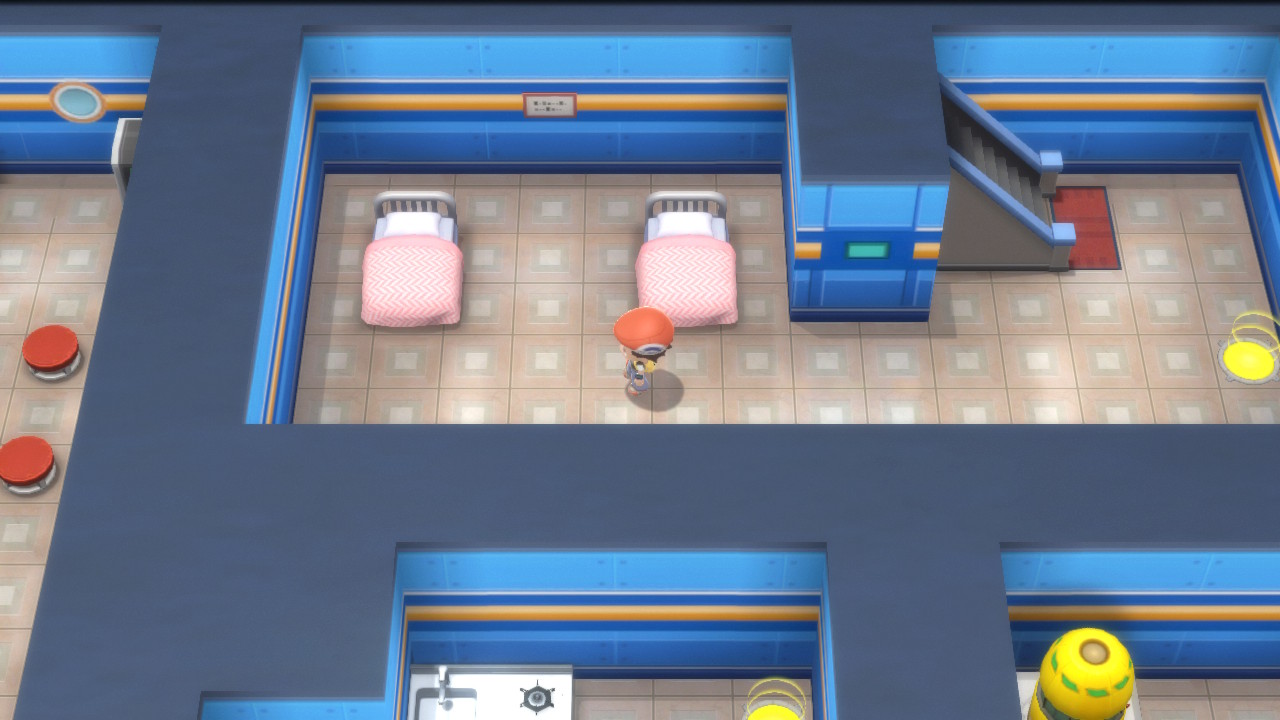
Continue along this path and battle the two grunts here. If you head all the way to the right, you can take the bottom warp panel and then follow the path of warps to a Max Revive. Head back and enter the TV room and take the warp panel there. There is a bed here that you should use to heal. Then, head up the stairs.
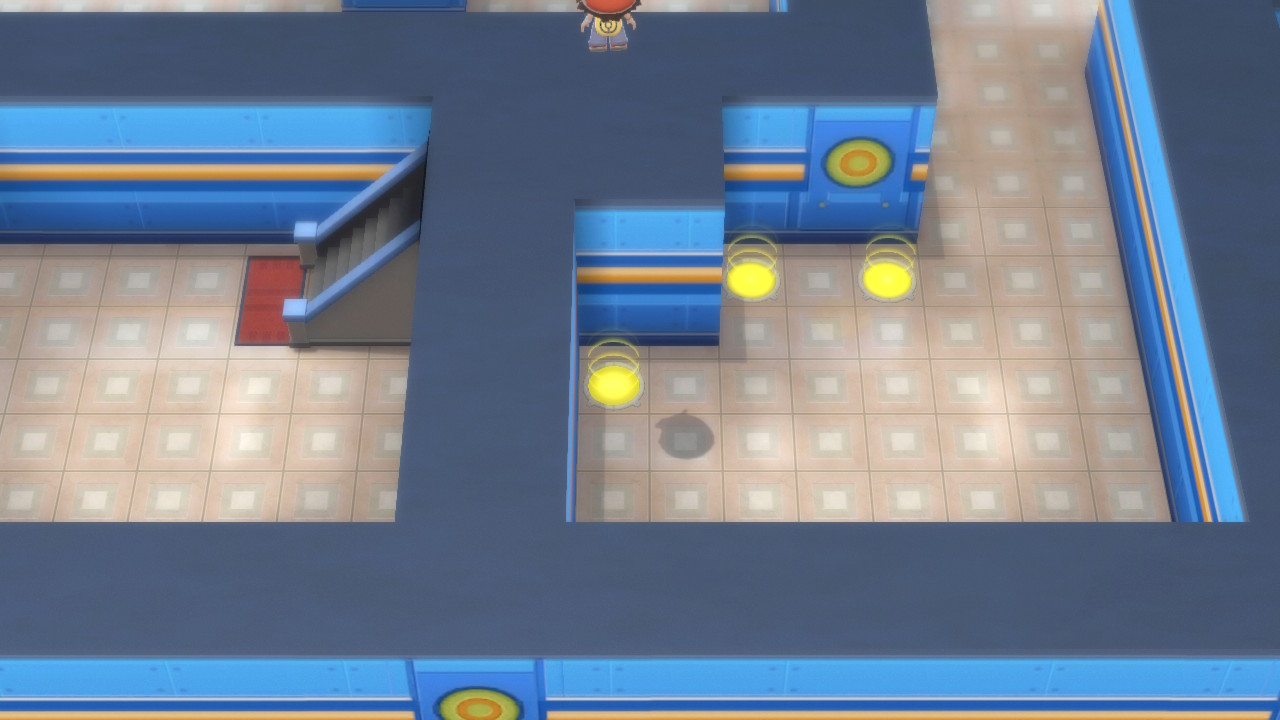
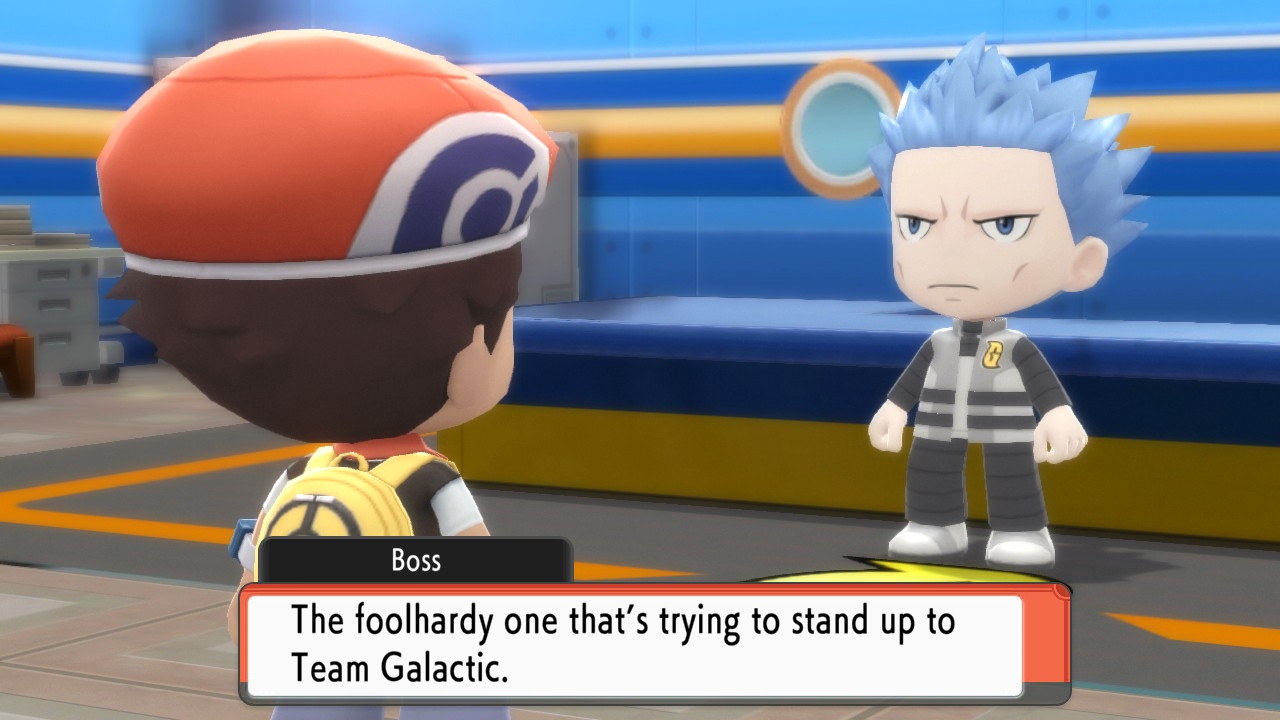
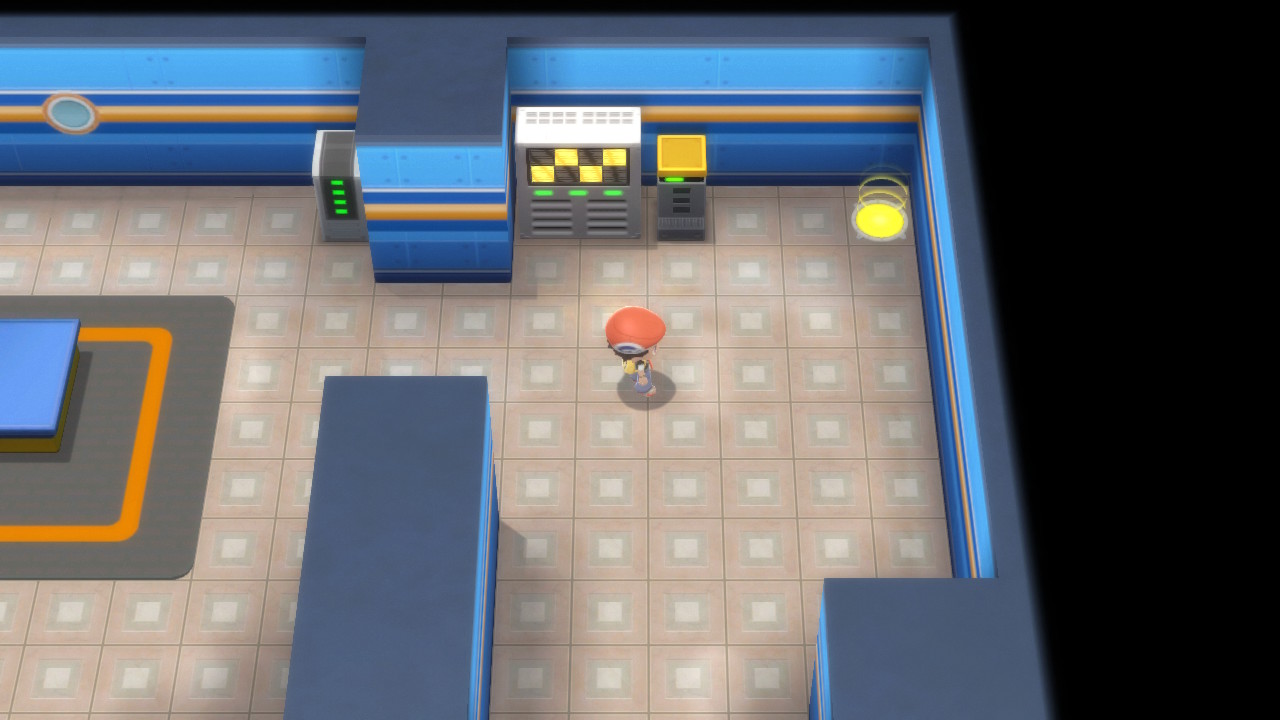
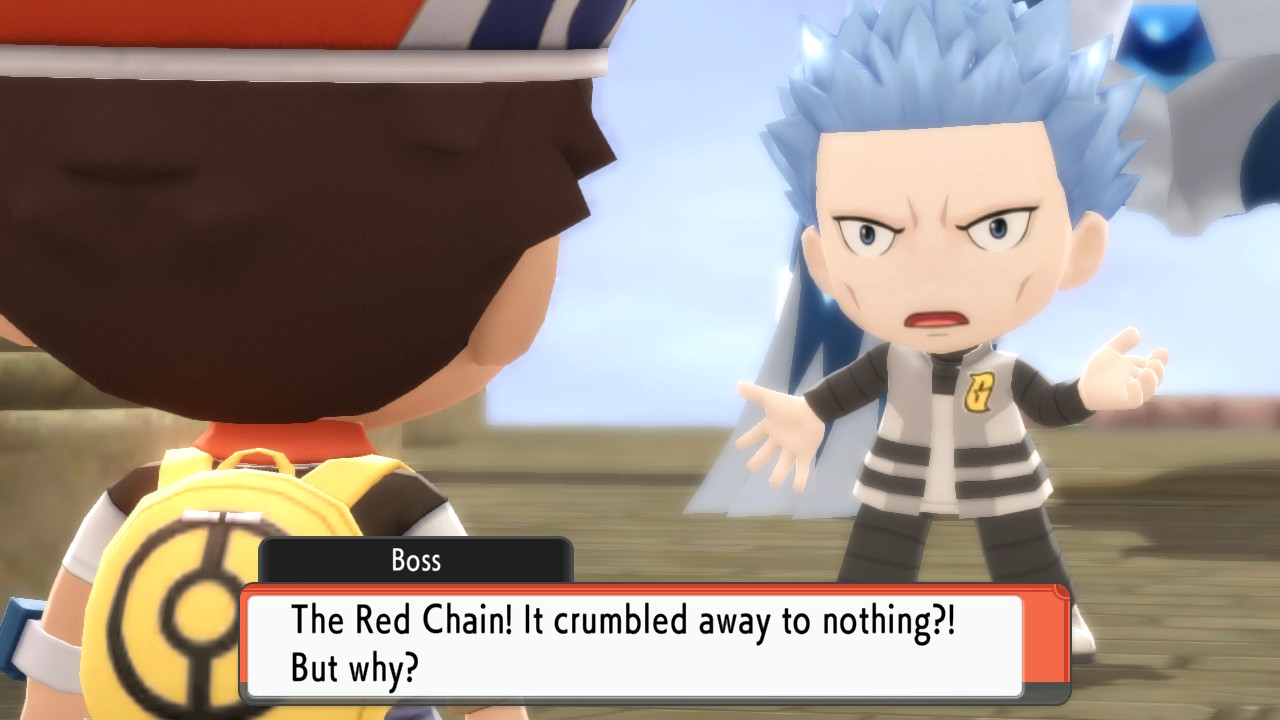
There are two grunts here you'll need to defeat in a double battle. If you take the middle of three portals you can pick up an Elixir. Take the left portal and head up the stairs. Head through the door and get ready to take on Galactic Boss Cyrus. He has a Lv. 40 Murkrow, a Lv. 40 Golbat, and a Lv. 43 Sneasel. It should be a pretty easy fight at this point, but you should keep in mind that he will use a few Super Potions if given the opportunity.
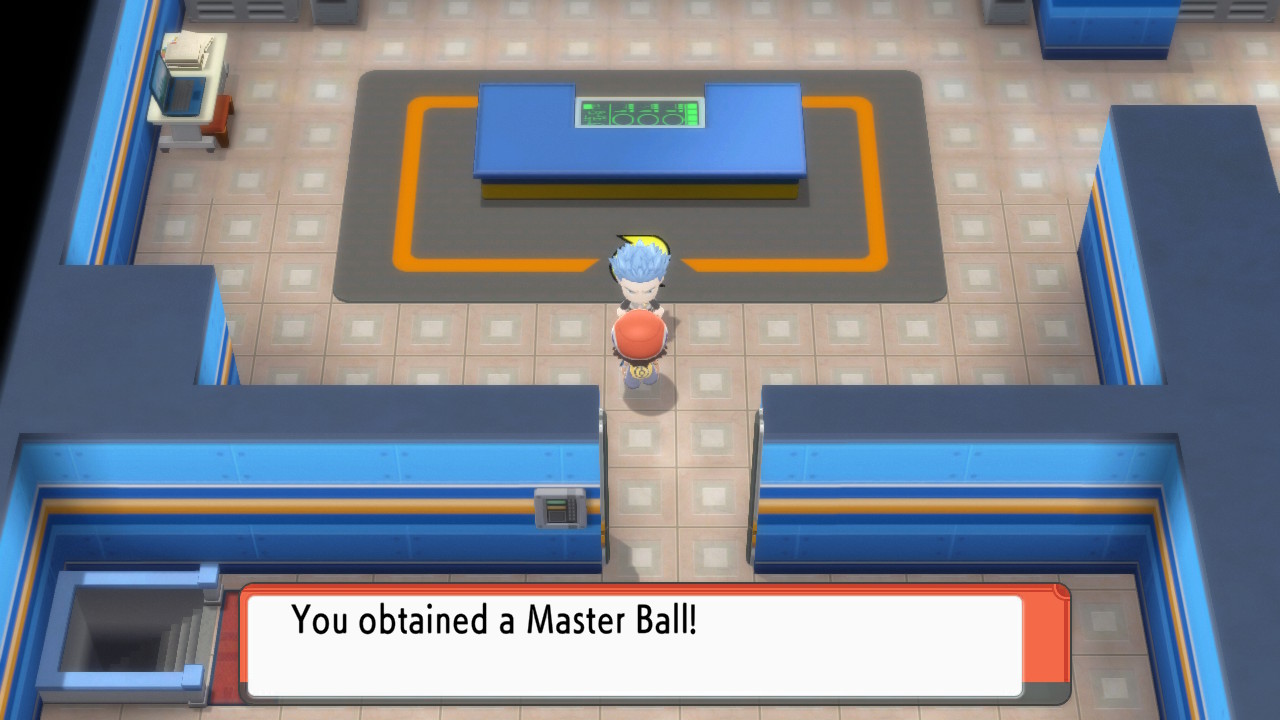
After beating him, Cyrus will actually give you a Master Ball. This can of course be used to catch any one Pokémon without fail. Cyrus will leave and is apparently headed to Mount Coronet. We have another battle coming up, so if your team is very weak you should probably heal and come back first. Otherwise, just head to the right and take the portal.
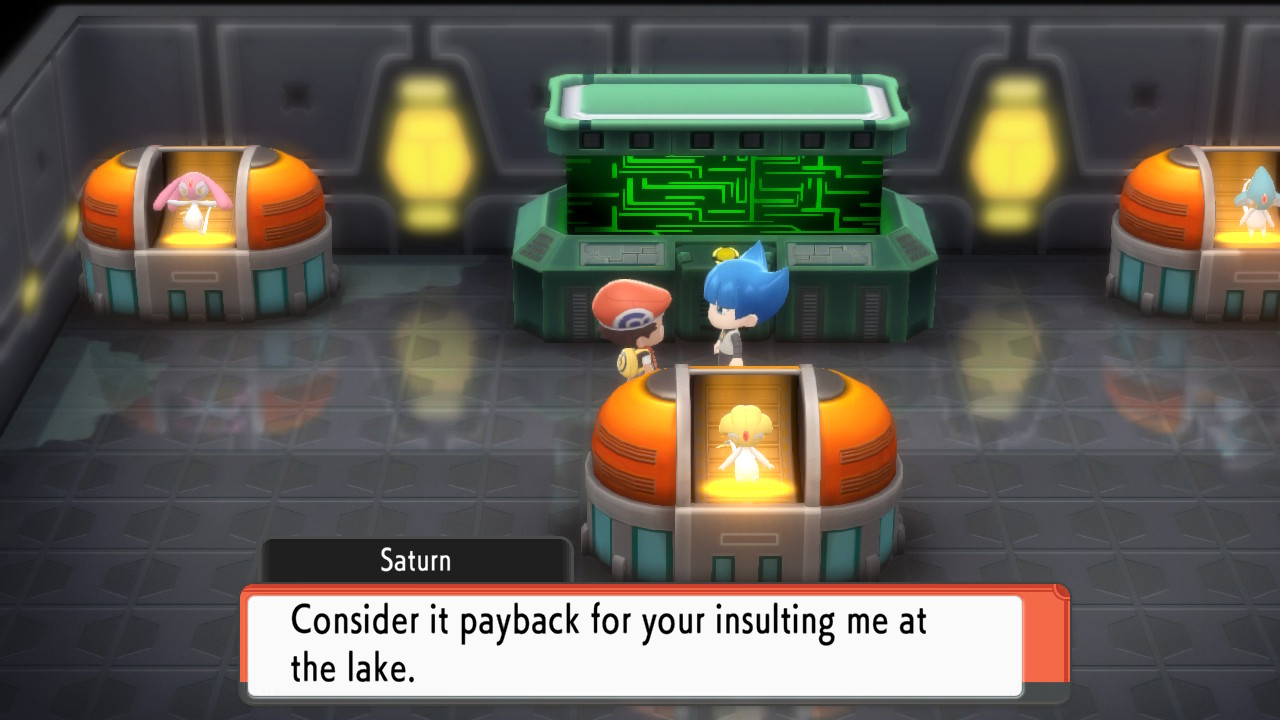
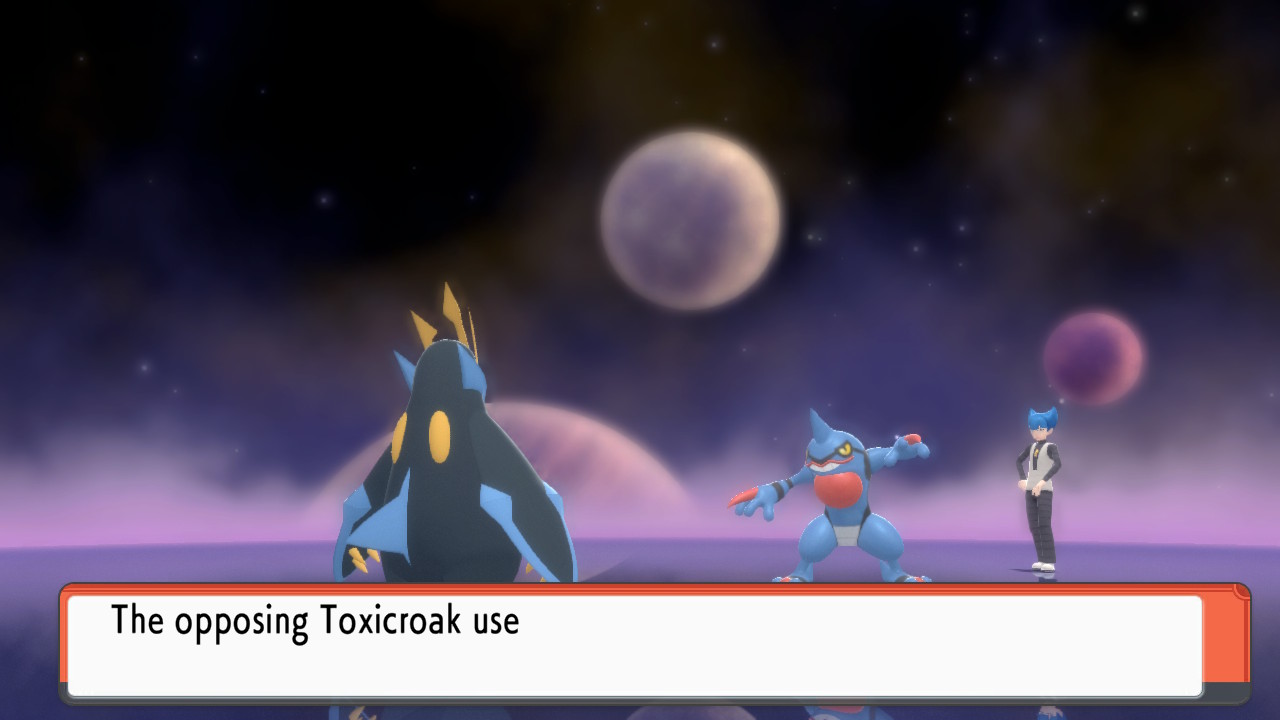
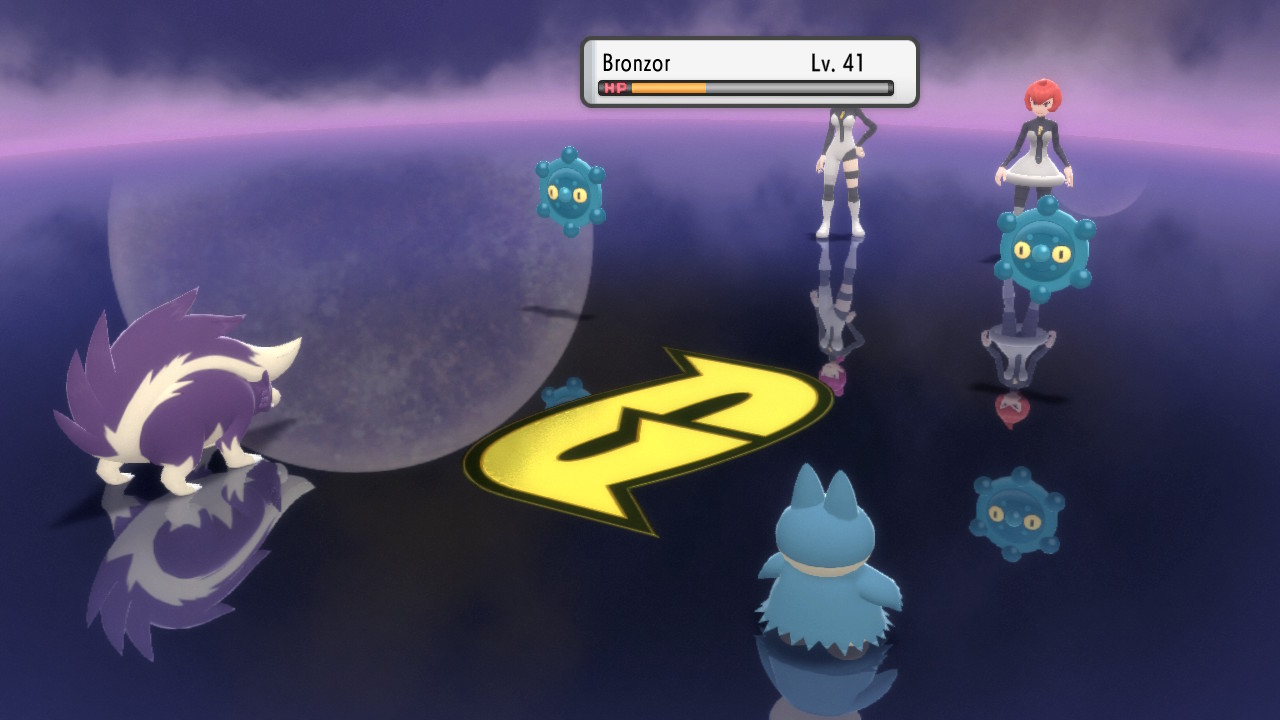
Here you'll find yourself in a lab where an experiment is happening on Mesprit, Azelf, and Uxie. You'll also find Commander Saturn, who you'll need to battle. He has a Lv. 38 Kadabra, a Lv. 38 Bronzor, and a Lv. 40 Toxicroak. You'll probably find this battle to be easier than the last. Once you've won, you can press the button here to set the legendary Pokémon free.
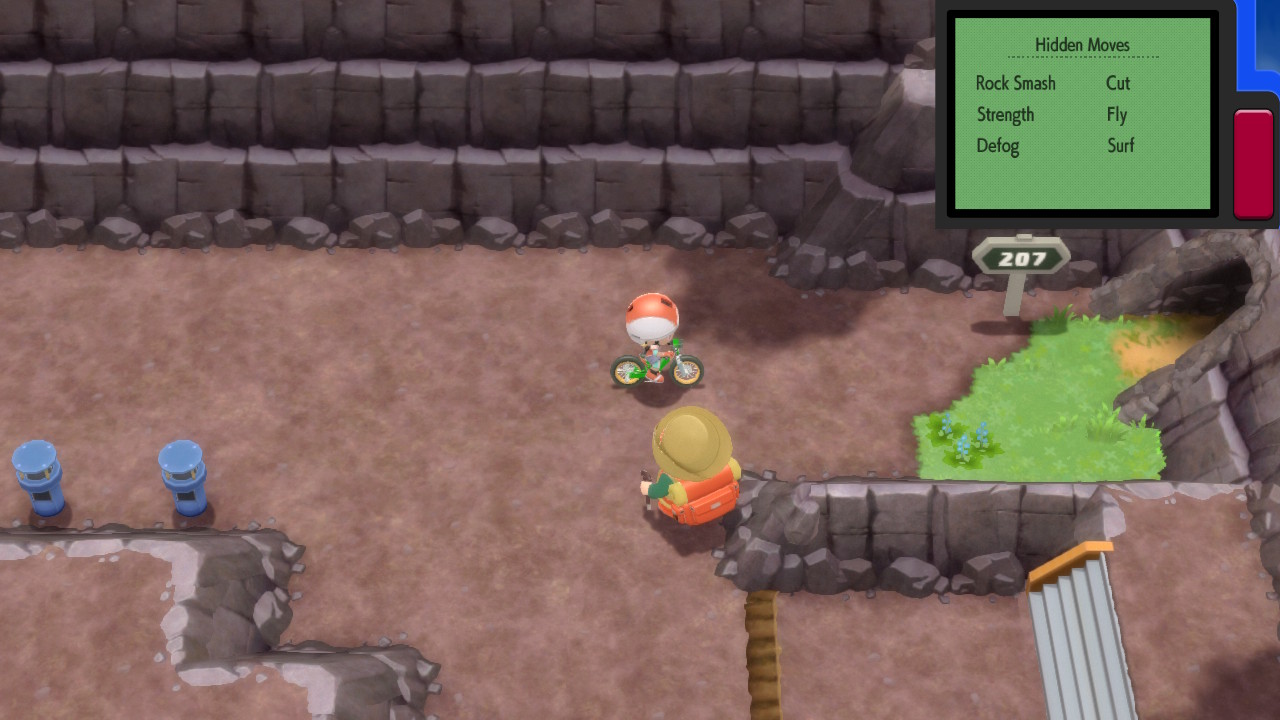
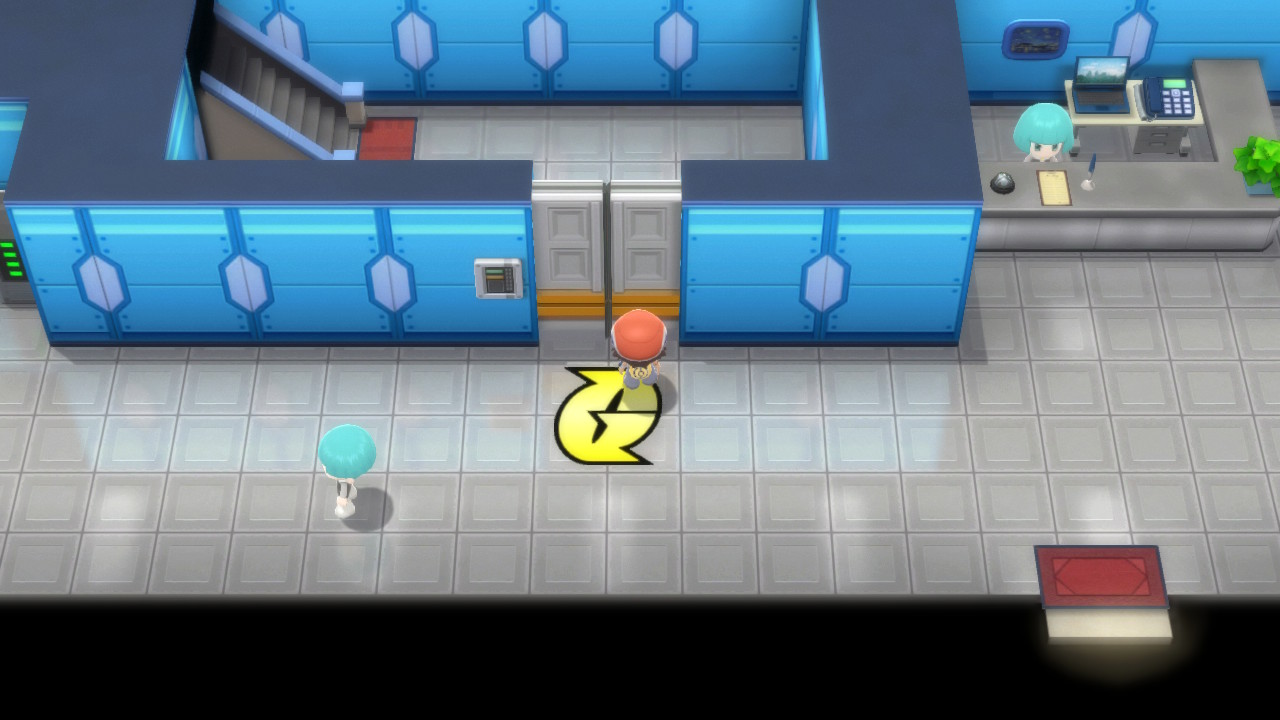
We now want to head to Mount Coronet. To get there, backtrack a little in the HQ and then you can take the green portal to return to the lobby. From here, fly to Oreburgh City and heal up if you need to. Head north onto Route 207 and then east to enter Mount Coronet.
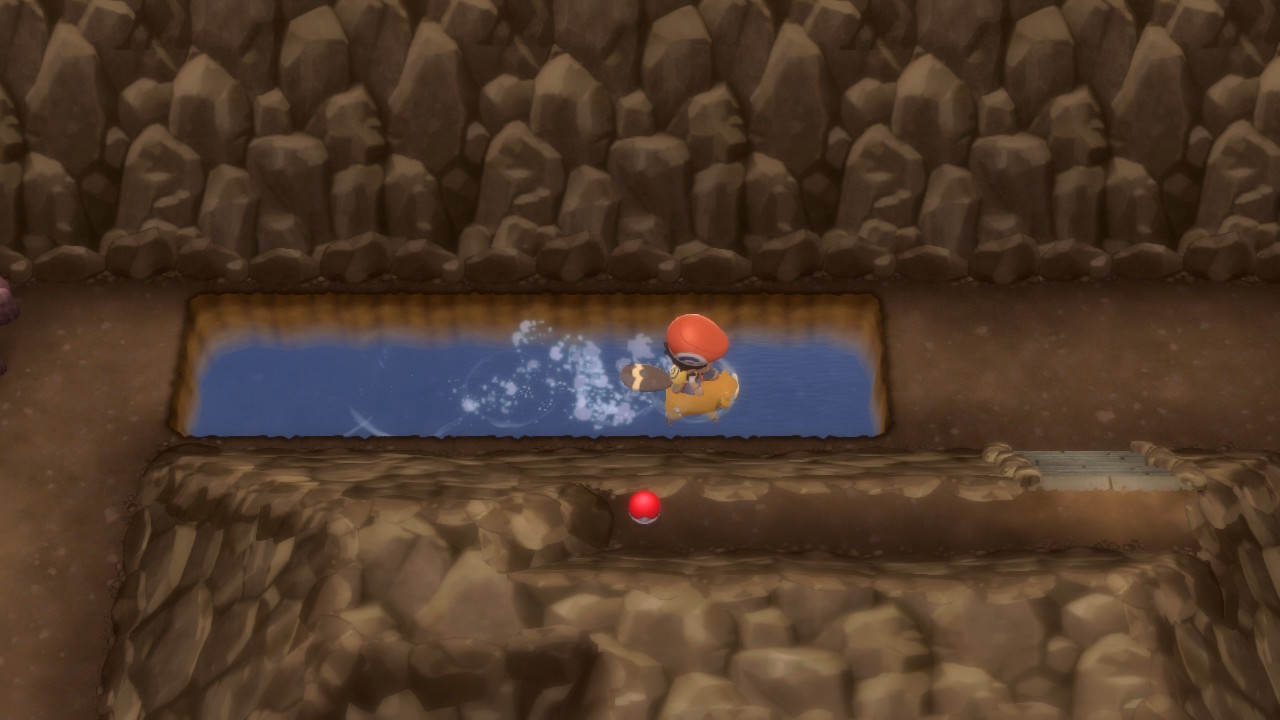
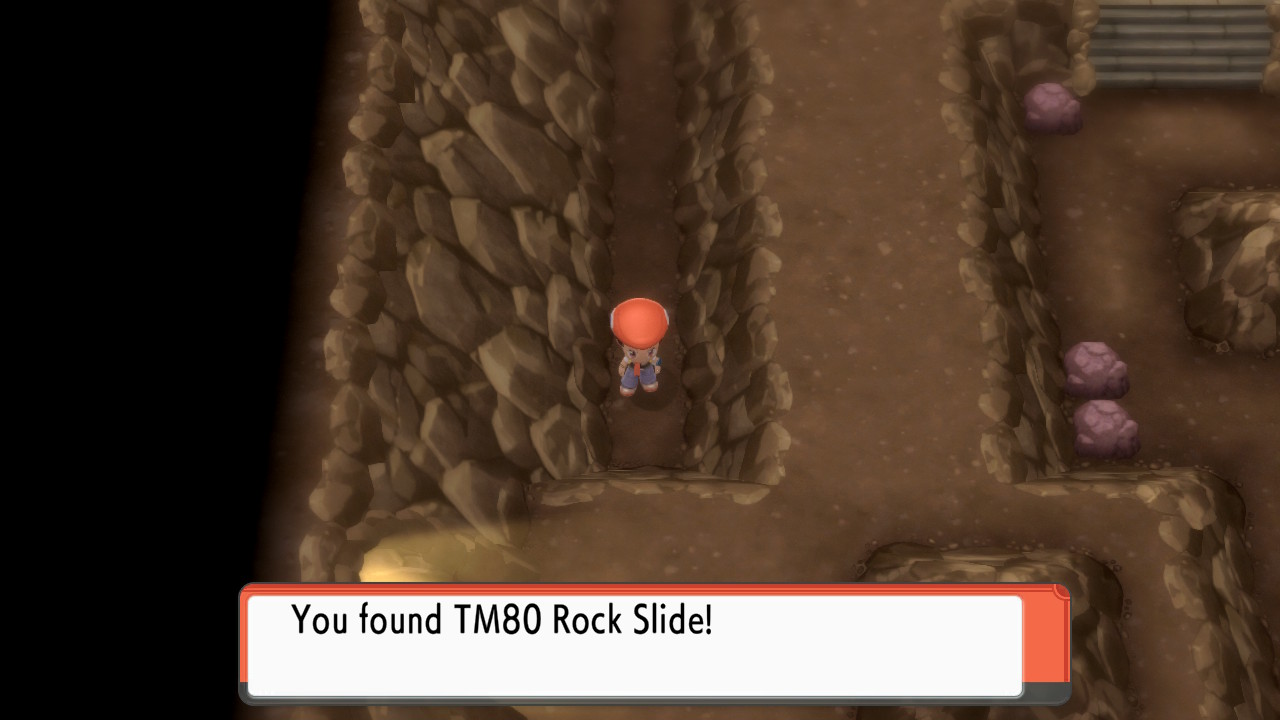
Once inside, surf across the upper body of water and then use Rock Climb to climb up the hill and enter a new area of the mountain. You basically want to follow the fairly linear path across the stairs and bridges in this room and pick up all the goodies along the way. Notably you can find TM80 - Rock Slide in the southwest corner of the room. Keep following the path and head up the stairs in the northwest corner and then a second set of stairs in the smaller room.
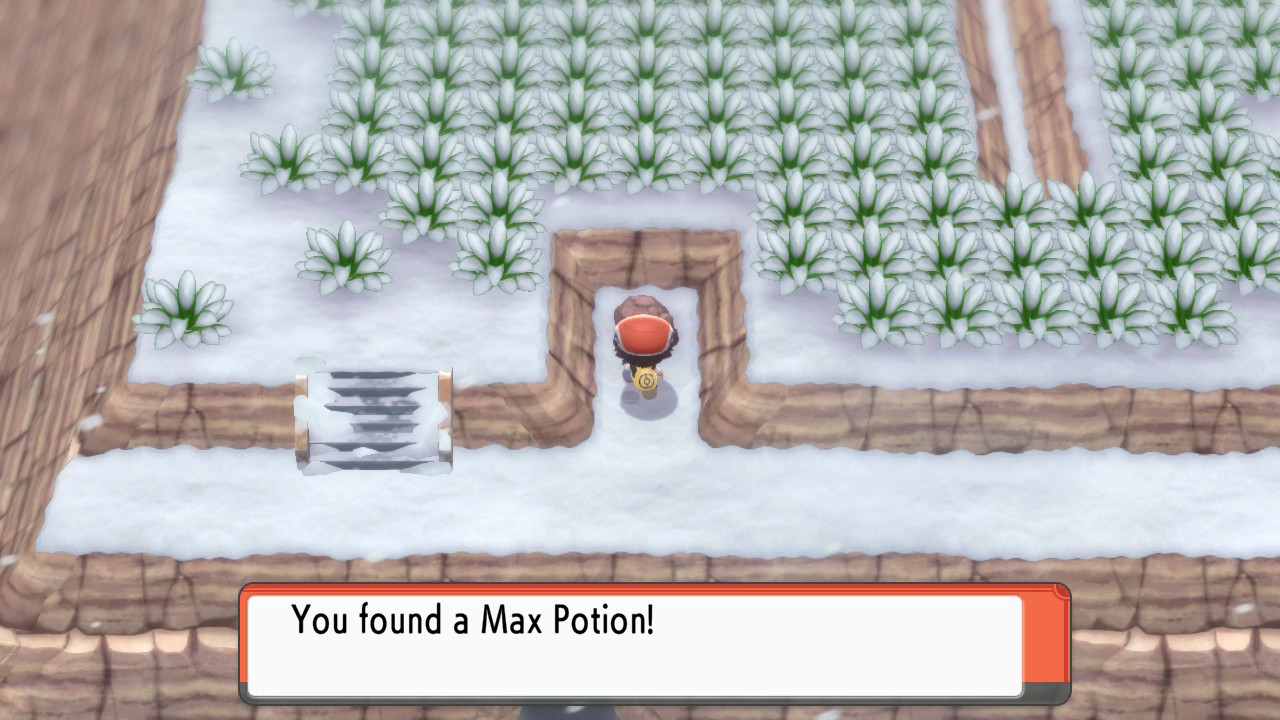
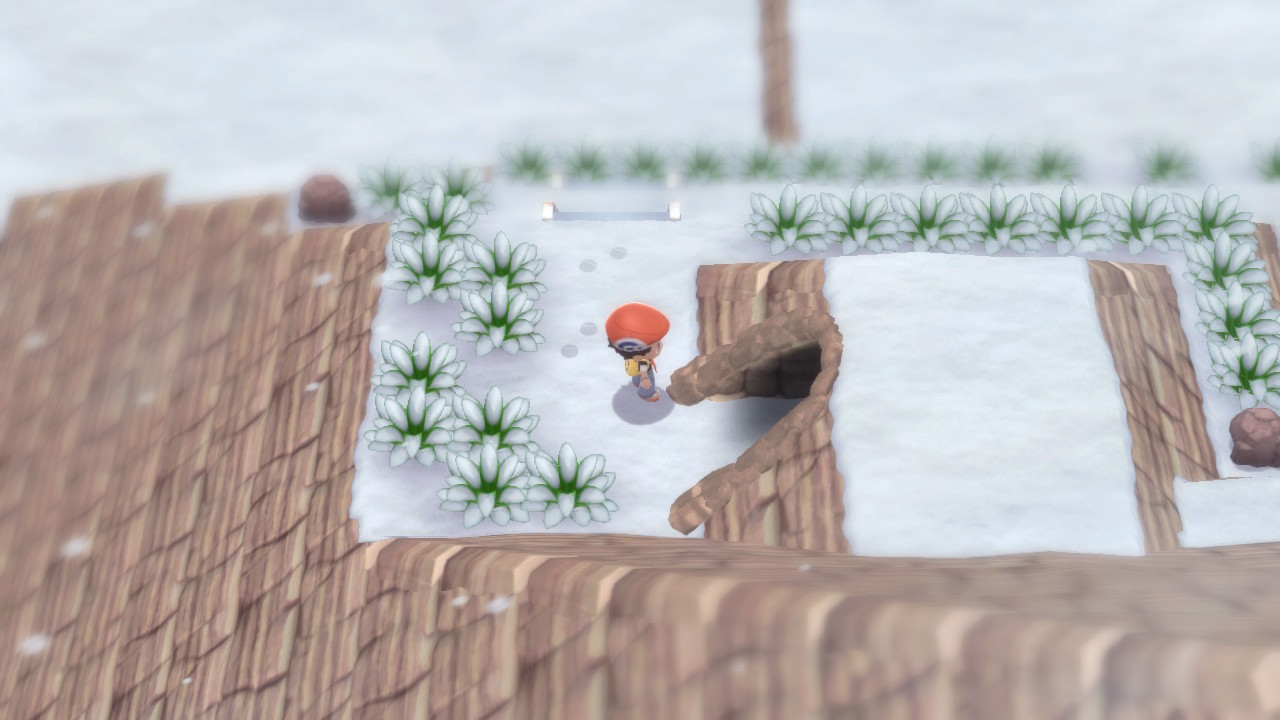
There's a fork here. If you take the short path to the right you can find a hidden Max Revive. Come back and take the upper path and defeat the couple grunts here. Head south outside and climb up the side of the mountain. Head left through the tall grass and enter the mountain again. Head right past a couple more grunts and then exit the mountain here.
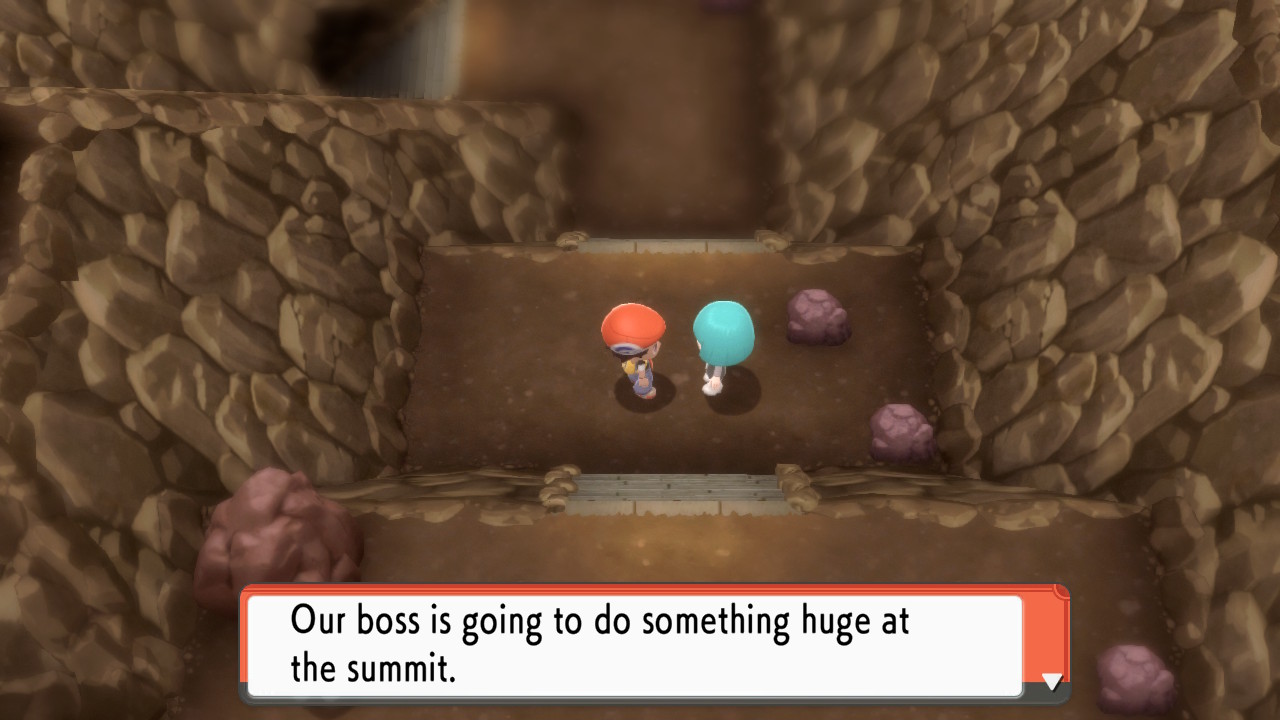
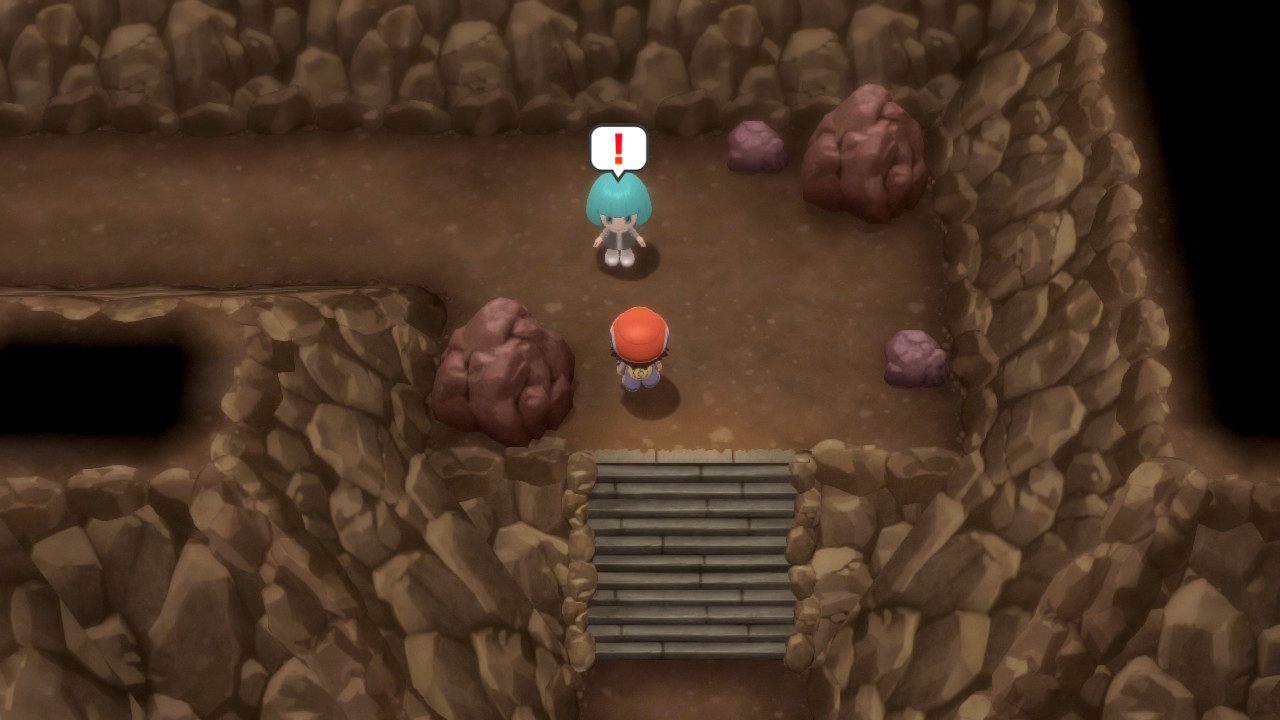
Follow the path to the area where you can climb up in multiple directions. Take the left path and keeping going left until you can enter the cave again. Keep heading up the stairs on this path that is dotted with grunts for you to battle. Continue along the path up more stairs until you reach the summit.
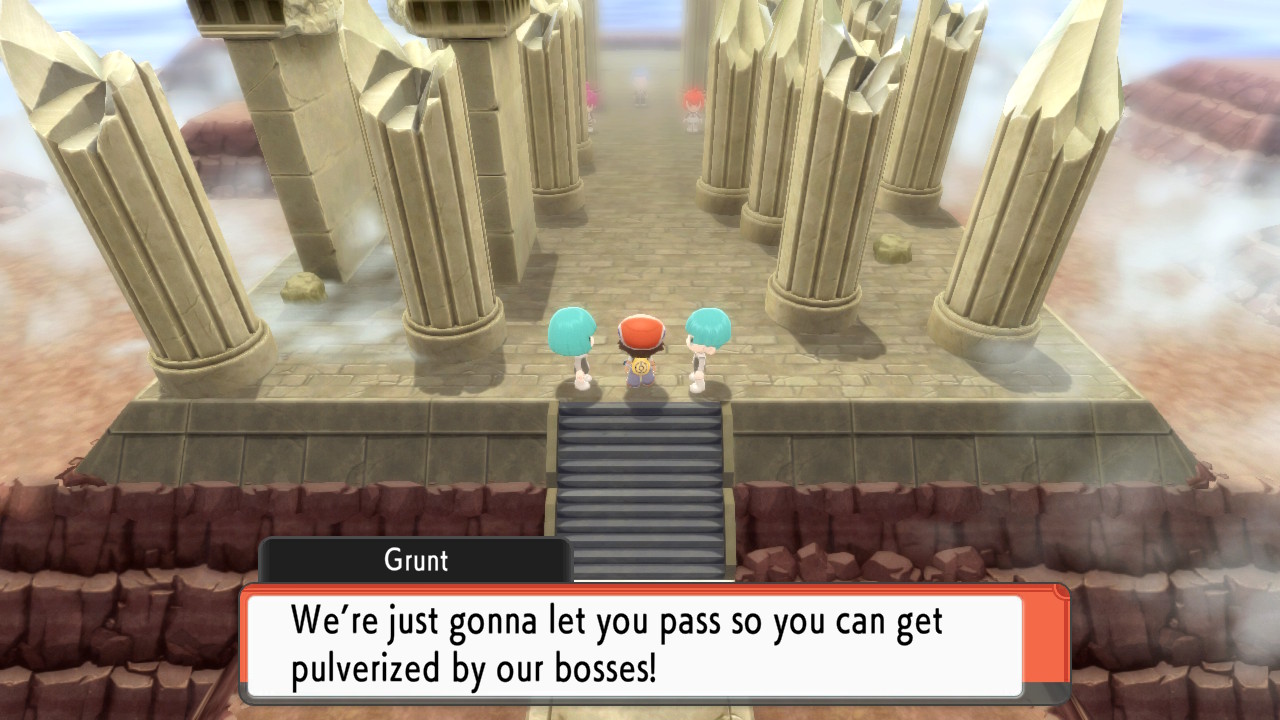
You'll be at the top of the mountain at what's known as the Spear Pillar. Continue ahead and defeat the grunts in a double battle. Walk forward and you'll come face to face with the title legendary of your game for the first time. For Brilliant Diamond, it will be Dialga, for Shining Pearl it will be Palkia. However, before you have a chance to battle and catch the legendary, you'll need to battle the Galactic leaders once more.
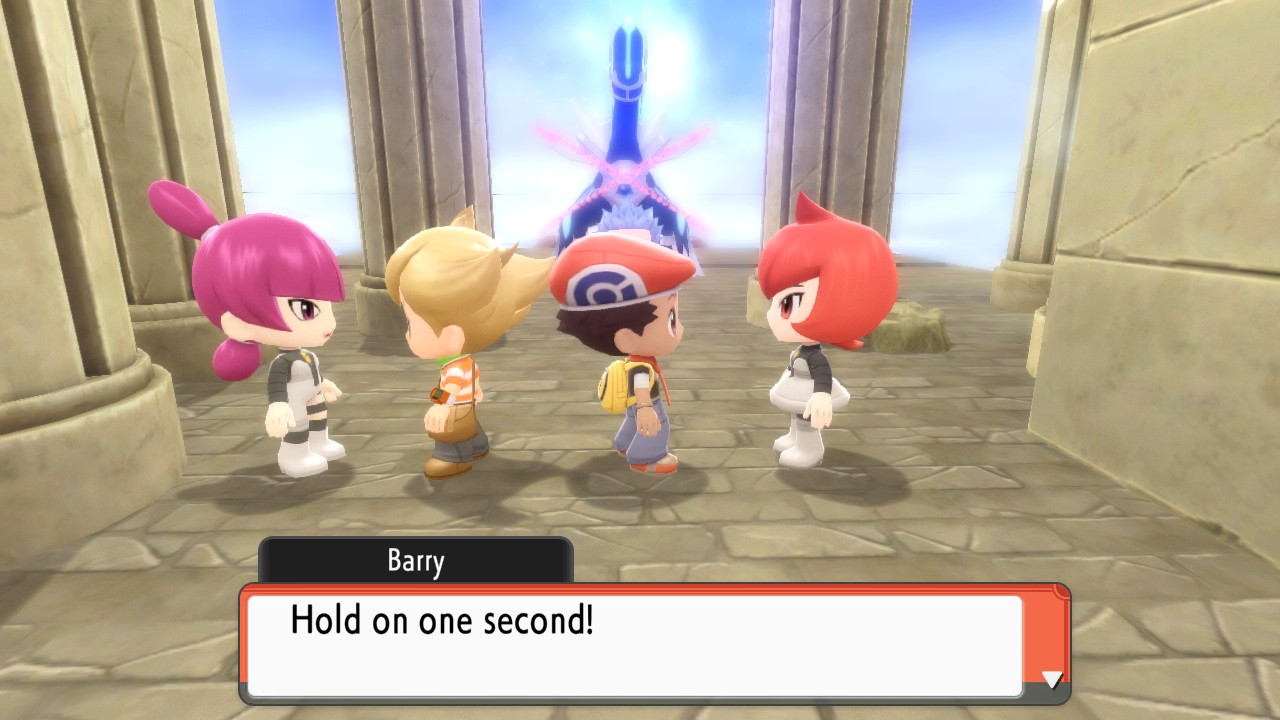
Luckily, your rival will show up to help you with the fights. You'll start with a double battle against Commander Mars and Commander Jupiter. Mars has a Lv. 41 Bronzor, a Lv. 42 Golbat, and a Lv. 45 Purugly. Jupiter has a Lv. 41 Bronzor, a Lv. 41 Golbat, and a Lv. 46 Skuntank. The two Bronzors are likely to set up Reflect and Light Screen at the beginning of the battle, weakening all your moves. After you win the battle, your rival will heal you up and then run off.
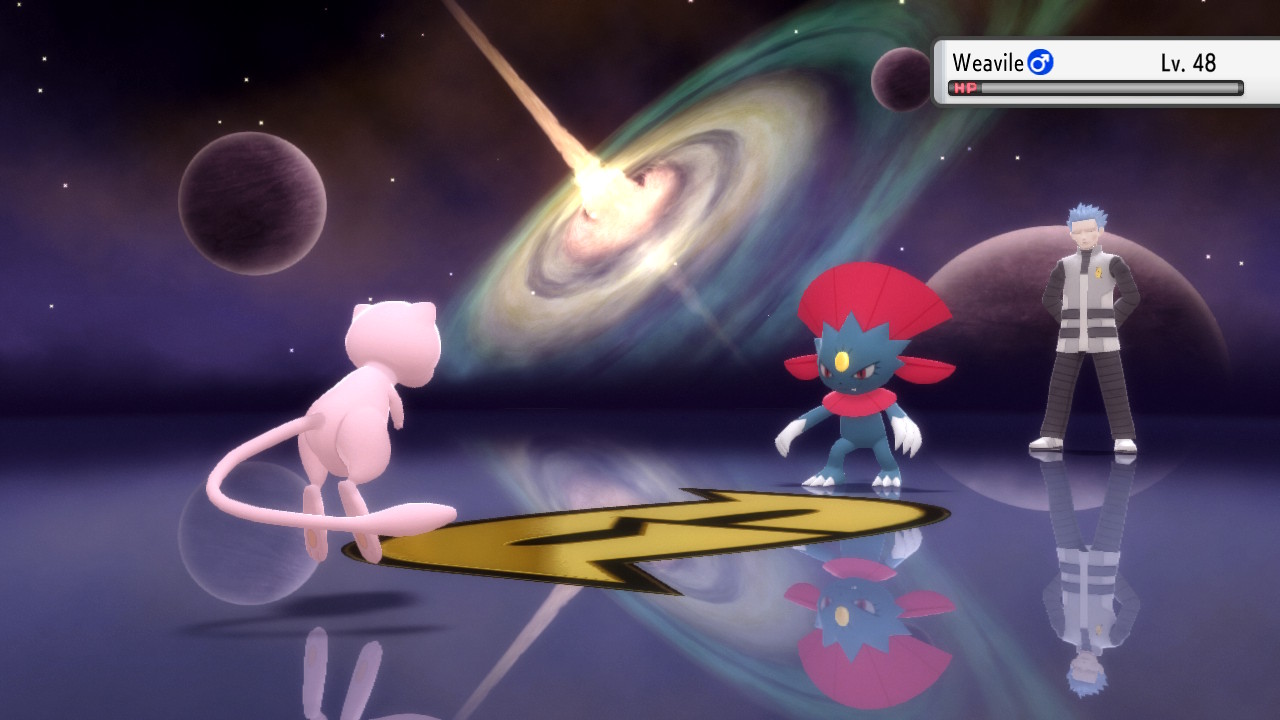
A cutscene will play that results in Galactic Boss Cyrus challenging you to another battle. This time around, he has a Lv. 45 Honchkrow, a Lv. 45 Gyarados, a Lv. 46 Crobat, and a Lv. 48 Weavile. He has three Flying-type Pokémon so Electric-type moves will be useful here. He also has some Super Potions and Full Restores at his disposal, so watch out for that. Once he is defeated, him and his crew will leave.
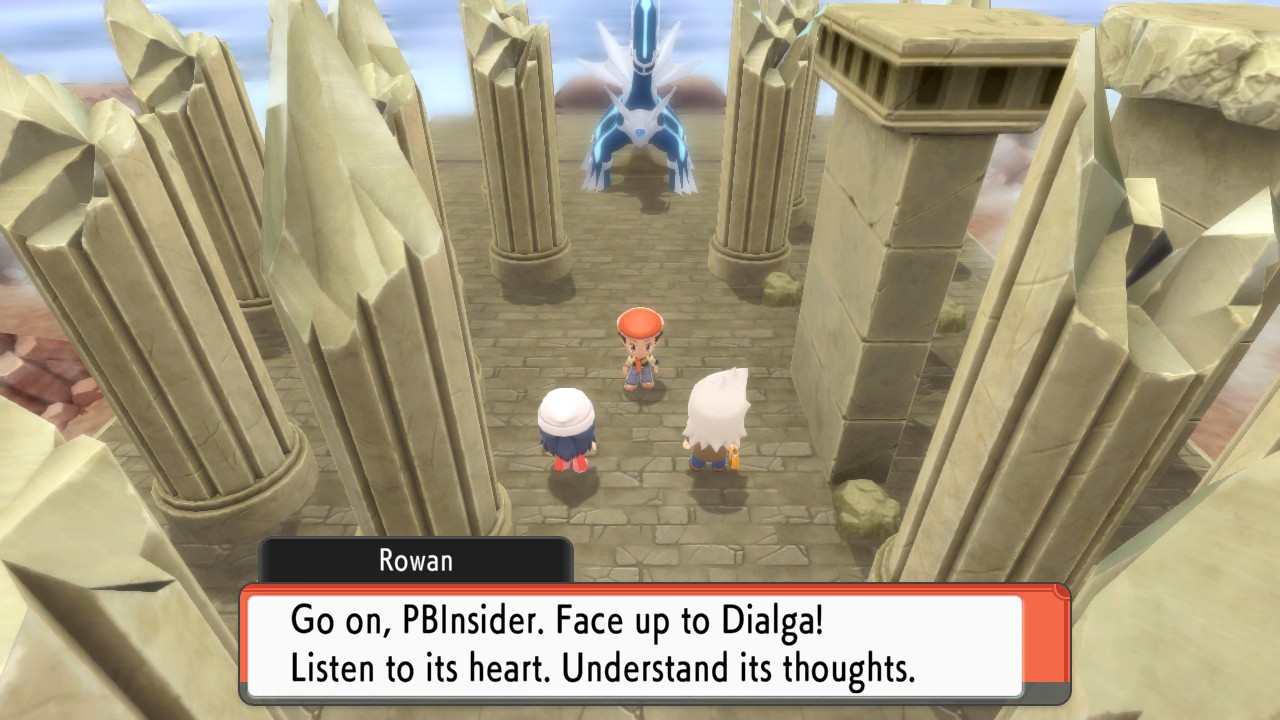
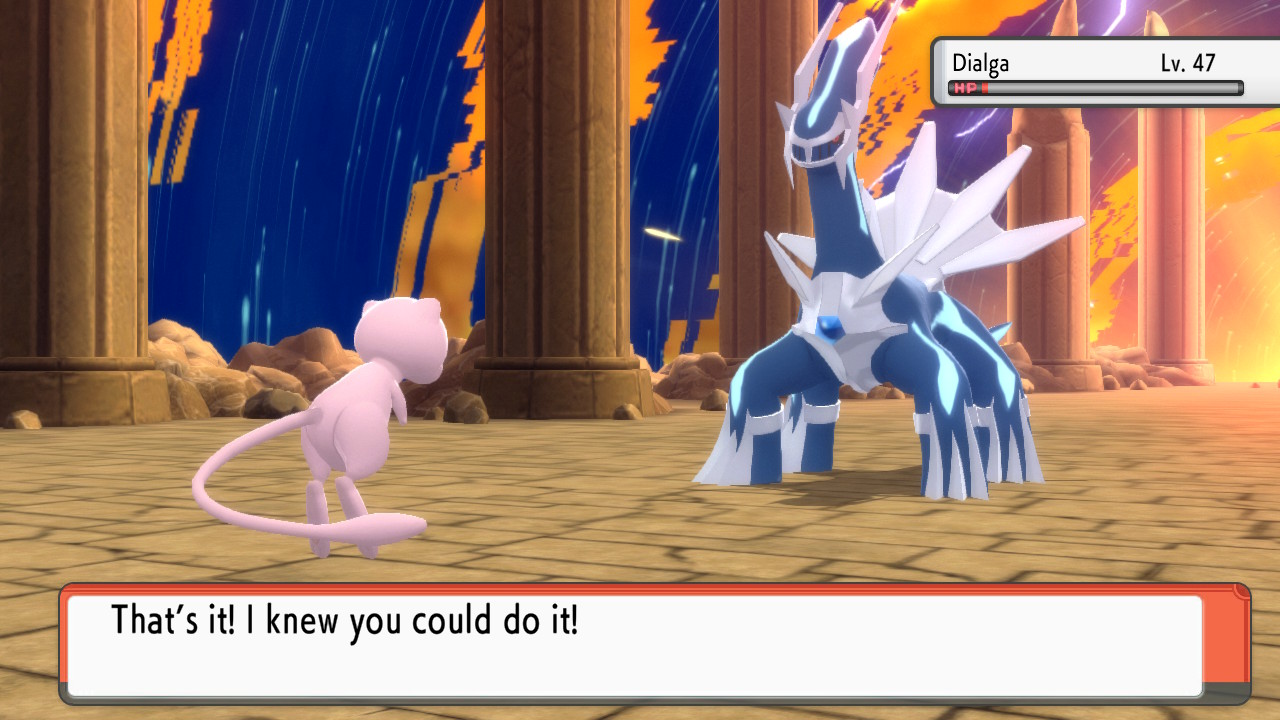
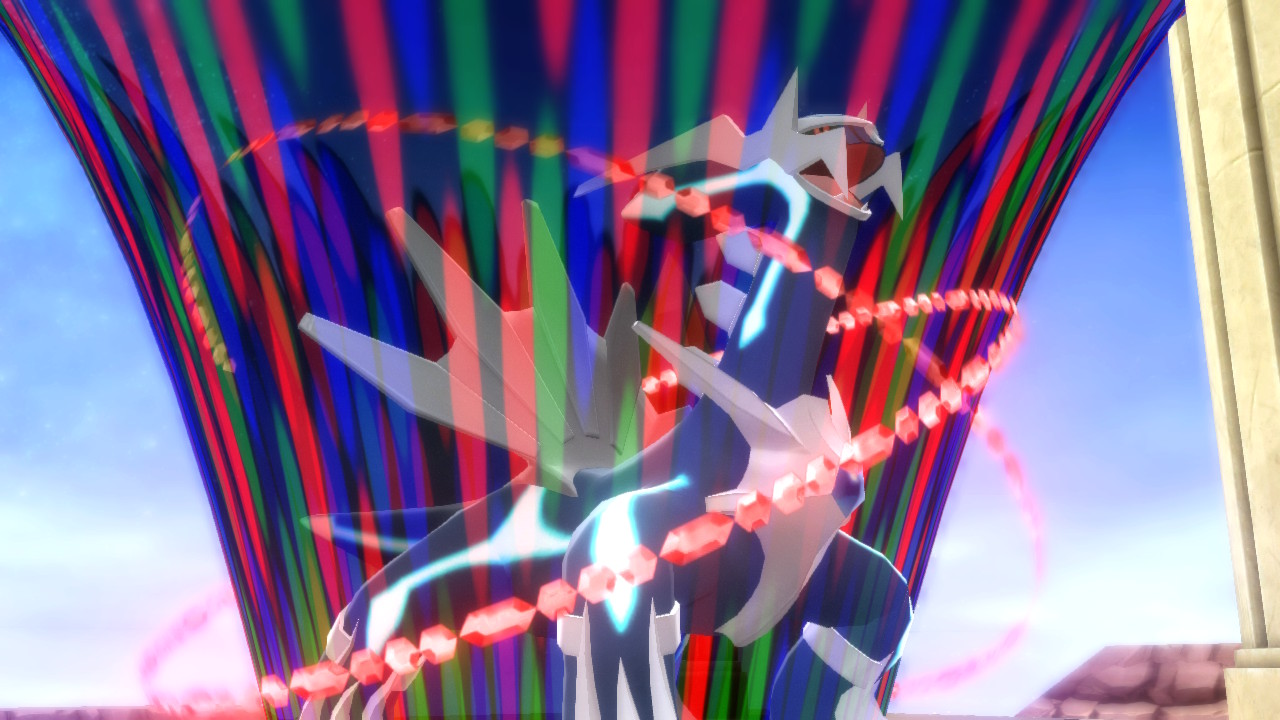
Professor Rowan and Dawn will show up and encourage you to take on this legendary beast. Make sure to save before approaching him in case you accidently KO it. If you do, you won't have another chance to catch them until after the elite four. Dialga/Palkia will be Lv. 47. You can use your Master Ball if you want, but it's not too difficult to catch so it's better to save it for later. The best strategy is to use a Quick Ball on the first turn. If that doesn't work, weaken it and inflict status conditions. Then use Ultra Balls or Dusk Balls (night only). If it's been more than 10 turns, Timer Balls will have the highest catch rate.
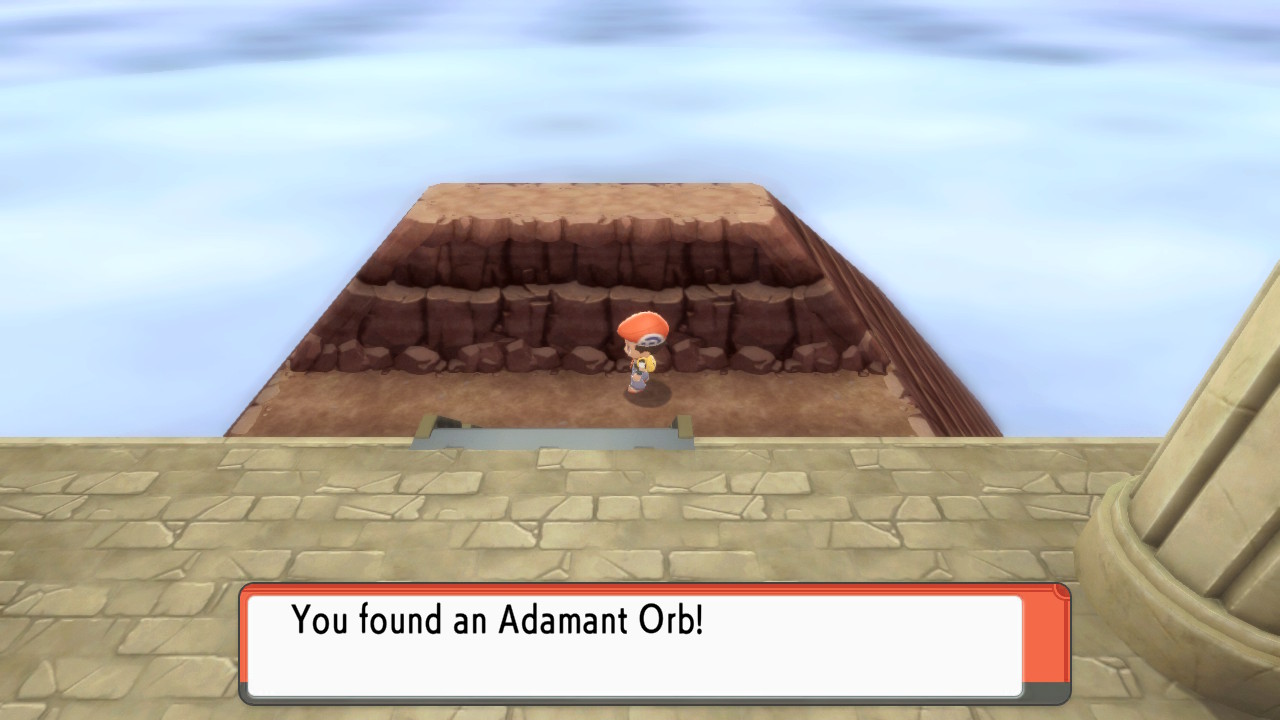
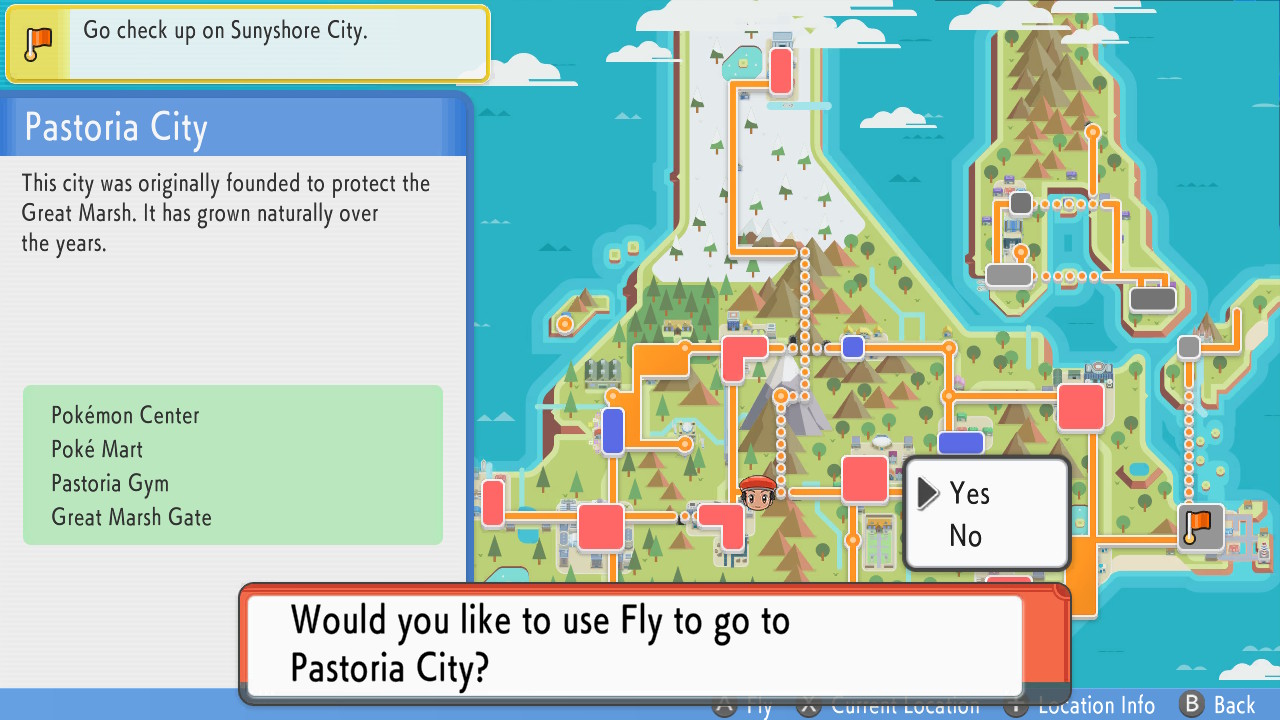
After you catch the titular legendary, head back to where it was and go down the stairs. You'll find either the Adamant Orb (BD) or Lustrous Orb (SP). This item will boost the power of the legendary you just caught. At this point you could head to the three lakes to catch the Mirage legendary trio if you want, but in this guide we'll save that for the post-game. Instead, head back into Mount Coronet and then use an escape rope (if you don't have one just navigate to an outside area). From here fly to Pastoria City.
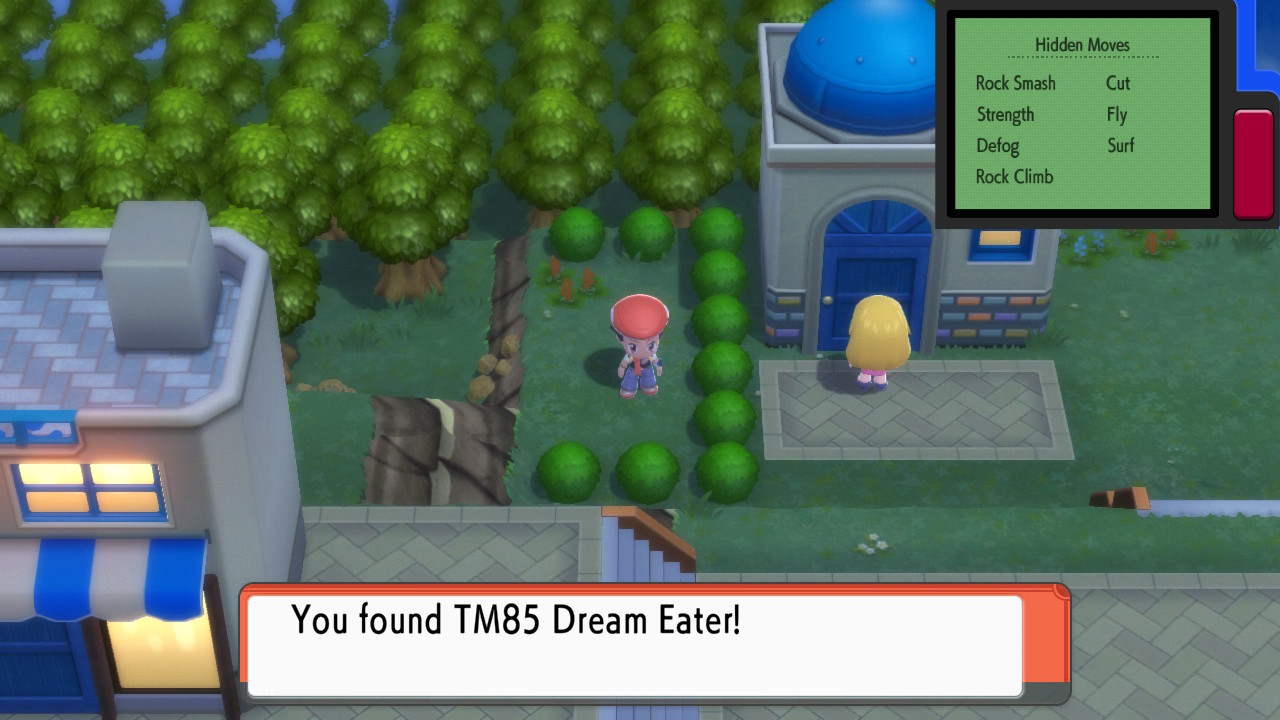
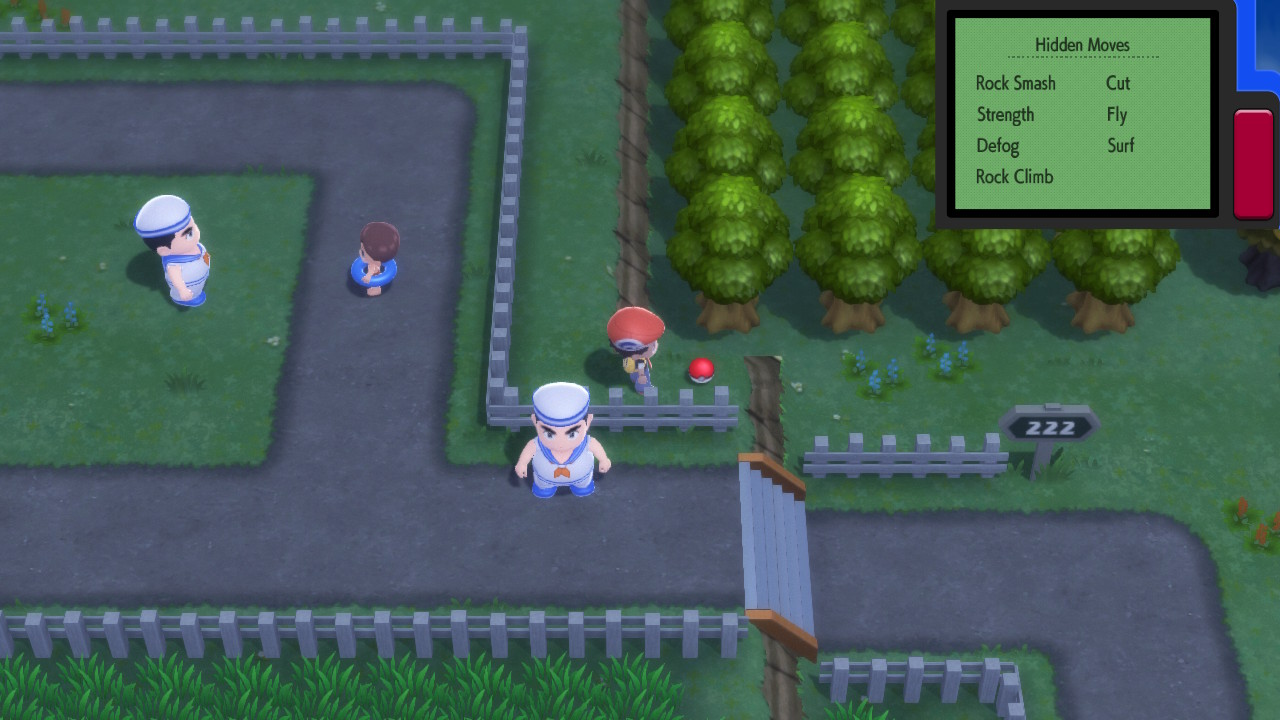
Once in Pastoria City, heal up and then exit the city to the east. Continue east on this route until you get to Valor Lakefront. Now that we have Rock Climb, you can navigate the series of small clifs on the north side of town and find a copy of TM85 - Dream Eater. Afterward, head east onto Route 222. This route is very straightforward. You just need to head east briefly to get to the next city. It is full of optional trainers and a few goodies to pick up along the way, but nothing of much note.
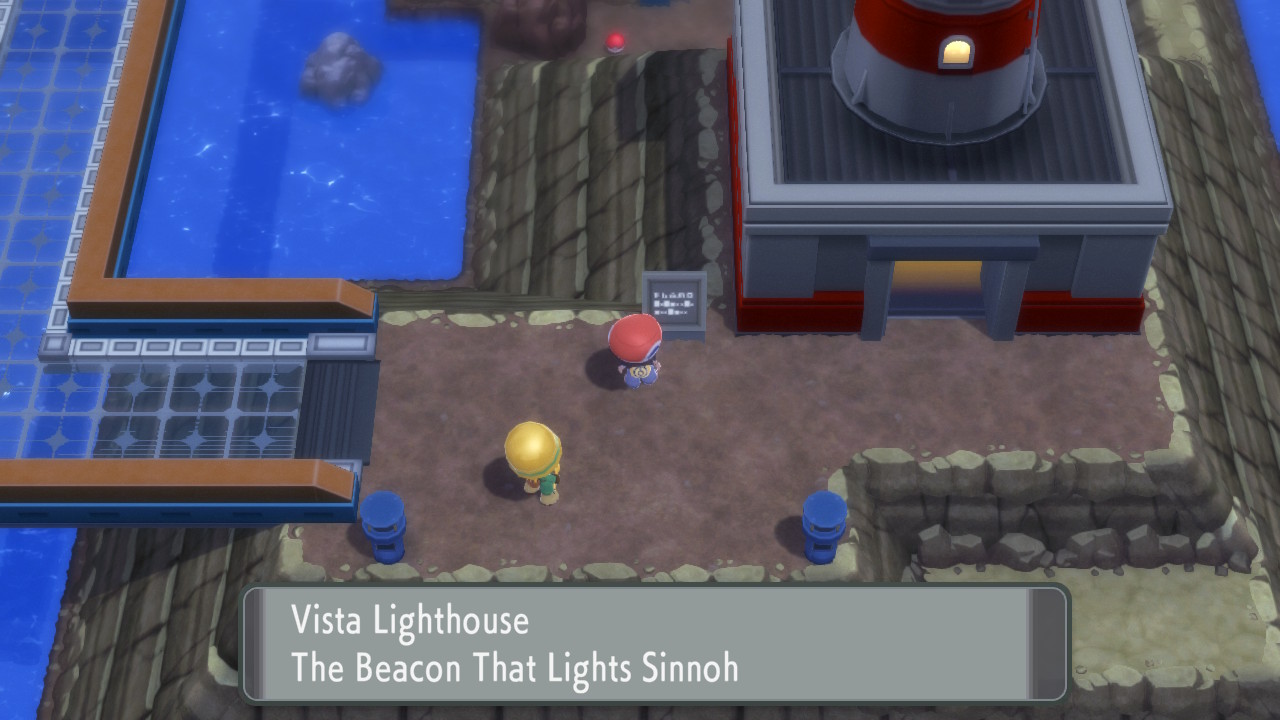
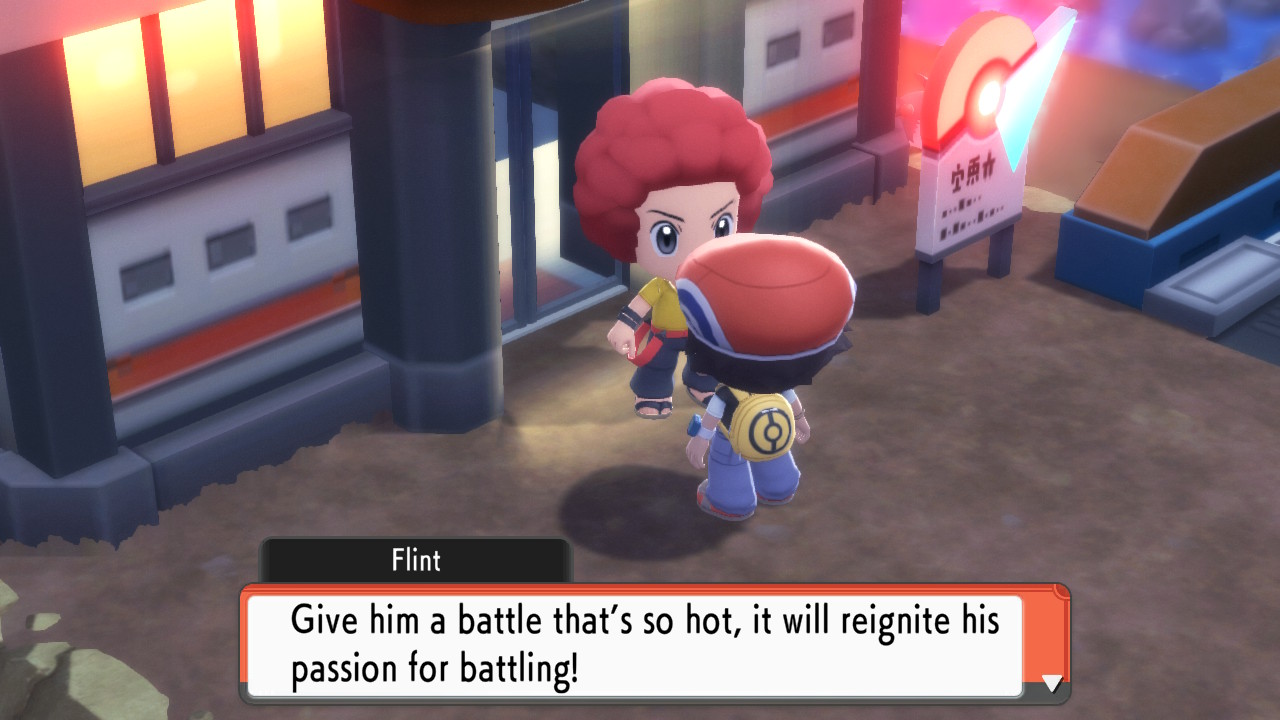
Once you arrive in Sunyshore City, an elite four member named Flint will introduce himself. He encourages you to battle the gym leader in this town. However, the gym leader will not be waiting for you in the gym. After healing up, head up to the sky bridge that connects the city. In the southeast part of town you'll find a lighthouse that you'll want to enter. Once you are inside the elevator will take you straight to the top where you can chat with leader Volkner, who will then return to the gym. When you are ready for it, you can now head to the gym in the northwest part of town.
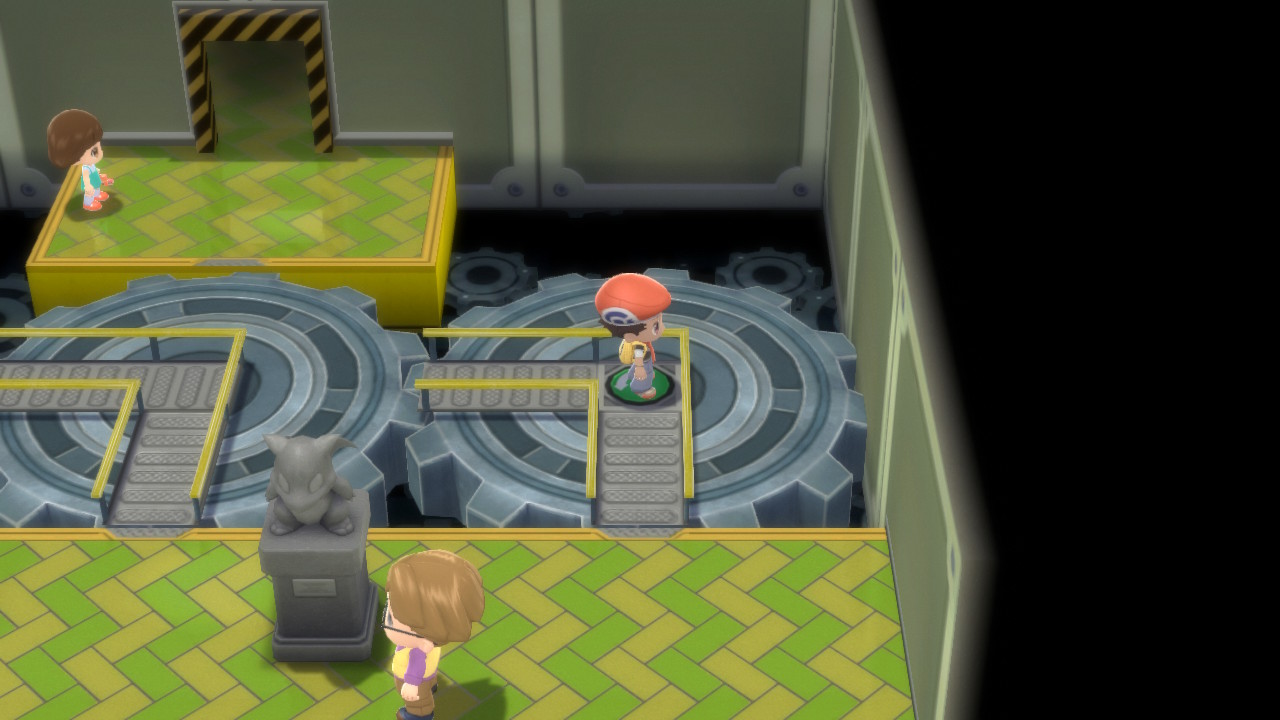
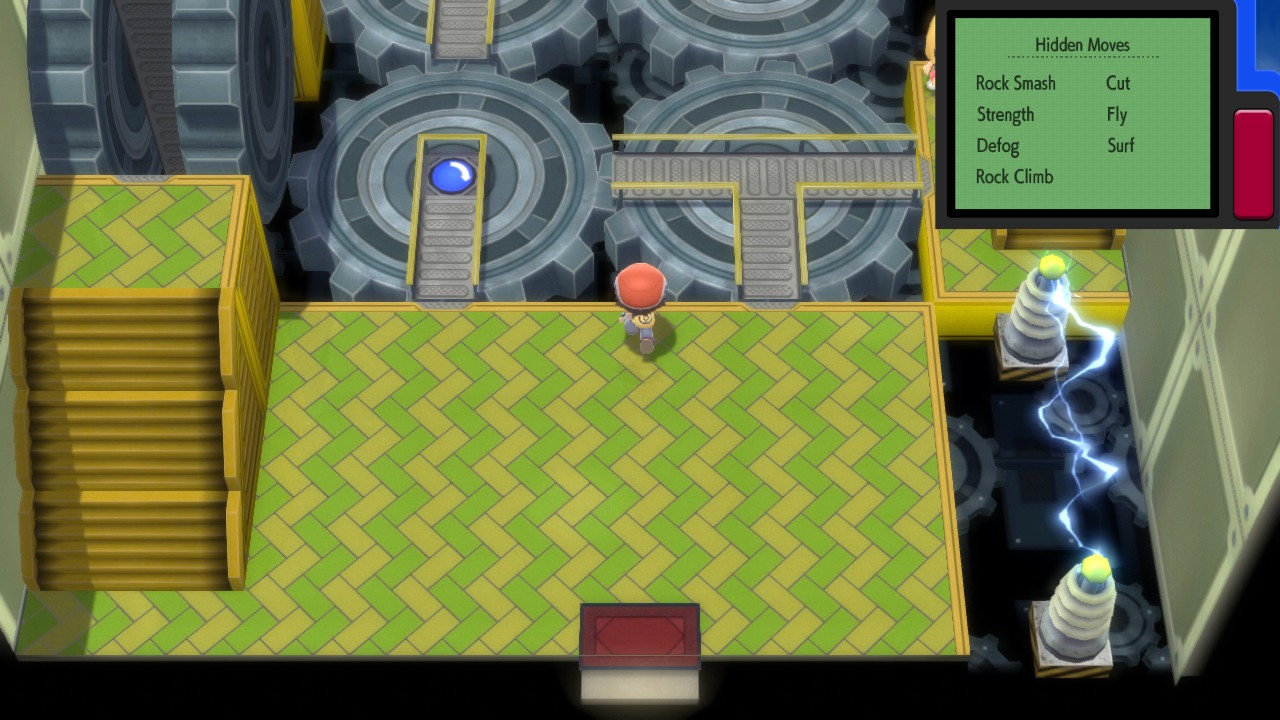
Sunyshore is an Electric-type gym, although only 2/4 of the gym leader's Pokémon are actually Electric-type. However, they all have Electric moves so a Ground-type Pokémon will still suit you well. The puzzle for this gym involves rotating the gears so you can line up the paths and get across the gaps. Start by pressing the right button, then the left. Battle the trainer here and continue to the next room. In this room, hit the blue button three times and then take the path up the stairs on the left. Battle this trainer, then hit the blue switch and then the green switch. Battle another trainer and follow the path out of the room.
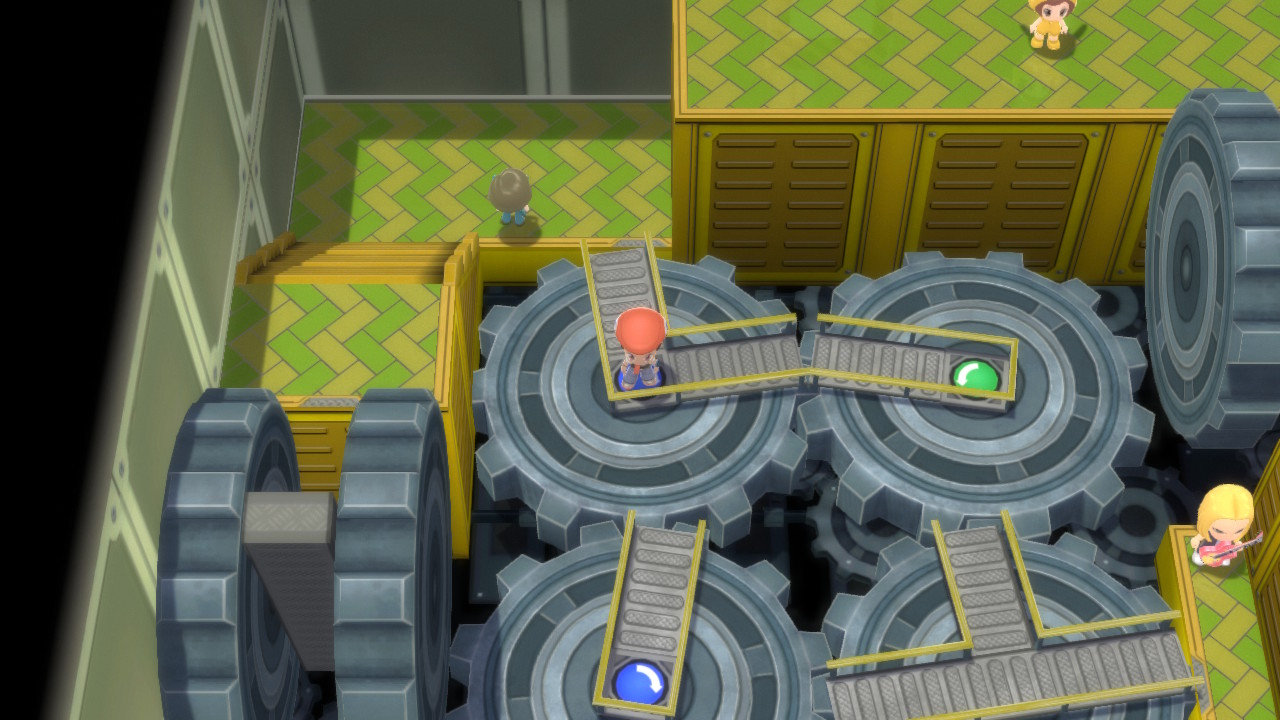
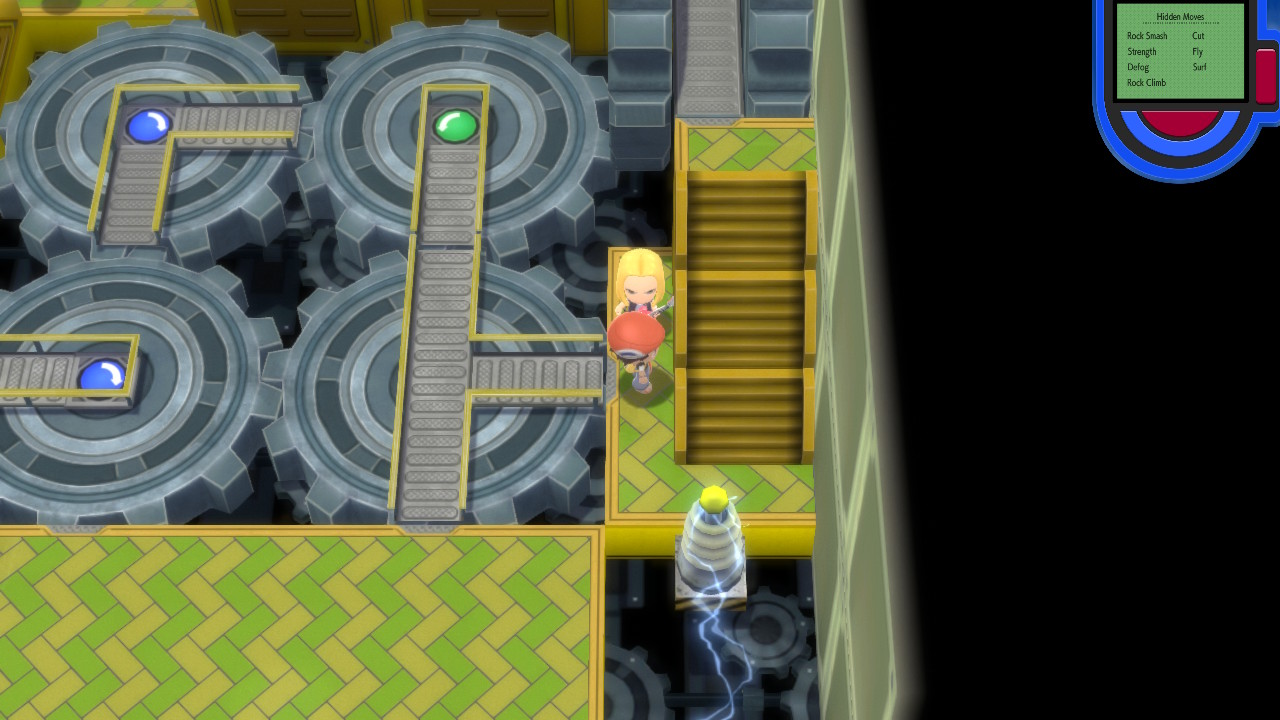
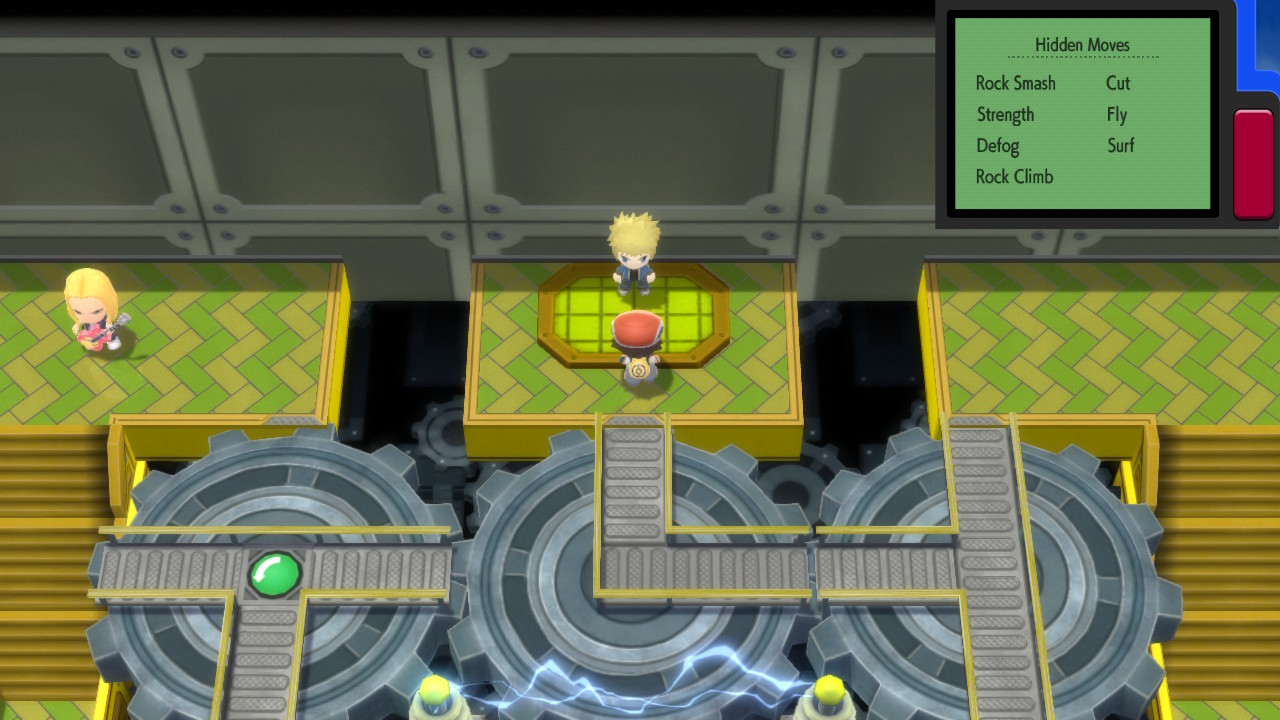
In this room, head onto the gear and press the red button. Then get on the gear to the left and press that red button. Head down and battle the trainer, then head up the stairs and battle the next trainer. Press the green button twice here, and then make your way to the blue button. After pressing it, head down the stairs on the right side of the room and battle the trainer. Continue down and press the red button on the right one time. You can then head back up the right side and make it to the gym leader.
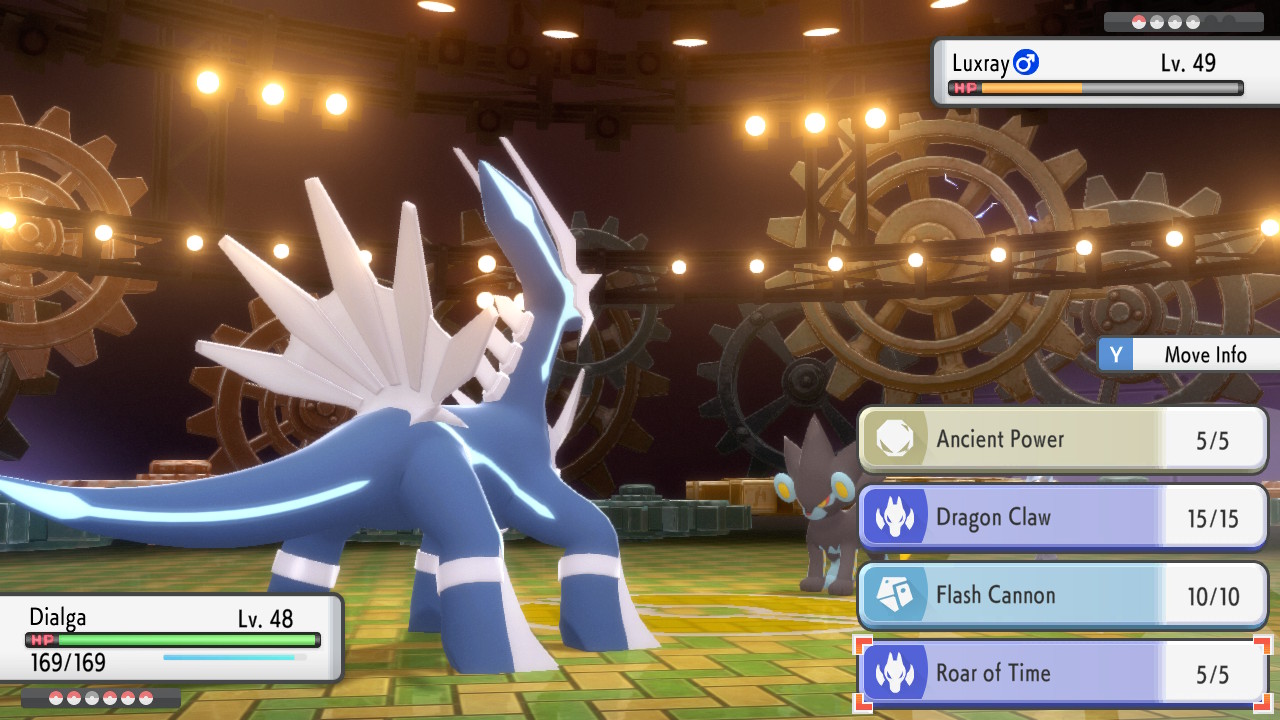
The final gym leader is Volkner. He is an Electric-type specialist who has a Lv. 46 Raichu, a Lv. 47 Ambipom, a Lv. 47 Octillery, and a Lv. 49 Luxray. One of his main strategies is to send in the quick Raichu and then use Volt Switch to get damage in before retreating. He also has multiple Potions and Full Restores at his disposal that he will use.
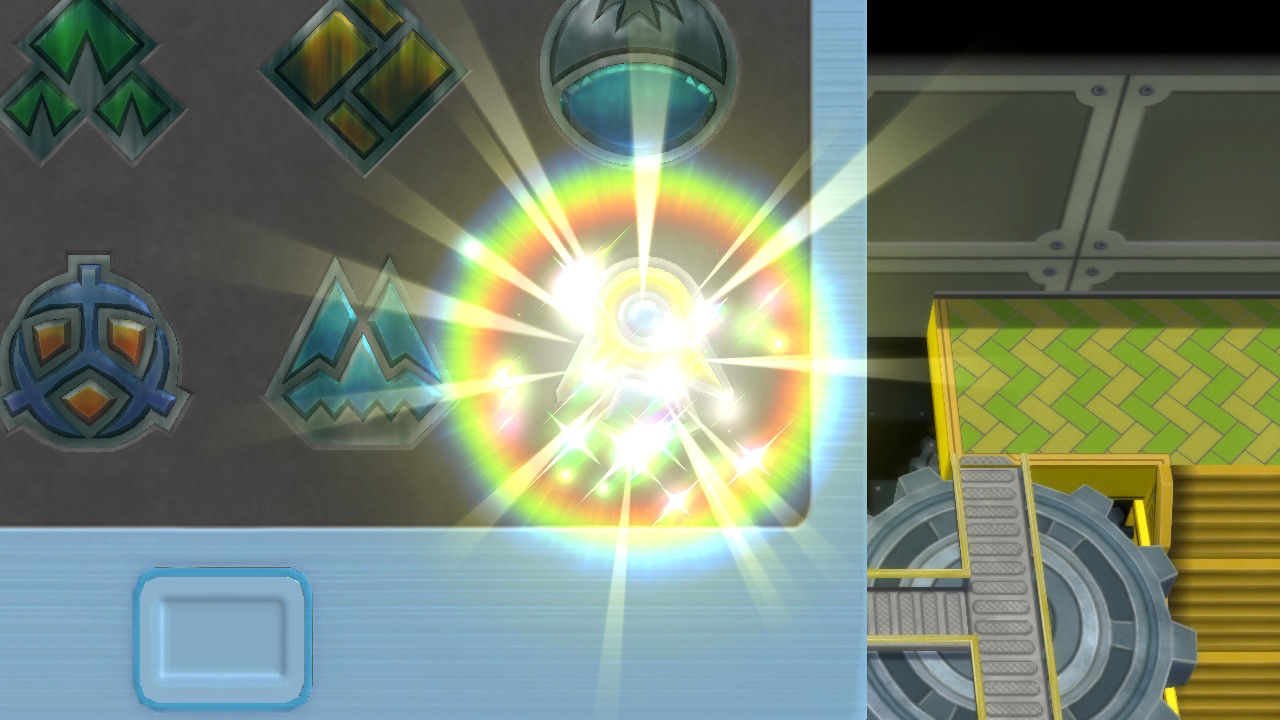
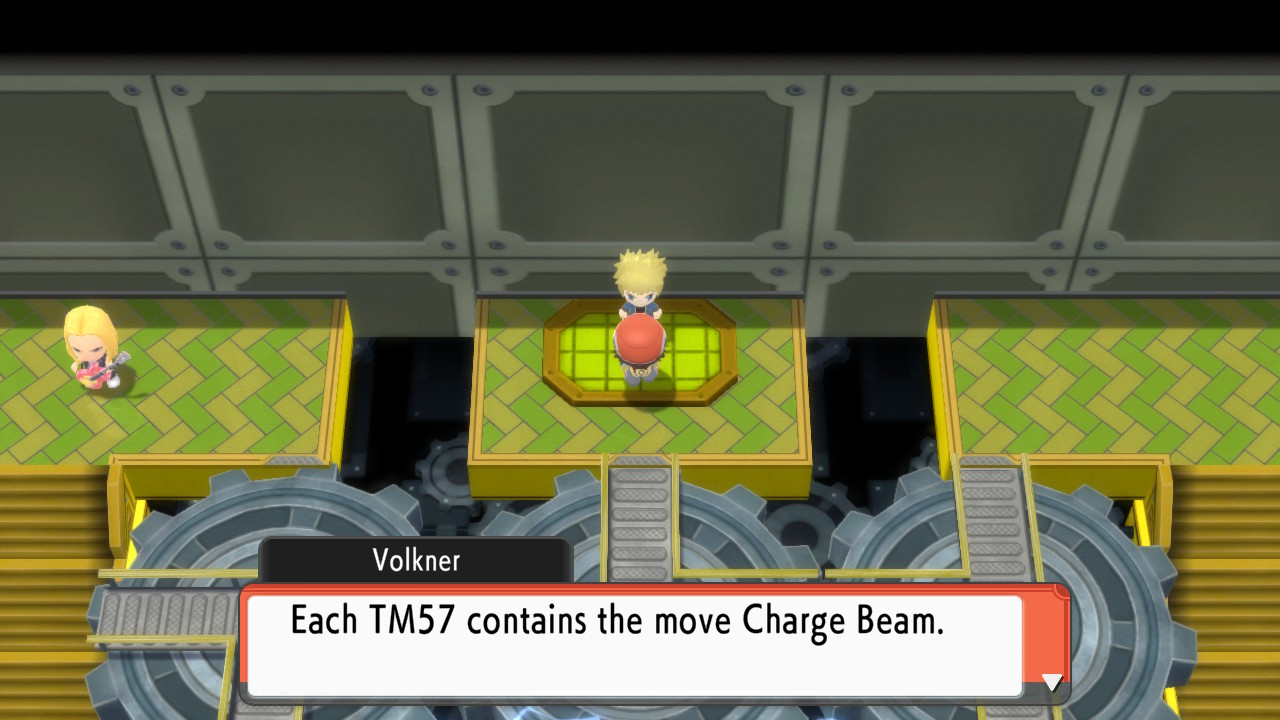
After winning, you'll get the Beacon Badge, which lets you use the HM Waterfall. You'll also get 5 copies of TM57 - Charge Beam as well as Volkner's stickers.
Back to Snowpoint City Gym Continue to Pokémon League
