
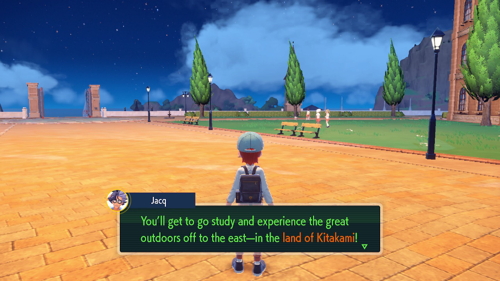
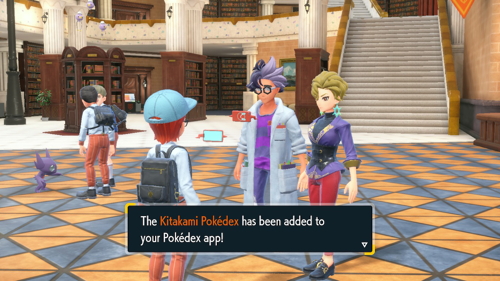
After you have bought The Teal Mask DLC, you'll get a call from Mr. Jacq inviting you on a school trip to the land of Kitakami. Head to the Entrance Hall of the Academy to get things started. Speak to the woman here who introduces herself as Ms. Briar, a teacher from Blueberry Academy in Unova. Jacq will then update your Pokédex app with the Kitakami Pokédex. Speak to Ms. Briar again to kick off this journey.

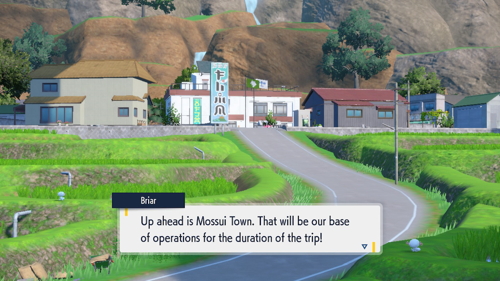
Ms. Briar will begin by giving you some lore about a mysterious Disk Pokémon called Terapagos. You'll then meet the rest of the group and set off for Kitakami. When you arrive you'll be tasked with heading to the nearby town of Mossui. You'll find several Pokémon along the way that you couldn't obtain in Paldea, so feel free to start filling out your Kitakami Pokédex if you're after that.
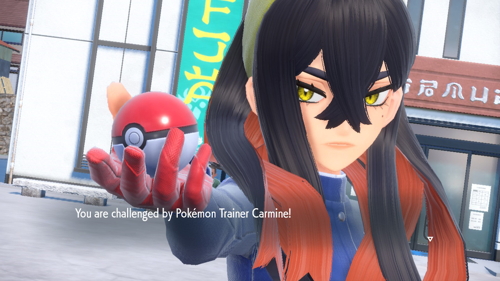
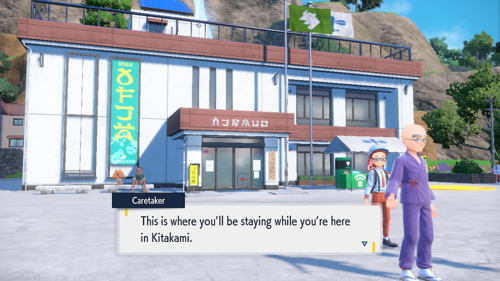
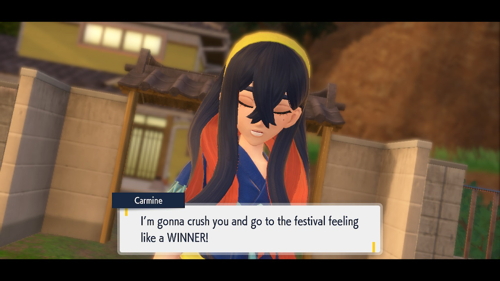
As soon as you get into town you'll be greeted by some siblings known as Carmine and Kieran. Before you can enter town you'll need to defeat Carmine in battle. She has a Lv. 60 Poochyena, a Lv. 60 Poltchageist, and a Lv. 60 Vulpix. After beating her in battle, Carmine will run off and a Caretaker from the community center will greet you. Head towards the community center and the rest of the group will catch up and you'll get an official tour from the Caretaker. Afterward, head to the rooms in the back to sleep for the night.
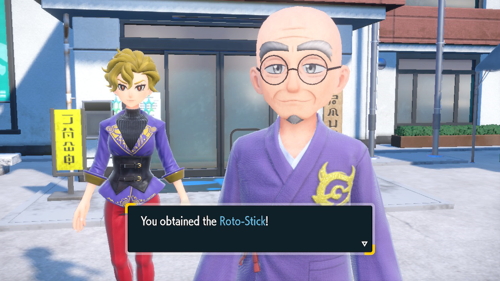
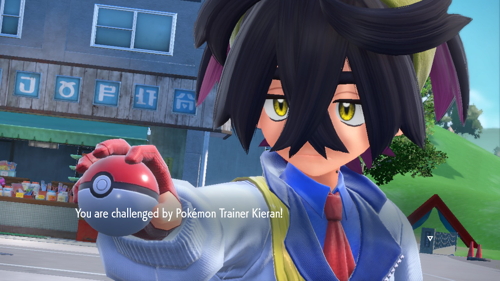
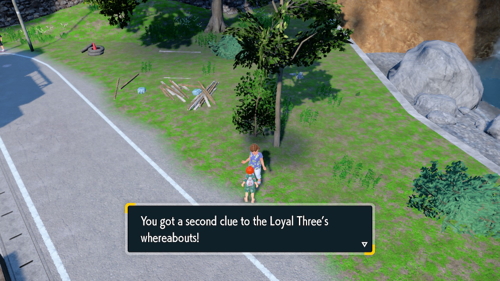
The next day the festivities will kick off and you'll officially meet Carmine and Kieran again. The Caretaker will tell you about your first task and give you a Roto-Stick, the equivalent of a selfie stick. The adventure today is to find three signboards, learn some lore from them, and prove your presence with a selfie. Picking partners for this adventure will end up with you battling Kieran. He has a Lv. 59 Sentret, and a Lv. 60 Yanma. After defeating him in battle, you'll agree to be his partner. He'll then point you in the direction of Loyalty Plaza for your first lore sign. You'll then get a call from Director Clavell telling you about his friend from Blueberry Academy, we will speak to him later to kick off the Indigo Disk DLC.
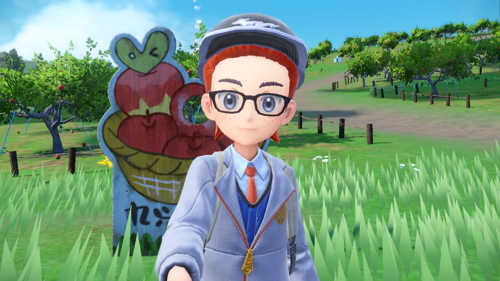

Exit town to the west and follow the path through the apple orchard here. There are a few trainers you can battle along the way if you'd like. When you come to a fork in the path, head right. You'll find a man on the path here who will upgrade your Rotom Phone to have customizable banners. You can then head into this fenced area called Loyalty Plaza. You'll see the first lore signboard right away, and Kieran will approach if you interact with it. After learning the lore from the sign you'll snap a selfie with Kieran in front of it. He'll then point you in the direction of the next signboard.
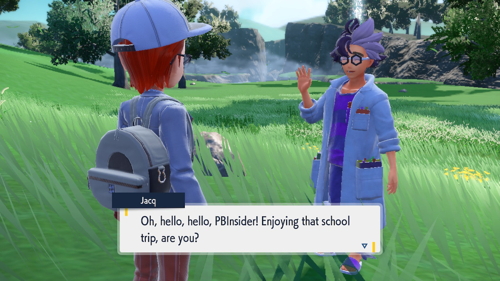
Open up your map and set your destination to Kitakami Hall. It's on the east side of Mossui Town, so start backtracking back towards town. Heal up as you pass through town if you need and then continue out through the east. You'll find yourself on Reveler's Road, the mountain path leading to the next sign. Off to the right of this path you can actually find Mr. Jacq. He will have a picnic with you and give you a Pokémon Egg. Inside this egg is a random Sinnoh starter Pokémon.
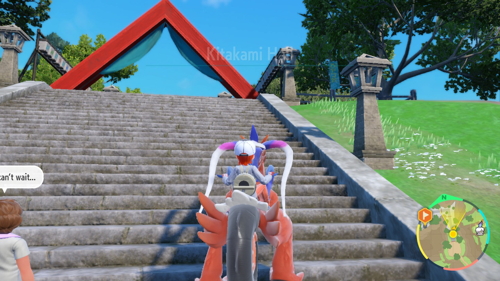
Continue along the path up the mountain, defeating the trainers along the way if you'd like. You'll reach an arch over the path and it will take a turn to the north, there will be a new variety of Pokémon along this path. You'll eventually reach the top of the mountain and see an open area with stairs leading up to Kitakami Hall. There is a picnicker here you can speak with to heal up if you'd like.
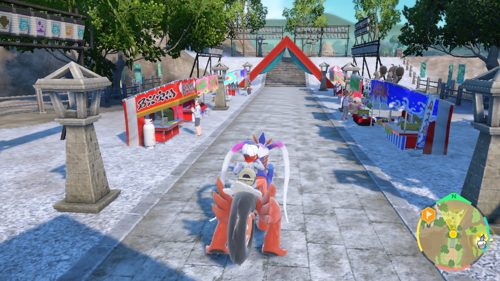
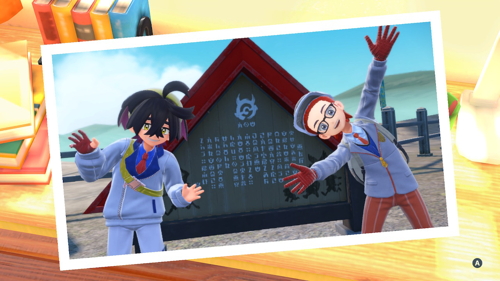
When you arrive into this plaza area of Kitakami Hall, you'll see that many people are here preparing for a festival. Don't worry about this for now and instead head to the rear of the area where you'll find the next signboard. Once you investigate, Kieran will join you and you'll read some more lore about the mysterious ogre. After some more dialogue with Kieran you will snap a picture together in front of the sign. He'll also point you to our next destination, the Dreaded Den.
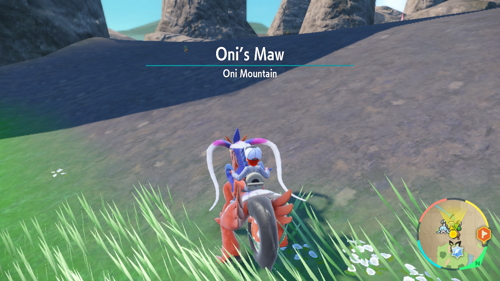
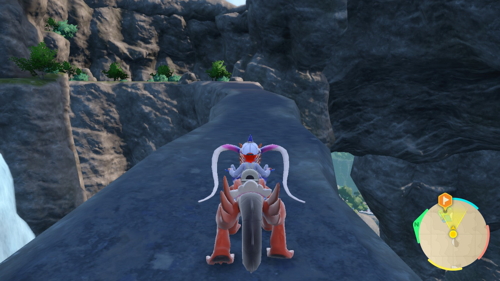
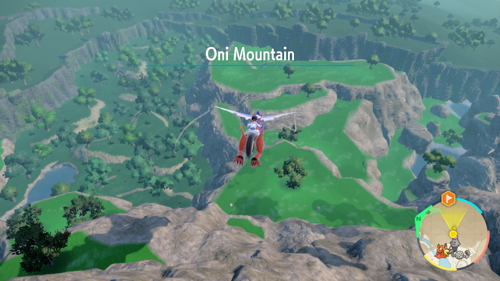
Take the stairs further up the mountain here onto Oni Mountain. There's a new variety of Pokémon to catch and trainers to battle up here. Continue heading up the mountain and you'll eventually reach some signs, one of which will point you towards the den to the right. Keep following this path through Oni's Maw and across a narrow rock bridge.
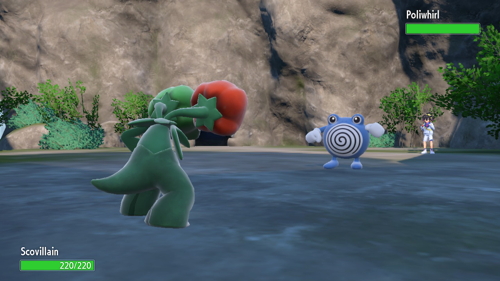

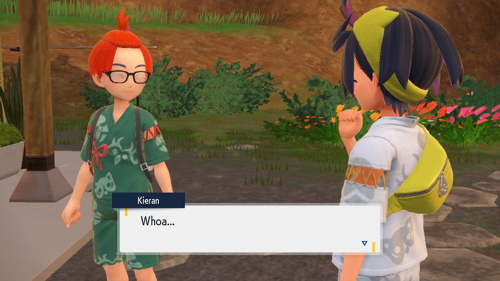
You'll soon run into Kieran outside the den. He'll challenge you to a battle in the hopes of luring out the ogre from his den. He has a Lv. 62 Furret, a Lv. 62 Yanma, and a Lv. 66 Poliwhirl. After winning the battle, you'll enter the ogre's den but the camera will catch a glimpse of the ogre's legs walking away outside the den. As such, you'll find that Dreaded Den is empty. Kieran will then invite you to the Festival of Masks, but suggest you swing by his house first, which he registers the location of in your phone.
Set Kieran's House as a destination on your map and then fly back to Mossui Town. Heal up if needed and then make your way to his house on the northern side of town. You'll meet Kieran's grandparents here. They will help prepare you for the festival with a special outfit. You'll also get the Teal Style Card which allows you to buy a wider variety of outfits from shops. Carmine will then challenge you to a battle rather than give you a mask. She has a Lv. 62 Morpeko, a Lv. 64 Sinistcha, a Lv. 63 Swadloon, and a Lv. 63 Mightyena.
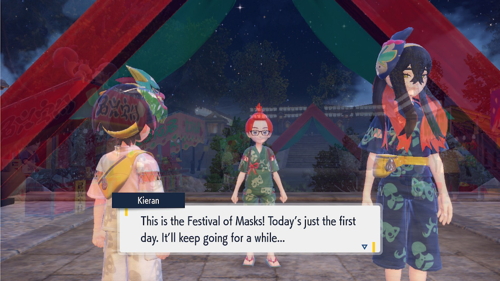
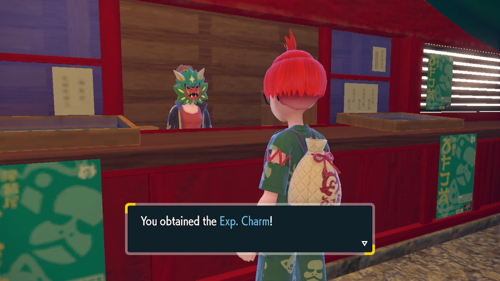
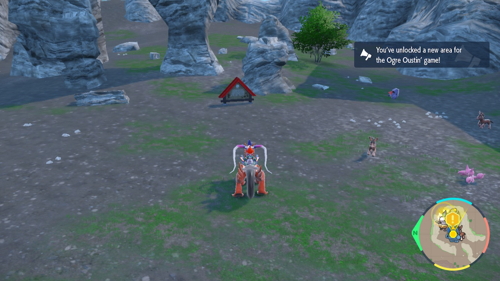
Heal up if you need and then fly to Kitakami Hall to kick off the festival. Once you arrive at the festival some cutscenes will play and then you'll be tasked with following Kieran around a few booths. One of those is Ogre Oustin', a very simple mini-game where you pop balloons to collect berries. If you beat Carmine's score, you'll receive the Exp. Charm.
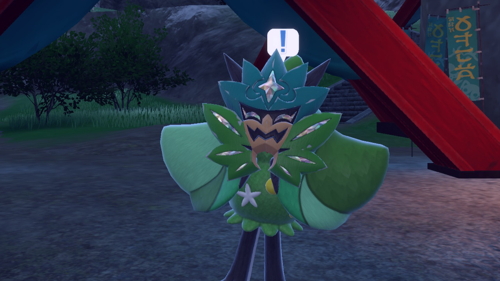

Afterward Kieran sends you off to explore on your own, and you'll catch a glimpse of the ogre. Approach it and some cutscenes will follow that result in you getting the Teal Mask after the ogre drops it. Head to the entrance of Kitakami Hall after and speak with Kieran to go home.

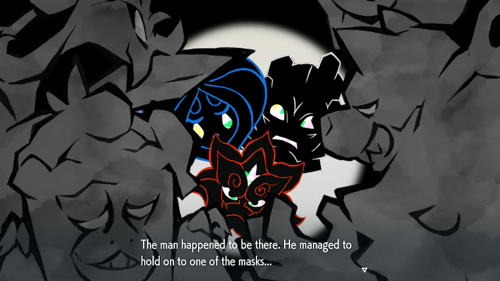
You'll find yourself back at the community center the next morning. Go ahead and exit to find Carmine waiting for you outside. She suggests heading to her house to show her grandpa the mask you picked up. Go to her house on the north side of town. Speak to her grandfather and show him the Teal Mask. He will then fill you in on the true lore of the ogre, named Ogerpon, who is actually the good guy and was attacked by "The Loyal Three". You'll then hand her grandfather the mask so he can repair it.
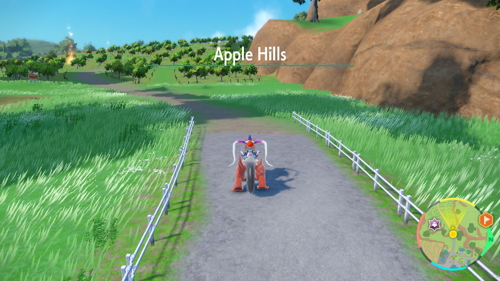
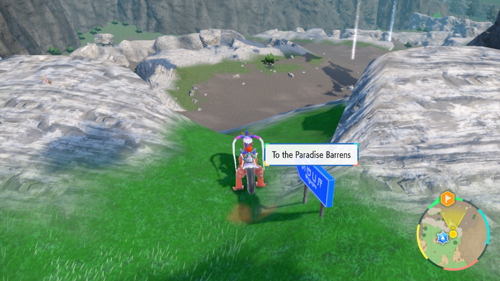
It's now time to meet back up with Kieran and finish off the signboard quest. You'll find him near a store in town. He points you to the last of the signboards, in Paradise Barrens. This one is much further away, on the opposite side of the mountain. Open up your map and set it as your destination. You can then head west out of town along the path on Apple Hills. Continue to the fork in the path, and take the left route this time.
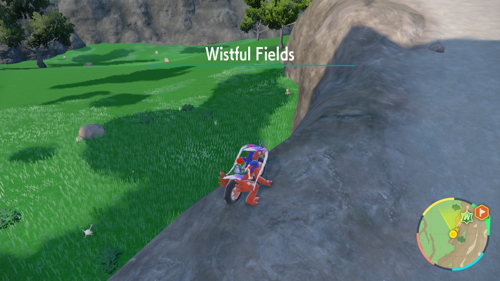
There are new trainers and Pokémon along this path into Wistful Fields. You'll soon reach another sign that indicates you're heading in the right direction. Continue forward and you'll reach a spot where you could take a path up a mountain, but just keep heading north in this grassy area instead. Once you get to the end of this grassy field, you'll see another sign that points you to Paradise Barrens.

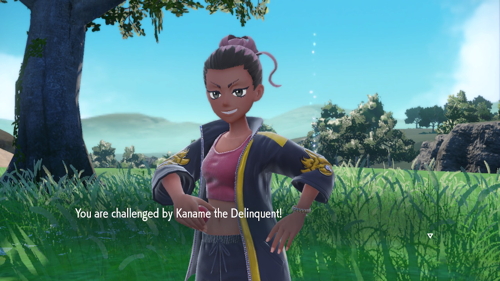
There's a new variety of Pokémon and trainers in this area that you can explore if you'd like. Head towards the marker on your map to find the final signboard in this rocky divot. Once you investigate the sign, Kieran will join you and challenge you to another battle. This time around he has a Lv. 64 Yanma, a Lv. 66 Poliwrath, a Lv. 64 Furret, and a Lv. 67 Dipplin. Afterward you will read the sign together and hear some more lore about the ogre and the mask makers. You'll then snap the final selfie together.
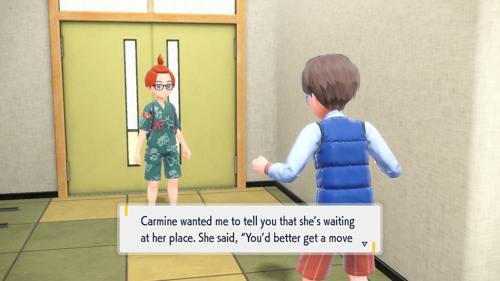
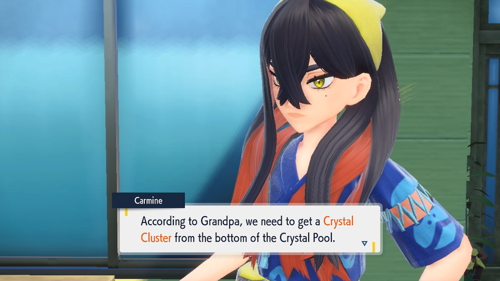
Fly back to Mossui Town and return to the Community Center. Head to the back rooms to sleep for the night. The next morning, Carmine will send you a message that she's waiting for you at her house. Head on over there on the north side of town. You will be tasked with getting a Crystal Cluster to properly fix the Teal Mask. This can be found at the Crystal Pool on the top of Oni Mountain. Mark it as a destination on your map and fly to Kitakami Hall to get started.
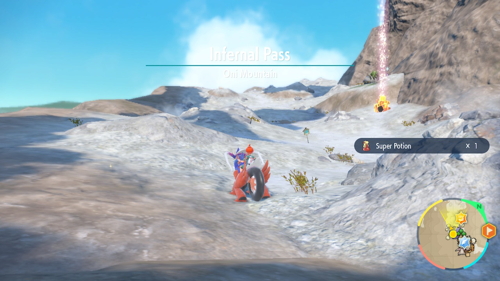
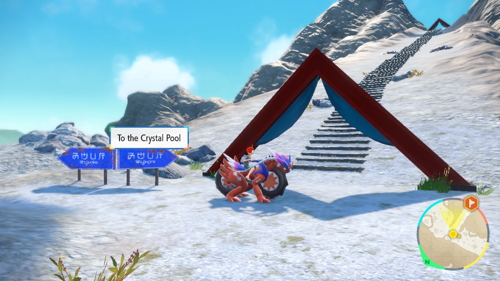
Take the stairs at the end of the hall to start heading up Oni Mountain once again. As you begin to scale the mountain, you'll find some signs that point you in the direction of Infernal Pass or back up to the Dreaded Den. We'll be heading along the Infernal Pass route. You'll find a new selection of Pokémon here that can help fill out your Pokédex. The path here is very straightforward and free of trainers, and you'll soon arrive at another sign pointing you to Crystal Pool.
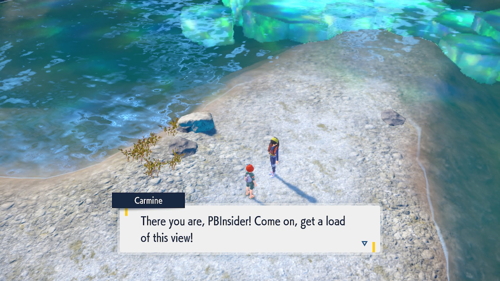
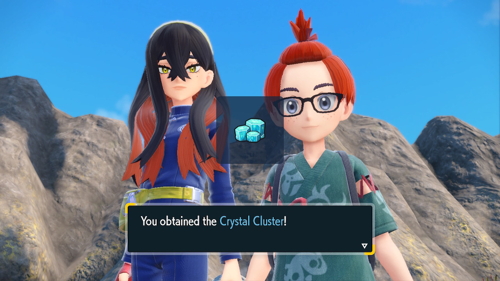
Take the stairs through the arch up to Crystal Pool. Cross the bridge here to meet back up with Carmine. Just before hopping in the pool to collect some crystals, you'll be ambushed by a Milotic. You'll need to defeat it in a double battle with Carmine. Luckily, it will leave behind a Crystal Cluster afterward. Ms. Briar will then make a surprise appearance and explain some research she's doing at the pool.
Now it's time to head back to Carmine's house and hand over the Crystal Cluster to her grandpa. Fly back to the Community Center and then pay them a visit. However, it looks like Kieran has devised a plan of his own and has taken off with the Teal Mask. Fly to Loyalty Plaza to find him. Make sure you have a fully healed team ready, because you'll need to defeat Kieran in battle to get the mask back. He has a Lv. 68 Yanmega, a Lv. 71 Poliwrath, a Lv. 66 Gligar, a Lv. 65 Cramorant, and a Lv. 69 Dipplin.
After the battle, Kieran will hand over the mask and head home. But not before punching the Loyal Three monument, which apparently causes all of them to be resurrected and then beeline for Kitakami Hall. Fly on over there to follow them. You'll find the Caretaker and some townsfolk gathered who just witnessed the Loyal Three and handed them over some masks and grub. They apparently then made their way up Oni Mountain.
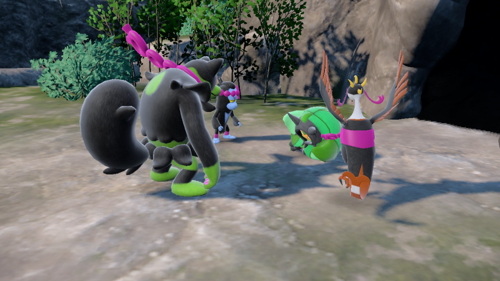
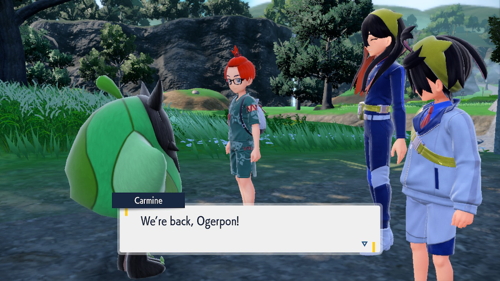
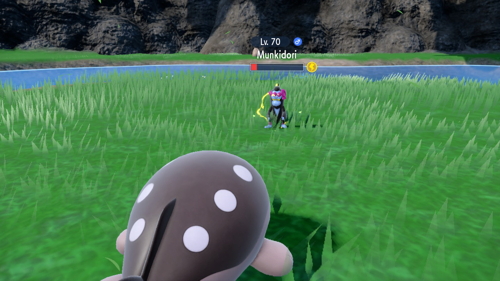
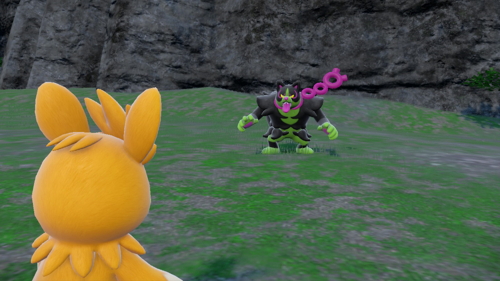
Head up Oni Mountain once again, making your way to the Dreaded Den. When you arrive you will find the Loyal Three harassing Ogerpon. You'll need to defeat the Lv. 70 Munkidorki (Poison/Psychic) in battle, and you can't attempt to catch them at this point. Afterward, Carmine and Kieran will swoop in to help and all the Loyal Three will run off. You'll then be able to return the Teal Mask to Ogerpon and devise a plan to retrieve the other three masks from the Loyal Three. Most importantly, Ogerpon will now follow you around!
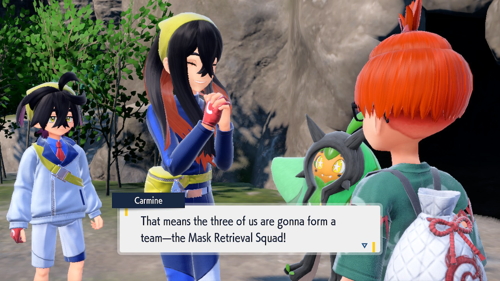
Fly back to Mossui Town and a cutscene will start which reveals that Ogerpon is not comfortable entering the village. There are three townsfolk around Mossui that will give you hints about the Loyal Three's locations. Munkidorki is taking a nap by a pond (man on west side of town), Okidogi is wandering around the barrens (lady behind the Community Center), and Fezandipiti is zooming through the sky over Oni Mountain (child to the right of the Community Center).
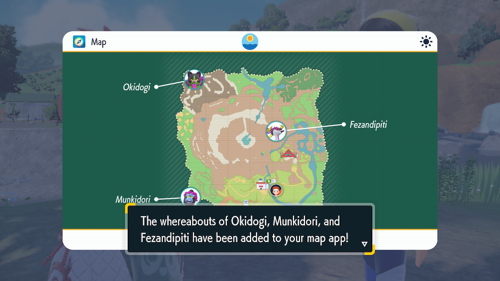
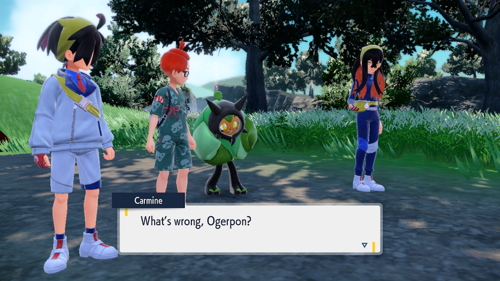
You will then return to Ogerpon to reconvene and the locations will be added to your map. It seems like your bond with Ogerpon has made Kieran jealous and he will run off once again. You can now choose to go after whichever of the Loyal Three you like, but we'll be starting with Munkidorki. Go ahead and set his location at Wisteria Pond on your map and you can then fly to Loyalty Plaza to get a little closer.

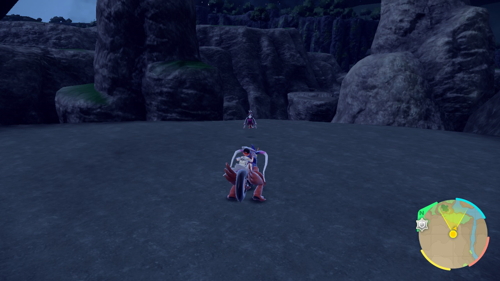
Head southeast from the plaza through the Wistful Fields. There's a couple trainers and new Pokémon along this small route if you haven't come this way already. You'll shortly arrive at Wisteria Pond and see Munkidorki.
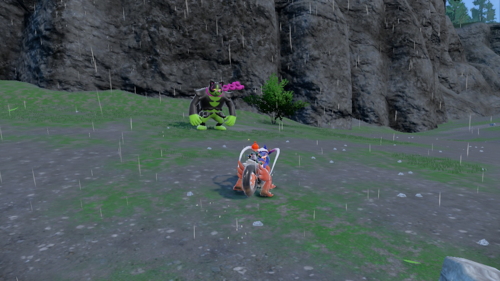
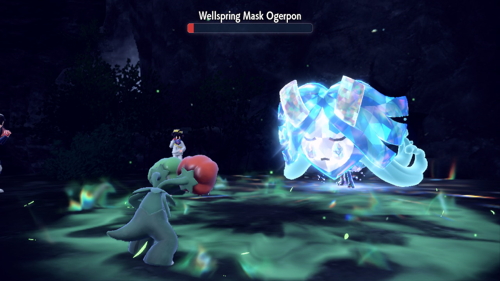
When you approach him Carmine will join you in battle. You will soon realize this is actually a titan Pokémon now! It's still Poison/Psychic-type, so Ground, Ghost, or Dark moves are your best bet. After knocking him out, the Titanic Munkidorki will return to it's normal form and run off. It will also drop the Wellspring mask for you to retrieve.
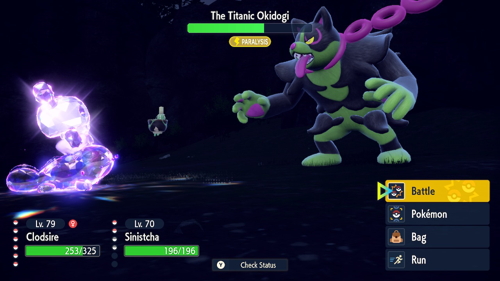
Next let's fly on over to Paradise Barrens to look for Okidogi. It won't be hard to find Okidogi at all, it's very close to where you fly to. Carmine will once again join you for battle once you approach. Okidogi will also be in Titan form and is a Poison/Fighting-type. Psychic (4x) and Ground (2x) moves will serve you well. Remember you can also Terastallize to even things out in terms of size. After defeating it, Okidogi will return to normal and run off, but not before dropping the Cornerstone Mask.
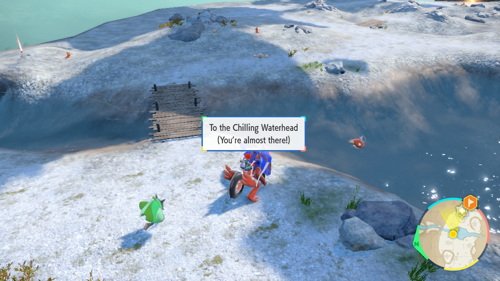
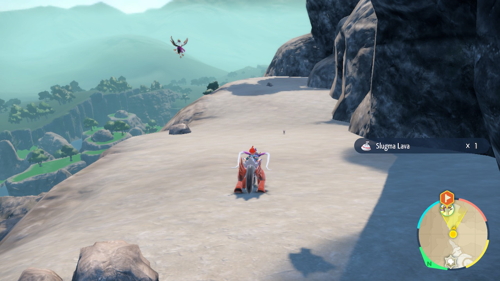
It's now time to pay Fezandipiti a visit at Fellhorn Gorge. Mark it on your map and then fly over to the Crystal Pool to get close. Exit the pool area and start heading east, you'll find a sign pointing you in the direction of the Chilling Waterhead, which is where we want to go. Hop down these ladders and in this next area you'll see Fezandipiti floating above. When approached, it will fly into the cave that is the Chilling Waterhead.
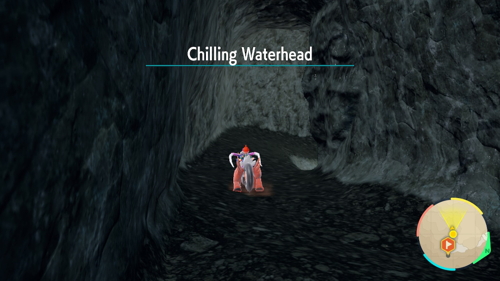
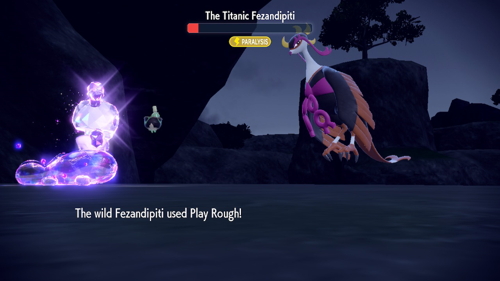
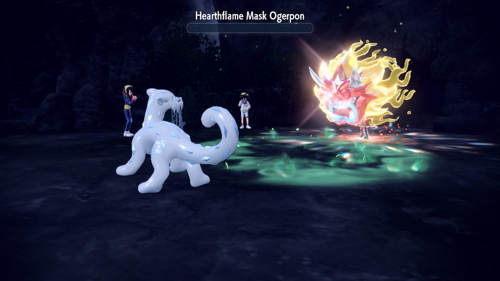
Follow it through this area, which does contain new Pokémon and trainers to battle. There are many winding cave routes through here, but you essentially just need to make your way to the very bottom and go through the final cave opening. You'll then make it back outside to fight the Titan Fezandipiti with Carmine. It's a Poison/Fairy-type, so Ground, Steel, and Psychic moves are the best choice. After winning, Fezandipiti will fly away and leave behind the Hearthflame Mask.
After obtaining all three masks, Kieran will join you again and ask you to bring Ogerpon to the village. Fly on back to Mosssui Town and Kieran will lead the way for Ogerpon to march into town. Kieran has been busy warming up all the townsfolk to Ogerpon and telling them the true story. You'll then be tasked with returning Ogerpon to his den, so fly on over to Infernal Pass and head east to the Dreaded Den from there.

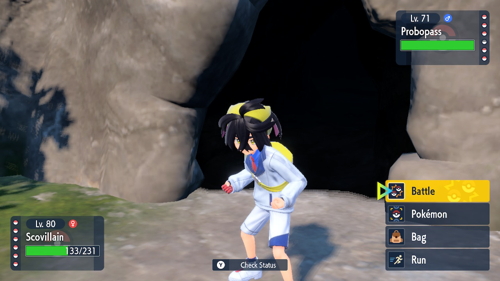
Once you arrive at the den, you'll find that Ogerpon doesn't really want to live in a cave anymore and would rather come with you. The jealous Kieran wants Ogerpon for himself so he of course wants to battle you for them. He has a Lv. 71 Shiftry, a Lv. 71 Probopass, a Lv. 72 Yanmega, a Lv. 72 Poliwrath, a Lv. 72 Dipplin, and a Lv. 76 Gliscor.
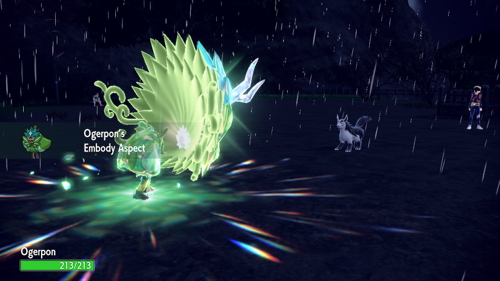
After defeating Kieran in battle and destroying the dreams of a child, it will be time to catch Ogerpon. You'll need to defeat an elevated form of a Lv. 70 Ogerpon before you can attempt to catch it. What makes Ogepron special is his ability to switch out his masks and change his types. He has the Teal Mask (Grass), Wellspring Mask (Grass/Water), Hearthflame Mask (Grass/Fire), and Cornerstone Mask (Grass/Rock). Additionally, in this battle Ogerpon will actually Terastallize each mask, making him even more powerful. This means once you defeat the first mask, he will move on to the next. Ogerpon's speciality move is Ivy Cudgel, which will change type depending on the mask it's wearing.

Once you break each of it's masks, you will be able to catch Ogerpon. His catch is guranteed at this point, so feel free to use whichever Pokéball type you like (don't waste your Master Ball). Once you catch him you'll also obtain the Wellspring Mask, Hearthflame Mask, and Cornerstone Mask. Afterward Kieran will run off crying and you'll all head back to Mossui Town. The next day you'll get a message that Carmine is waiting for you at Loyalty Plaza.
Make sure to have Ogerpon in your party and heal up. Fly on over to Loyalty Plaza where Carmine wants to have a battle with you and Ogerpon. If you want to use a different mask for this battle, keep in mind you'll need to give it to Ogerpon beforehand. You won't be able to switch them out like Ogerpon did in his fight against you. Carmine has a Lv. 70 Mightyena, a Lv. 72 Ninetales, a Lv. 72 Leavanny, a Lv. 74 Sinistcha, and a Lv. 71 Morpeko. After winning, you'll get a call from Briar asking you to return to the Community Center now that everyone has finished orienteering.
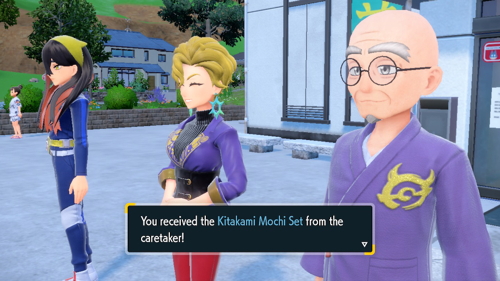
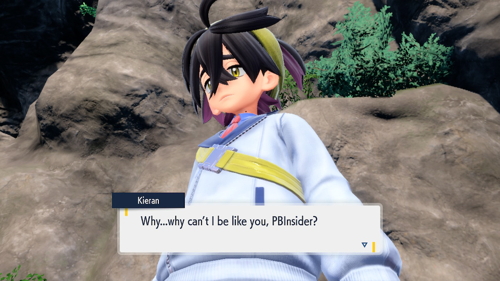
Fly back to Mossui Town and you'll find everyone but Kieran gathered outside the Community Center. The Caretaker will then give you a Kitakami Mochi Set for finishing his tour. The Caretaker invites you to stay and enjoy Kitakami for as long as you'd like, but Carmine, Kieran, and Briar are all returning to Blueberry Academy. You'll then see an ominous cutscene where Kieran seems to plot his revenge against you. This wraps up the main story part of the Teal Mask DLC, but there is still more to do in Kitakami if you'd like.
With Ogerpon in hand, we can now go back and catch each of The Loyal Three legendaries. They are all Lv. 70 and you'll need to battle and catch them like normal, there's no guranteed catches here. Make sure to save before each encounter and use the typical strategy of lowering their HP, inflicting a status condition, and then throw Ultra Balls (or Dusk Balls at night) until they are caught. After 10 turns, you should switch to using Timer Balls.
They can each be found at the same location we defeated them before: Munkidorki (Poison/Psychic) is at Wisteria Pond, Okidogi (Poison/Fighting) is at Paradise Barrens, and Fezandipiti (Poison/Fairy) is at Oni Mountain, at the end of the Chilling Waterhead cave system.
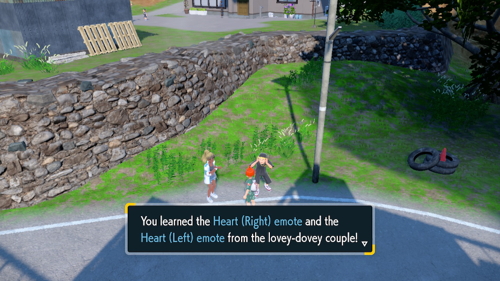
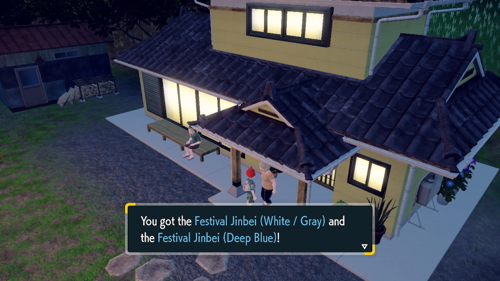
There are a few small things to pick up in town while we have a moment. If you speak to the couple behind the Community Center and show them a Maushold, they will teach you a new pose. If you speak to Carmine and Kieran's grandma outside of her house, she will give you the Festival Jinbei (White/Gray) and Festival Jinbei (Deep Blue), clothes that match what Kieran and Carmine wore.
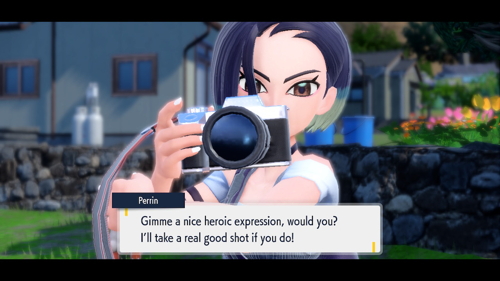
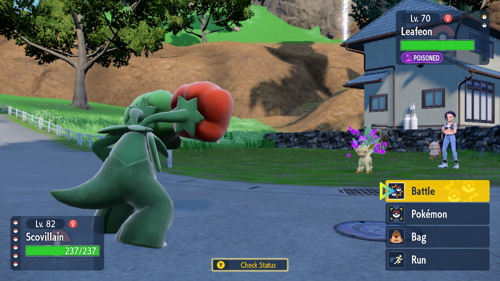
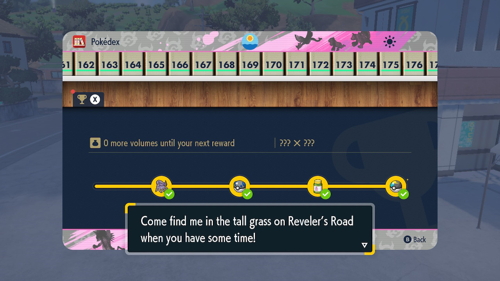
You can speak to a photographer named Perrin on the west side of Mossui Town. She snaps your picture and wants you to return when you've caught over 150 Pokémon from the Kitakami Pokédex. If you've caught and evolved all the new Pokémon you've encountered here, you should have enough. Once you do, she wants to battle you. She only has a Lv. 68 Notctowl and a Lv. 70 Leafeon. Afterward, she tells you that she's looking for a Bloodmoon Beast, a special variation of Urasaluna, a Pokémon unique to the Hisuian region.
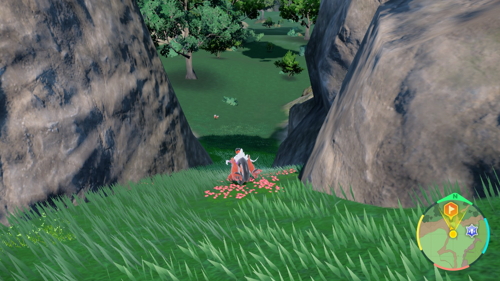
Perrin wants you to meet her in the Timeless Woods, an area to the northeast. There are several ways to get to the meeting point (which you should mark on your map), but the easiest is to fly to Crystal Pond at the top of the mountain and then glide down into the nearby Kitakami Wilds and make your way over from there.
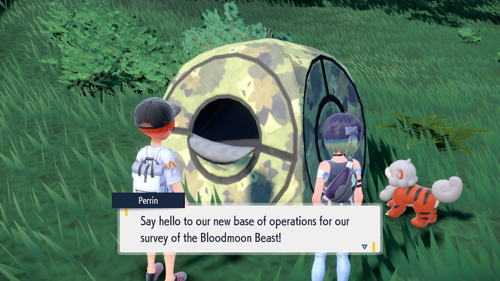
Once you make it you'll find Perrin snapping some photos and she suggests that you're most likely to find the Bloodmoon Beast on nights with heavy fog. You'll then need to protect Perrin from an attack from a wild Ariados. Perrin will then set up a camp for you and suggest that we start taking photos of other Pokémon on foggy nights so that we can train her camera to look for the Bloodmoon Beast.
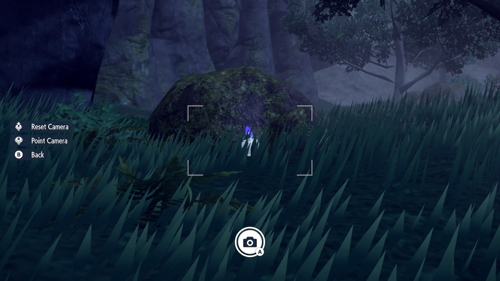
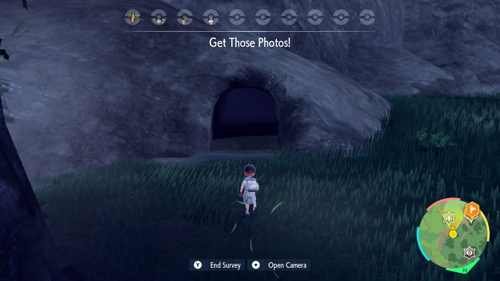
Speak to Perrin again to wait for a foggy night so you can snap some photos. You'll basically just need to wander around and use your best Pokémon Snap skills to take 10 pictures of different Pokémon species. You'll need to be careful not to get too close to them and scare them off. Otherwise you just wander around looking for Pokémon, keeping in mind some are up in trees, in nearby caves, and in the water.
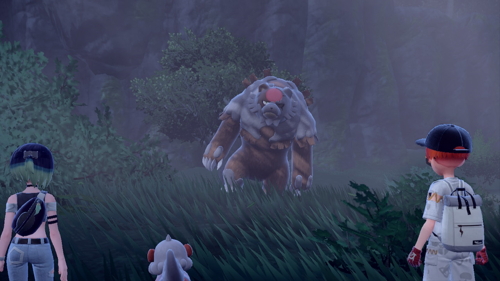
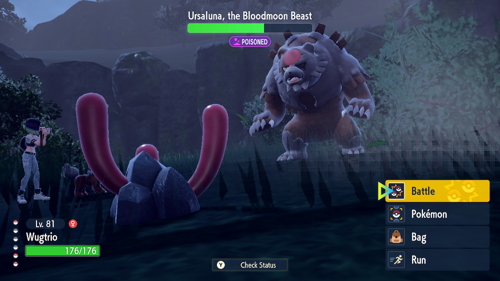
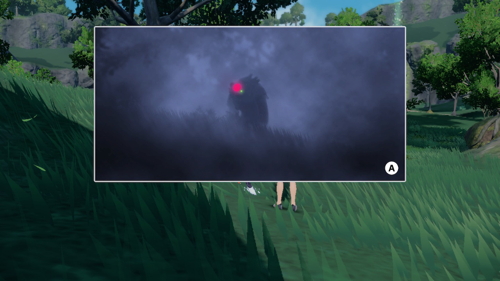
Once you finish your photo quest, Perrin will share some of her insecurities with you. Pushing those aside, you'll be ready to capture the Bloodmoon Beast anyway. You'll find the creature right away, but it turns out he doesn't take too kindly to flash photography. It'll be up to you to defeat it in battle, and it will be in titan form. It's a Lv. 70 Ground/Normal type, so Water, Grass, Ice, and Fighting moves are super effective. This battle can be quite tough, as the Bloodmoon Beast packs quite a punch and knows the very powerful Blood Moon attack. Once you take it out, you will have the opportunity to catch it with a guranteed catch, so choose whichever ball you like.
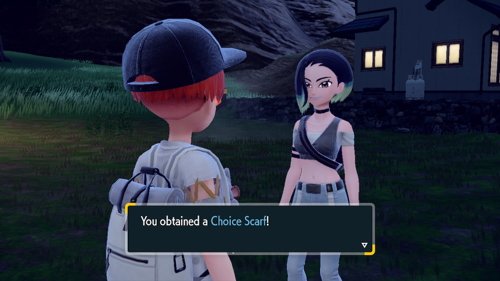
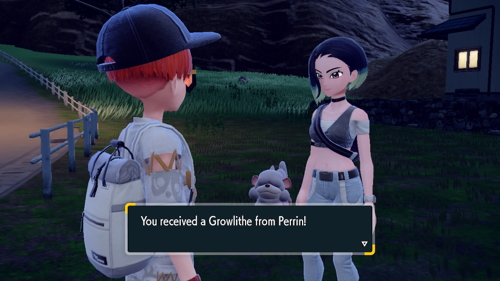
Afterward, Perrin will head back to Mossui Town and invite you to follow her. Do so and speak with her again there. Here she will give you a Choice Scarf for your efforts. She will also give you the younger brother of her partner Pokémon, a Lv. 15 Hisuian Growlithe.

The only thing left to do in Kitakami is to complete the Kitakami Pokédex. There are only a few version exclusives here, namely Gligar, Gliscor, and Cramorant (Scarlet) and Aipom, Ambipom, and Morpeko (Violet). The rest of the Pokédex can be filled out by catching all the available Pokémon and evolving them in this area, and if you've completed the main Scarlet/Violet Pokédex you'll be halfway there already. If you do complete the Kitakami Pokédex, you can speak with Jacq on Reveler's Road to get the Glimmering Charm, which increases the Tera Shards you get as rewards from Tera Battles.
That wraps up The Teal Mask, the first part of the Scarlet & Violet DLC. That means it's time to move on to Part Two: The Indigo Disk in the next chapter.
Back to Post Game Continue to The Indigo Disk
